
Your drone’s motors twitch violently during startup, your FPV feed wobbles like unset gelatin, and after a perfect weather window, you’re grounded. When your jitter drone not working issue strikes, it’s not just frustrating—it risks catastrophic crashes from uncontrolled vibrations. This guide cuts through generic advice to deliver field-tested solutions used by professional drone technicians. You’ll learn exactly how to diagnose whether your problem stems from warped props, overheating motors, or misconfigured PID settings—and implement fixes that get you airborne in under 30 minutes.
Most pilots waste hours chasing software tweaks when the real culprit is mechanical. Start with these critical checks: Does your motor bell stop abruptly when flicked by hand? Is your battery placement off-center by more than 5mm? Are XT60 connectors showing discoloration? By the end of this guide, you’ll have a systematic workflow to eliminate jitter permanently—whether you fly a $200 FPV quad or a $2,000 cinema rig.
Pinpoint Your Exact Jitter Symptom
Don’t guess—diagnose. Match your drone’s behavior to these four critical symptom profiles before wasting time on irrelevant fixes:
| Symptom | What You’ll See | Urgent First Fix |
|---|---|---|
| Video jello | Wavy, rubber-like distortion in HD footage | Replace all props immediately |
| Motor stutter at startup | Props twitch 2-5 seconds before spinning | Adjust MOT_SPIN_ARM parameter |
| Scorching hot motors | Motor bell too hot to touch after 10 seconds | Check for screws touching windings |
| Gimbal yaw wiggle | Side-to-side drift during rotation | Tune gimbal PID or remove lens hood |
Critical red flag: If motors exceed 85°C after normal flight or show >5% current mismatch between units, stop flying immediately. Continued operation risks winding damage that requires full motor replacement.
Why Prop Damage Causes Instant Jello
Chips or hairline cracks at prop roots—often invisible during casual inspection—create micro-imbalances that resonate through your frame. A single damaged prop can induce vibrations strong enough to register on your flight controller’s gyro. Pro tip: Swap all props simultaneously, even if only one appears damaged. Mixing old and new props guarantees vibration issues due to material fatigue differences.
Motor Hardware Failure Signs
When your motor fails the finger-spin test (stops abruptly instead of coasting 3-5 seconds), suspect these hidden killers:
– Overtightened screws warping the motor bell
– Bent shafts from minor crashes causing bell scrape
– Grit-filled bearings creating grinding noises
Action step: Swap the suspect motor to a different arm. If vibration follows the motor, replace it immediately. If the problem stays on the original arm, inspect for frame cracks.
2-Minute Mechanical Fixes (Props Off)
Never skip these bench tests before tuning software:
Motor Bench Spin Diagnosis
- Remove all props
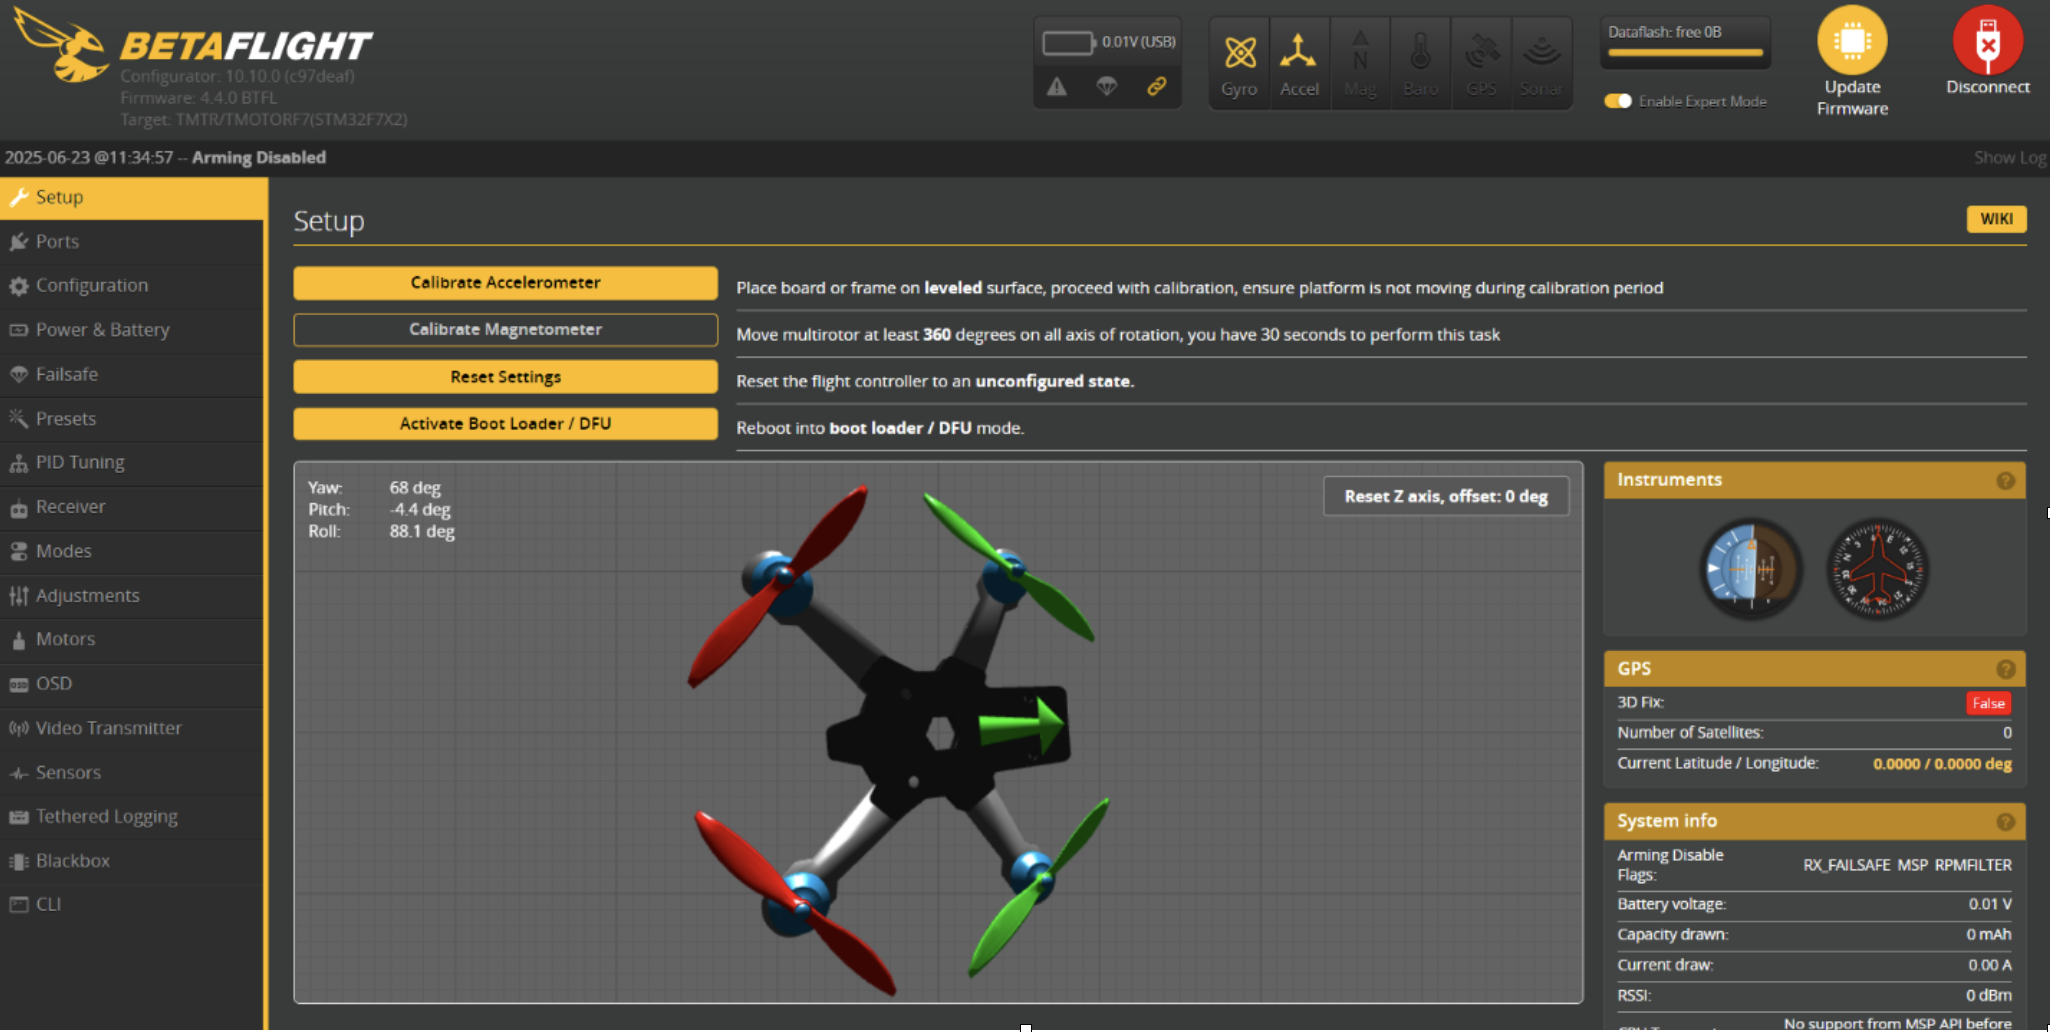
- Connect drone to Betaflight Configurator via USB
- Go to Motors tab → slowly throttle each motor to 25% for 5 seconds
– Smooth hum? Motor is healthy
– Grinding/ticking? Stop flying—replace motor or clear debris
Prop Swap Protocol That Actually Works
- Use identical props (same brand, pitch, diameter—never mix models)
- Torque to “snug plus 1/8 turn” (overtightening warps hubs)
- Critical check: Spin each prop by hand—wobble >1mm means discard
Finger Spin Test for Bearings
With props off, flick each motor bell:
– Healthy: Coasts 3-5 seconds with faint hum
– Failed: Stops in <1 second or has gritty resistance
– Pro tip: Spray 1 drop of lightweight oil into bearing seams if gritty—retest before flying
Eliminate Frame Flex & Weight Distribution Issues
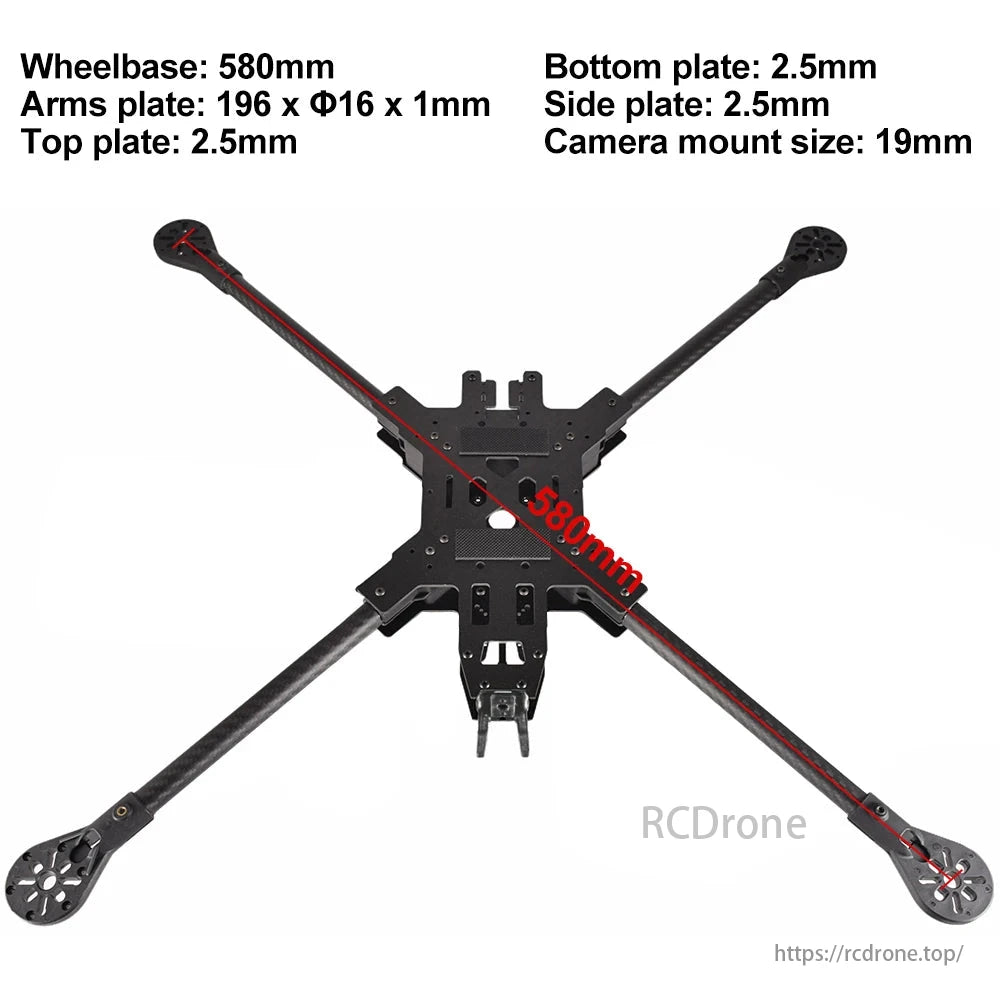
Fixing Cracked or Flexible Arms
Delaminated carbon fiber or plastic arms act like tuning forks, amplifying vibrations. Diagnose: Grip each arm near the motor and twist firmly. Any flex beyond 2mm indicates structural failure.
– Temporary fix: Apply carbon fiber tape along stress points
– Permanent solution: Replace arm and check all frame screws with Loctite 243
Center of Gravity Calibration
An off-center battery forces diagonal motors to overwork, causing heat buildup and oscillations:
1. Balance drone on fingertip at geometric center
2. Adjust battery position until level within ±5mm
3. Secure with double-sided tape (not zip-ties—they vibrate loose)
Warning: Adding gimbals or action cams requires rebalancing. Never mount payloads >10% of total weight.
Betaflight PID Tuning for FPV Drone Jello
Anti-Jello CLI Command That Works Today
Paste this exact sequence in Betaflight CLI (tested on F7/F4 flight controllers):
set gyro_lowpass2_hz = 125

set dyn_notch_range = LOW

set dshot_bidir = ON

set motor_pwm_protocol = DSHOT600

save
Why it works: This reduces high-frequency noise without sacrificing responsiveness. The 125Hz gyro low-pass filter targets common frame resonances while DShot600 eliminates ESC sync issues.
D-Term Adjustment Safety Protocol
Over-aggressive D-term causes motor overheating and visible jello:
1. Reset PIDs to default
2. Hover steadily at 50% throttle
3. Increase D-term in 3-point increments
4. Stop when motors feel warm (not hot) after 60-second hover
Critical: Never exceed 45 D-term on 5-inch quads—this is the thermal runaway threshold.
ArduPilot Fixes for Large Quad Stuttering

MOT_SPIN_ARM Calibration for Smooth Takeoff
When motors stutter at startup, mismatched spin parameters are usually to blame:
1. In Mission Planner, go to Full Parameter Tree
2. Locate MOT_SPIN_ARM (typical value: 0.09)
3. Increase by 0.01 increments until props spin smoothly at startup
4. Target range: 0.11–0.13 for most 6S setups
Harmonic Notch Filter Setup
For frame resonance at 65Hz (common on Tarot 650 rigs):
INS_HNTCH_ENABLE,1

INS_HNTCH_FREQ,65

INS_HNTCH_BW,30
Validation: After 30-second hover, check Blackbox logs for 65Hz peak reduction. If vibration persists, increase INS_HNTCH_BW by 5.
Power System Noise Elimination
Capacitor Installation That Actually Works
Soldering one oversized capacitor rarely solves high-frequency noise. Professional method:
– Install three 330µF low-ESR capacitors:
– One across XT60 input
– One on front ESC power pads
– One on rear ESC power pads
– Why it beats single caps: Distributed capacitance shunts noise across frequency bands
Battery Connector Health Check
Puffy batteries or corroded connectors cause voltage sag that triggers ESC sync loss:
1. Measure XT60 resistance with multimeter
2. Replace immediately if >2mΩ (indicates internal damage)
3. Prevention: Always use silicone-insulated bullet connectors
Step-By-Step Jitter Diagnostic Workflow
Follow this sequence to isolate issues in 15 minutes:
- Props-off bench spin → Identify grinding motors
- ESC recalibration → Set DShot600 protocol
- 30-second hover log → Analyze FFT for 60-400Hz peaks
- Temperature test → Land after 60s hover → finger-test motors
- Parameter reset → One change per test flight
Critical: If gyro logs show spikes above 200Hz, focus on mechanical fixes—not PID tuning. Software can’t compensate for physical damage.
Prevent Jitter From Returning
Pre-Flight Checklist That Catches 90% of Issues
- Tug-test all props (shouldn’t budge more than 1mm)
- Finger-spin every motor (coast time >3 seconds)
- Verify battery position within 5mm of center
- Inspect XT60 connectors for discoloration
Long-Term Maintenance Protocol
- Blackbox log review: After every 10 flights, check for rising gyro noise floors
- Capacitor replacement: Every 200 flights or if ESR >30mΩ
- Motor retirement rule: Replace any unit exceeding 85°C post-flight
Don’t let jitter drone not working issues ground you. Start with the 2-minute prop and motor checks—80% of cases resolve here. If vibration persists, follow the diagnostic workflow step-by-step. Remember: software tuning can’t fix bent shafts or cracked frames. Download your flight controller’s Blackbox logs after each fix attempt; they’ll reveal whether you’re battling mechanical resonance or electrical noise. Get back in the air today by focusing on what actually works—not generic forum advice. Your perfectly stable footage is just one prop swap away.


