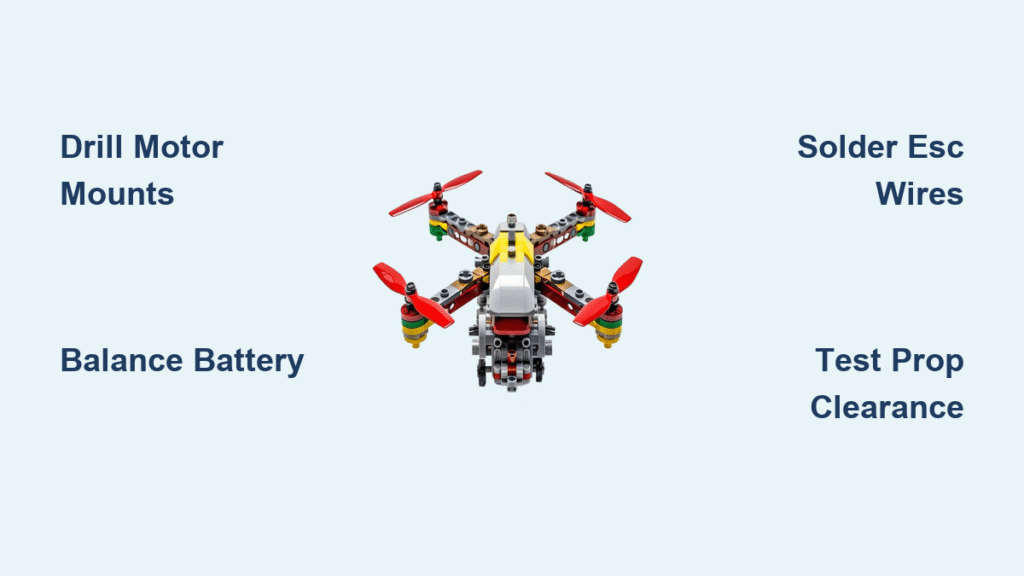
Ever stared at your LEGO collection and dreamed of taking it airborne? You’re not alone. Thousands of hobbyists have successfully transformed plastic bricks into fully functional flying machines, proving that with the right techniques, your childhood toys can literally take to the skies. This isn’t about taping a toy drone to some bricks—it’s about engineering a lightweight, customizable quadcopter that responds to your controls and delivers genuine flight performance.
Building a LEGO drone merges nostalgic creativity with modern technology in the most satisfying way possible. Unlike pre-built drones, LEGO frames let you modify, repair, and upgrade your aircraft using spare bricks from your collection. This guide walks you through converting the LEGO Arctic Air Transport (60193) into a real flying machine—though these techniques apply to any LEGO structure with sufficient internal space and rigid arms. By the end, you’ll have a drone that doesn’t just look cool on your shelf but actually earns its place in your flying fleet.
Select Your LEGO Drone Base Model
The Arctic Air Transport (60193) works perfectly as our reference build, but any LEGO kit sharing these critical features will succeed:
- Minimum 6-inch arm span between motor positions for stable flight dynamics
- Internal cavity space large enough for electronics and battery without external bulges
- Rigid arm structures that won’t flex under motor torque
- Technic beam compatibility for secure hardware mounting
If designing your own frame, prioritize symmetrical X-configuration where all four motors sit equidistant from the center point. Asymmetrical builds create uneven thrust that makes controlled flight nearly impossible. The Arctic Air Transport’s cargo bay provides ideal space for electronics, while its landing gear structure creates natural mounting points for motors.
Gather Every Necessary Tool and Part
Before touching a single brick, collect these essential components—nothing ruins momentum like stopping mid-build for missing parts.
Flight Hardware Must-Haves:
– All-in-one 4-in-1 ESC + F4/F7 flight controller stack
– Four 2205-2306 brushless motors (approximately 2300 kV)
– Eight 5-inch tri-blade propellers (four clockwise, four counter-clockwise)
– 6-channel radio transmitter and matching receiver
– 3S or 4S 1000 mAh Li-Po battery with XT30 connector
– 470 µF capacitor for power noise suppression
LEGO Modification Essentials:
– M3 stainless screws and nyloc nuts (16 sets)
– Medium CA glue (“Kragle”) with accelerator spray
– 3 mm and 7 mm drill bits for precise mounting
– Rotary tool with sanding drum for brick modification
– Basic soldering equipment with fine-tip iron
Critical Safety Gear:
– Safety glasses for drilling operations
– Heat-resistant work surface for soldering
– Li-Po fireproof charging bag (never skip this)
Verify Propeller Clearance Before Drilling
Skipping this step guarantees shattered props and a ruined maiden flight. Perform this dry fit test before modifying a single brick:
- Temporarily mount motors on LEGO arms using painter’s tape
- Rotate each propeller by hand through a full 360° rotation
- Measure clearance between prop tips and any LEGO structure
- Adjust immediately if clearance is less than 3 mm—stack Technic plates to raise motors or switch to 4-inch props
Pro Tip: Mark propeller sweep paths with a fine-tip marker on the bricks. This visual guide prevents last-minute clearance issues during final assembly. Remember: props spinning at 20,000 RPM will destroy themselves (and potentially your drone) by striking even the smallest brick protrusion.
Locate Your Drone’s Perfect Balance Point
An unbalanced LEGO drone fights you in the air—here’s how to find true equilibrium:
- Identify the geometric center where imaginary lines between motor shafts intersect
- Temporarily tape your battery in various positions along the drone’s length
- Balance the entire model on a pencil or thin dowel
- Adjust until level—the Arctic Air Transport typically requires nose placement for 1000 mAh batteries
Mark your final balance point with a single red LEGO brick—it serves as your permanent battery strap anchor. An off-center battery causes erratic flight behavior that even advanced PID tuning can’t fully correct.
Drill Motor Mounts Without Cracking Bricks
Precision drilling makes or breaks your LEGO drone’s structural integrity. Follow this exact sequence:
Create Perfect Screw Recesses
- Mark mounting points on the underside center of each arm
- Clamp LEGO plate between wood scraps to prevent cracking
- Drill 3 mm pilot hole, then widen to 7 mm for screw head countersink
- Sand 6 mm diameter, 2 mm deep recesses in stud cavities using rotary tool
Secure Motors Properly
- Stack components in this order: Motor → 2 mm spacer → LEGO plate → nyloc nut
- Torque screws to just 5-6 kg-cm—enough to eliminate wobble without crushing plastic
- Apply thin CA bead around motor plate perimeter after initial tightening
Warning: Over-tightening M3 screws is the #1 cause of cracked LEGO drone arms. If you hear any cracking sounds, stop immediately and reassess your mounting strategy.
Reinforce Critical Stress Points
LEGO bricks alone can’t withstand flight vibrations—strengthen these vulnerable areas:
Motor mounts: Apply CA glue around the entire motor plate perimeter, letting it wick into brick seams
Arm connections: Reinforce Technic beam joints where arms meet the fuselage
Wire entry points: Smooth any sharp edges where wires pass through brick openings
Expert Note: Use accelerator spray for initial 30-second curing, but never fly before the full 24-hour cure time. Rushed glue joints fail catastrophically at altitude, turning your drone into expensive confetti.
Route Wires for Safety and Performance
Messy wiring causes prop strikes and electrical interference—follow this clean routing method:
- Remove a 2×3 brick section from the fuselage roof
- Pass all motor wires through this central opening
- Secure with micro zip ties to internal Technic beams every 2 inches
- Replace roof bricks loosely for easy post-flight access to electronics
Keep wires as short as possible—excess length adds unnecessary weight and creates electromagnetic interference that disrupts your radio signal. Every gram counts when flying LEGO!
Install Flight Electronics Correctly

Mount the Flight Controller Properly
- Position on a flat LEGO plate at the drone’s exact center
- Orient with the arrow pointing toward the nose
- Ensure USB port aligns with the Arctic Air Transport’s cargo bay door
Solder Motor Connections Safely
- Cut wires to exact length plus 10 mm service loop
- Tin all connections before final soldering
- Solder clockwise: Front-Left → Front-Right → Rear-Right → Rear-Left
- Heat-shrink every joint to prevent in-flight shorts
Connect Power System
- Route XT30 pigtail from ESC to battery bay
- Solder 470 µF capacitor across battery pads
- Secure components with foam tape to dampen vibration
Critical Reminder: Never connect propellers during electronics installation. A single accidental throttle input without props attached can still cause dangerous motor spin-up.
Configure Flight Software for LEGO Stability

Safety First: Remove all propellers before connecting to computer—this cannot be overstated.
Betaflight Setup Essentials
- Flash latest stable firmware matching your flight controller
- Configure ports: UART1 for receiver, UART2 for telemetry
- Set mixer: Quad X configuration matching your physical layout
- Enable DShot600 for smooth motor response
- Set failsafe: Drop mode after 1 second signal loss
LEGO-Specific PID Tuning
Start with these proven baseline values for 5-inch props:
– Roll P: 42, I: 75, D: 35
– Pitch P: 46, I: 75, D: 38
These settings compensate for LEGO’s unique vibration profile. Fine-tune in small increments after your first hover test.
Execute the Critical Preflight Checklist
Never skip these verification steps before first flight:
- Inspect all solder joints under magnification for cold joints
- Verify motor mount screws are snug (recheck after initial power-up)
- Confirm motor direction—swap any two ESC wires to reverse rotation
- Install props correctly: Clockwise on motors 1 & 4, counter-clockwise on 2 & 3
- Perform range test (100 meters with antennas down)
- Conduct hover test in large open area—watch for vibrations
- Land and recheck all connections after first 10 seconds of flight
Time-Saver: Create a laminated checklist card that fits in your flight bag—missing one step could mean losing your drone forever.
Maintain Your LEGO Drone After Crashes
Every drone pilot experiences “fly-aways” and crashes—here’s how to recover:
Post-crash inspection:
– Check CA glue joints for hairline cracks
– Verify Technic beams for stress fractures (replace immediately)
– Inspect propellers for nicks—even small imperfections cause dangerous vibration
Battery safety protocol:
– Store at 3.8V per cell after flights
– Never charge inside the LEGO frame (fire hazard)
– Allow battery to cool completely between flights
Cleaning routine:
– Use compressed air to remove dust from electronics
– Never use water—moisture destroys exposed flight controllers
– Reapply CA glue to any stressed joints showing movement
Upgrade Your LEGO Drone Beyond Basic Flight
Once stable in the air, enhance your creation with these popular modifications:
FPV integration: Mount a micro camera inside the cockpit using a 3D-printed bracket
Night flying capability: Add addressable LED strips along the underside
Realistic landing gear: Build retractable legs with Technic linear actuators
Extended flight time: Upgrade to 1300 mAh 4S battery (recalculate center of gravity)
Document your modifications thoroughly—your innovations could solve problems for hundreds of other LEGO drone builders.
Final Flight Tips for LEGO Drone Success
Start with short hover flights in large open areas—LEGO frames are surprisingly durable but not indestructible. Master basic controls before attempting turns or climbs. Remember that every crash teaches you something new about both flying and LEGO engineering.
Your completed LEGO drone represents the perfect marriage of childhood creativity and modern technology. With careful construction and proper technique, those humble plastic bricks can indeed take to the skies—proving that sometimes, the best drones aren’t bought but built, one brick at a time. Now grab your transmitter, check your propeller clearance one last time, and prepare for takeoff!


