Landing an FPV drone feels nothing like parking a stable camera drone. These high-speed machines aren’t designed for gentle touchdowns—they’ll bounce, flip, or roll the moment they touch ground. Unlike DJI’s auto-landing systems, FPV quads demand your active intervention during every descent. Your success hinges on mastering the precise moment to cut power, as even slight timing errors turn controlled landings into prop-shattering disasters. This guide cuts through the confusion with battle-tested techniques that work whether you’re flying a 75mm whoop or a 5″ racing quad.
Most new pilots panic during final approach, either slamming the disarm too early or waiting until their drone is already bouncing. The truth? FPV drones inherently resist stable landings due to their lightweight frames and aggressive flight characteristics. But here’s the good news: you don’t need Instagram-perfect touchdowns. Consistent, controlled drops from inches above ground preserve your gear far better than chasing smooth landings. By the end of this guide, you’ll execute safe landings in under 30 practice sessions using methods proven by thousands of FPV pilots.
Execute Perfect FPV Drone Landing With Controlled Drop Method
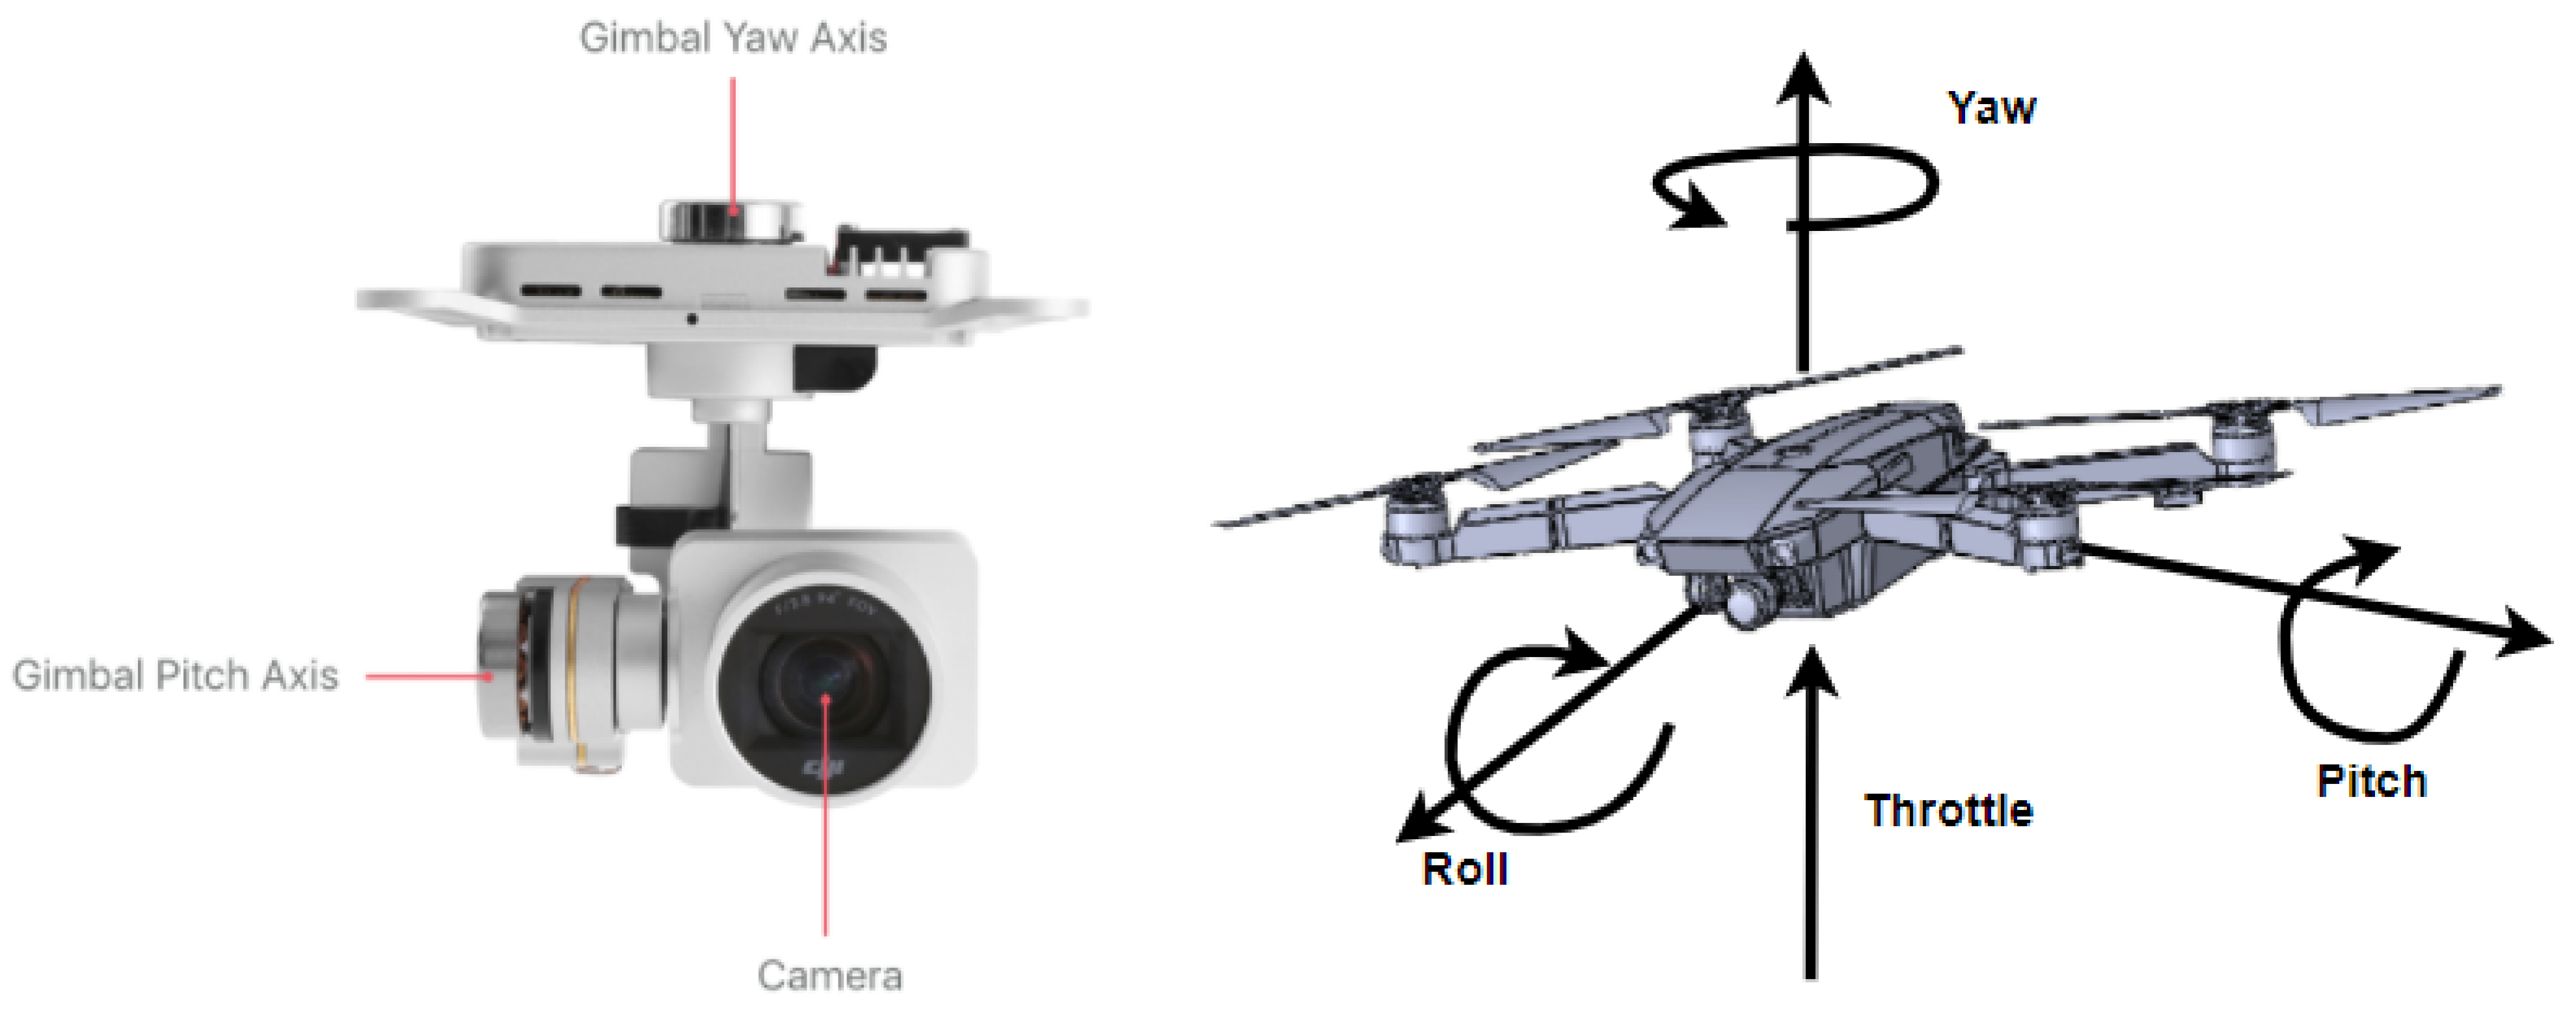
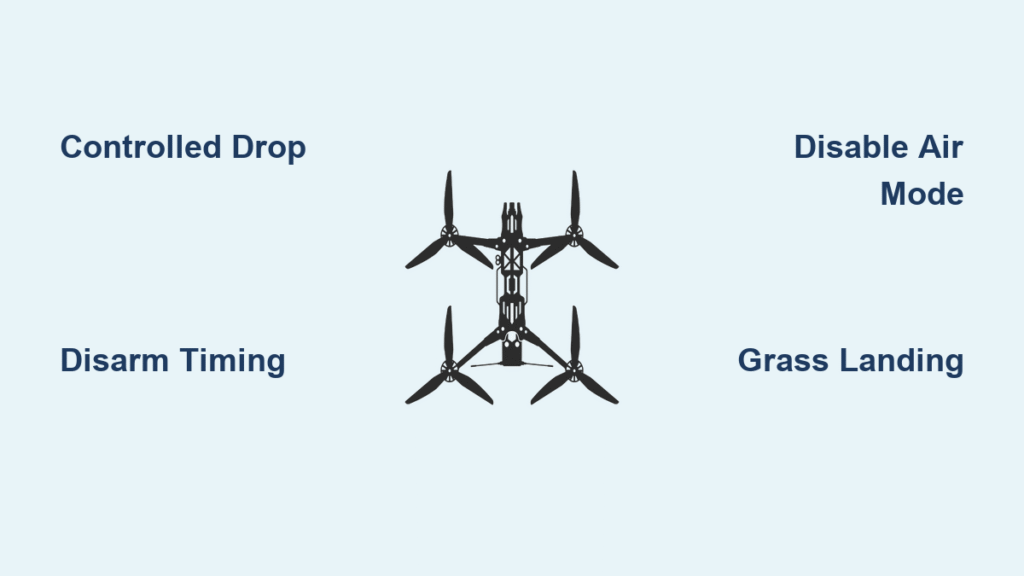
The controlled drop technique remains the undisputed champion for safe FPV landings across all skill levels. This method prioritizes equipment preservation over visual elegance by eliminating motor power at the critical moment of ground contact. Forget trying to “stick” landings like cinematic drones—your goal is a controlled descent ending with motors stopped before impact.
Position for Final Approach Hover
Begin your landing sequence by reducing altitude while simultaneously killing forward momentum. Your drone must achieve a stable hover 5-15 centimeters above the chosen landing spot. This hover position gives you complete altitude control while preventing dangerous drift during touchdown. Watch for visual cues: props should visibly disturb grass or dust, and your frame should appear just above surface level with zero forward movement. Never attempt landing while drifting—even slight horizontal motion causes catastrophic rollovers on contact.
Critical hover indicators before descent:
– Consistent ground wash visible beneath props
– Frame appears stationary relative to surface features
– No stick input required to maintain position
– Altitude holds steady without oscillation
Master Disarm Timing Within Critical Window
The difference between a safe landing and a destroyed quad lives in your disarm timing. With your drone hovering inches above ground, gradually reduce throttle until descent begins. At the exact moment before contact—literally 5-10 centimeters above surface—hit your disarm switch. Too early (from 30+ cm height) causes uncontrolled drops that crack frames. Too late (after contact) lets active motors flip your drone violently. Practice this timing until it becomes instinctive: your eyes track the drone’s descent while your thumb finds the disarm switch by feel.
Disarm timing consequences:
– ✅ Perfect: Motors cut 5-10cm above ground → gentle drop
– ❌ Too early: Drone falls from height → frame damage
– ❌ Too late: Motors active on contact → violent bounce/flip
Manage Surface Impact Energy
After disarming, let physics handle the rest. Your drone drops the remaining distance in near-level attitude, with surface type determining impact severity. Grass fields absorb tremendous energy through blade flex, forgiving minor timing errors. Concrete requires surgical precision since zero energy dissipation occurs. Crucially, the controlled drop works because motors are dead during actual ground contact—eliminating the primary cause of post-landing disasters. Accept that minor bounces happen; focus instead on ensuring no prop strikes occur during the drop phase.
Eliminate Air Mode Landing Catastrophes Immediately
Air Mode causes more FPV landing disasters than any other setting. This flight controller feature maintains full rotational authority even at zero throttle, keeping your quad responsive during acrobatics. But during landing, it transforms gentle touchdowns into violent bouncing episodes as motors fight ground contact. Fix this single configuration issue to instantly improve landing success rates.
Disable Air Mode Before Final Approach
Create a dedicated Air Mode switch on your transmitter’s right side for immediate access during descent. Toggle Air Mode OFF the moment you begin your landing sequence—not as you touch down. This prevents the flight controller from triggering motor corrections when your drone makes ground contact. Verify your switch assignment before every flight: many pilots accidentally leave Air Mode active during landing due to muscle memory from aerial maneuvers. Right-handed pilots particularly benefit from this setup as it keeps throttle control isolated to the left hand.
Air Mode landing protocol:
1. Initiate landing sequence at safe altitude
2. Toggle Air Mode OFF at 30cm hover height
3. Complete controlled drop without Air Mode active
4. Reactivate Air Mode only after successful landing
Adjust Air Mode Strength as Backup Solution
If you prefer keeping Air Mode active for other flight scenarios, reduce its authority through Betaflight settings. Lower the Air Mode strength parameter to minimize bouncing while preserving flight responsiveness. However, most experienced pilots recommend complete Air Mode disablement for landings—it’s the only way to guarantee motors won’t fight ground contact. This configuration tweak requires accessing your flight controller software, but prevents the violent bouncing that shatters arms on first-contact.
Build Precision Landing Skills With Cardboard Training

Developing pinpoint landing accuracy requires structured practice with measurable targets. The cardboard box method transforms abstract skills into concrete milestones while protecting your investment during the learning curve. This technique works because it focuses on throttle control and disarm timing—not visual presentation.
Implement Progressive Target System
Place a large cardboard box (minimum 60x60cm) on open grass and practice controlled drops into its center. Focus exclusively on smooth throttle reduction and perfect disarm timing rather than achieving “smooth” visual landings. As your consistency improves, systematically shrink target size: move to 45x45cm boxes, then 30x30cm pads, finally attempting 20x20cm precision zones. Each reduction forces finer control while maintaining the core controlled drop technique. Grass fields absorb errors during this progression, preventing prop damage from minor misses.
Training progression framework:
– Stage 1: Land inside 60x60cm box 10 consecutive times
– Stage 2: Repeat with 45x45cm target without bounce
– Stage 3: Achieve 8/10 landings on 30x30cm pad
– Stage 4: Master 20x20cm targets in calm conditions
Develop Landing Muscle Memory
Repeat identical landing approaches 10-15 times per session without changing angles or techniques. Your hands will naturally internalize the throttle curve and disarm timing through repetition. Most pilots achieve reliable landings within 20-30 practice sessions when focusing on this structured approach. Record your sessions to analyze throttle stick position and disarm timing—visual feedback accelerates improvement far beyond guesswork. Remember that perfect landings remain optional; consistent controlled drops protect your gear regardless of visual aesthetics.
Optimize Transmitter Setup for Landing Safety

Your controller configuration directly determines landing success rates. Poor switch placement forces awkward hand movements that compromise critical throttle control during final descent. Customize your transmitter layout to make landing sequences feel instinctive rather than stressful.
Configure Right-Side Arming Switch
Position your arming/disarming switch on the transmitter’s right side—this is non-negotiable for safe landings. This layout allows your left hand to focus exclusively on throttle management while your right thumb handles disarm timing. During final approach, your left hand makes micro-throttle adjustments to maintain hover height while your right thumb executes the disarm command without shifting grip. Right-handed pilots gain tremendous precision from this configuration, but left-handed pilots should mirror the setup for equal benefit.
Essential switch assignments:
– Right shoulder: Arming/disarming (primary landing control)
– Left shoulder: Air Mode toggle (disabled before landing)
– Rotary dial: Flight mode selection (avoid during descent)
Practice Blind Switch Operation
Spend 5 minutes before each flight practicing switch movements with eyes closed. Develop muscle memory for finding your disarm switch by feel alone—never look away from your FPV feed during final approach. Smooth, confident switch operation prevents accidental disarms mid-flight while ensuring instant access during critical landing moments. Test this skill during pre-flight checks: with motors spinning, verify you can toggle switches without visual confirmation.
Select Landing Surfaces That Protect Your Investment
Surface choice dramatically impacts landing difficulty and crash consequences. Smart terrain selection accelerates learning while shielding your quad from unnecessary damage—especially during the critical first 20 landings.
Prioritize Short Grass Landing Zones
Grass fields provide unmatched impact absorption during FPV landing practice. Choose areas with grass under 10cm height for consistent surface contact and clear visual references. Tall grass hides obstacles and creates uneven resistance that flips drones on contact. Verify landing zones for hidden hazards: walk the area first to check for rocks, holes, or debris. Maintain minimum 20×20 meter clear spaces to allow recovery from landing errors without obstacle strikes.
Surface safety checklist:
– Grass height below 10cm (mowed lawns ideal)
– No visible rocks, sticks, or depressions
– Consistent texture across entire landing zone
– Minimum 20m clearance from all obstacles
Avoid Hard Surfaces Until Mastery
Never practice landings on concrete, asphalt, or packed dirt until you’ve mastered grass landings. These surfaces offer zero impact absorption, turning minor timing errors into catastrophic damage. Even experienced pilots reserve hard-surface landings for specific scenarios—they’re not training grounds. Progress to harder surfaces only after achieving 15 consecutive successful grass landings. Start with packed dirt as an intermediate step before attempting asphalt, and never attempt concrete landings until you’ve logged 50+ controlled drops.
Diagnose and Fix Landing Failures Instantly
Understanding failure patterns transforms landing disasters into learning opportunities. Most FPV landing issues stem from just three root causes—address these to eliminate 90% of problems.
Stop Bouncing After Ground Contact
Violent bouncing exclusively indicates Air Mode interference or late disarm timing. Immediately verify your Air Mode switch position—most bounce incidents occur because pilots forget to disable it before landing. If Air Mode is correctly disabled, practice disarming 5cm earlier during descent. Also inspect props for damage; bent blades create uneven thrust that triggers bouncing even with perfect timing. Replace any prop showing stress marks before next flight.
Bounce emergency protocol:
1. Confirm Air Mode is OFF
2. Disarm 5cm higher during next attempt
3. Check all props for bends/cracks
4. Land on taller grass to absorb bounce energy
Prevent Uncontrolled Flipping Episodes
Flipping occurs when uneven ground contact combines with active motors. Ensure landing surfaces are perfectly level—small inclines or debris cause one arm to touch first, triggering flips. Add landing gear to your quad if flying on rough terrain; the extra clearance provides more stable ground contact points. During approach, maintain absolute zero forward momentum; even slight drift guarantees one-side-first contact that flips your drone.
Final FPV Landing Mastery Principles
Mastering FPV landings requires accepting that controlled drops beat “smooth” landings every time. Professional pilots regularly bounce landings but control every aspect of the touchdown process. Focus your practice on throttle finesse and disarm timing rather than visual perfection—your equipment will handle 10-15cm controlled drops indefinitely. Every crash-free landing represents success, regardless of how it looks on video. With consistent practice using these techniques, you’ll develop the muscle memory needed for safe landings in any condition. Remember: FPV drones withstand minor impacts and grass tumbles by design—prioritize controlled power cutoff over aesthetic landings, and your repair bills will thank you.
