Watching your drone drift sideways into a tree during landing stings more than any mid-flight crash—because you know you were inches from success. A botched landing can turn a $1,200 investment into repair bills before you even pack up. Whether you’re flying a DJI Air 2S or a legacy Phantom 4, mastering how to land a drone demands technical precision and environmental awareness. This isn’t about luck; it’s about executing repeatable techniques that prevent props from snapping on uneven terrain or motors from surging in ground effect. By the end of this guide, you’ll know exactly how to land your drone safely in wind, on slopes, or with uncooperative sensors—transforming nerve-wracking touchdowns into confident shutdowns.
Perfect Landing Site Setup
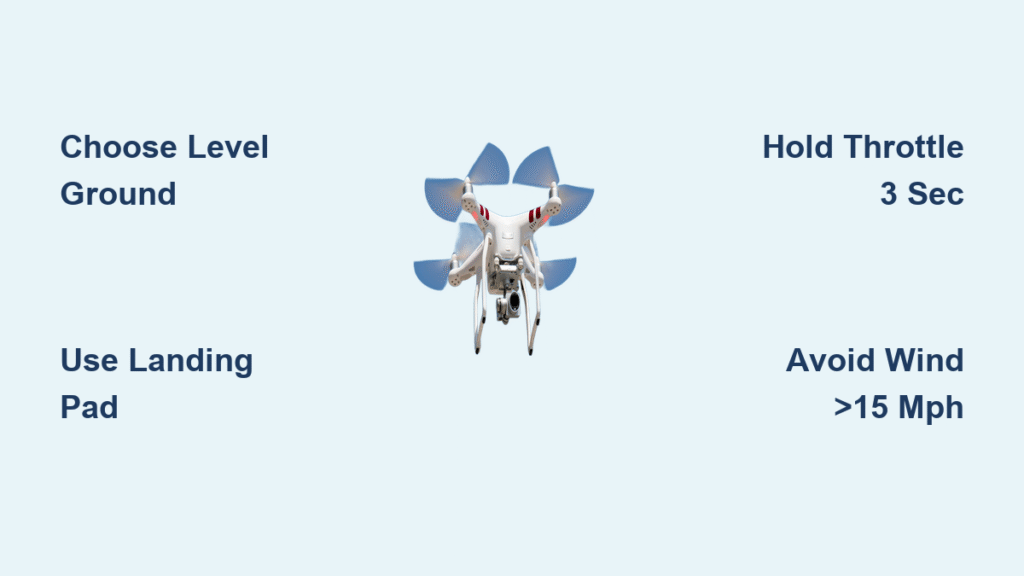
Skip the grass patch gamble—your drone demands a surgical landing zone. Clumpy turf or loose gravel creates tipping hazards that can crack landing gear or throw off gimbal calibration. Always choose clean, dry, level ground free of debris within a 3-meter radius. Even a plastic bag drifting into spinning props during descent can cause catastrophic imbalance.
Deploy a landing pad as your drone’s safety net. Commercial pads (50 cm diameter) cost under $30 and provide critical visual reference points. For DIY solutions, stack two $5 yoga mats and tape a bright target sticker to the center. This creates a stable, debris-deflecting platform that prevents dirt from scouring propeller edges during touchdown.
Scout for hidden threats before descent. Crouch to eye-level with your drone’s sensors—check for subtle slopes, hidden rocks, or drainage ditches invisible from standing height. Uneven terrain under one skid causes dangerous torque during shutdown, potentially shearing motor mounts.
Master Aerodynamic Hazards

Why Your Drone Suddenly Drops During Descent
Vortex ring state isn’t theoretical—it’s the silent crash culprit. When descending faster than your drone’s propellers can push air downward (typically >3 m/s), the aircraft sinks into its own turbulent wake. This creates sudden lift loss that feels like hitting an invisible pothole. If your drone wobbles violently or accelerates downward unexpectedly, ease off the throttle immediately—never fight it with more stick input.
Ground Effect’s Bounce-Back Trap
That last foot of descent lies to you. Within one rotor diameter of the ground (1-2 feet for most drones), air can’t escape efficiently beneath the craft. This compressed airflow creates artificial lift, making your drone hover stubbornly or bounce upward on contact. Stabilize at 2-3 feet for 5 seconds before final descent—this lets turbulence dissipate so you feel true weight-on-wheels feedback.
Standard Manual Landing Steps
Center above your target at 0.5m—no lower. This height keeps you above ground effect while staying within visual positioning system (VPS) limits. Use micro-adjustments on the right stick to eliminate drift; if your drone drifts 4-5 inches sideways here, it’ll miss your pad entirely on touchdown.
Descend like you’re lowering a fragile vase. Pull the left throttle stick down with deliberate slowness—your descent should take 8-10 seconds from 0.5m. Rushing this phase triggers vortex ring state or hard impacts that jar internal sensors. Watch the skids compress on contact; if they barely flex, you’re descending too fast.
Hold throttle down for 3 seconds after touchdown. Motors need this window to fully disarm via the flight controller’s “no movement” detection. Never yank the stick upward—this can reignite motors mid-tilt, sending props into the ground during shutdown.
Model-Specific Landing Requirements
DJI Air 2S & Mavic Series: Bypassing the 0.5m Barrier
VPS halts descent at 0.5m—your move. Newer DJI drones won’t descend below this height manually. For calm conditions: Tap the auto-land button for flawless final descent. When wind exceeds 10 mph: Hold throttle fully down for 2 seconds while keeping the right stick centered. This overrides VPS—practice this sequence blindfolded until it’s muscle memory.
Activate precision landing for inch-perfect returns. Before your first flight, ascend straight up to 7+ meters before lateral movement. The drone photographs your takeoff point and lands within inches during RTH. Check page 16 of your manual—this feature fails if you skip the vertical climb.
Phantom 4: Manual Control Pitfalls
Full descent control demands discipline. Unlike Mavics, Phantoms let you fly to the ground—but this invites dangerous over-control. After touchdown, execute CSC (both sticks inward/down) to instantly kill motors. Critical warning: Phantom pilots switching to Mavics often accidentally CSC mid-descent, causing crashes. Re-train your muscle memory when changing models.
Advanced Landing Techniques

Hand Landing: When Ground Contact Isn’t an Option
Lower to shoulder height (4-5 feet) first. This keeps props clear of your body while maintaining visual contact. Approach from the drone’s side—never from above—to avoid accidental prop strikes.
Grasp the landing gear firmly with your non-dominant hand while simultaneously pulling the throttle stick fully down. Feel for the motor shudder stopping before releasing grip. Only attempt this in near-zero wind; a sudden gust during hand contact can slam spinning props into your arm.
Wind Compensation Strategies
Counteract drift before it ruins alignment. At 0.5m hover, use the right stick to make micro-corrections—think “steering a shopping cart,” not aggressive gaming inputs. If wind exceeds 15 mph, enlarge your target zone to 1 meter square using a tarp or extra landing pad. This gives drift margin without sacrificing safety.
Abort and climb if crosswinds exceed 20% of your drone’s max speed. For DJI models, throttle up during RTH landing to regain control. Never force a landing when the aircraft visibly fights wind—your battery buffer (20% minimum) exists for these go-arounds.
Post-Landing Safety Protocol
Follow shutdown in strict sequence: Motors stop → Power off aircraft → Remove battery → Power off controller → Engage gimbal lock. Skipping steps risks “zombie mode”—where residual power causes unexpected motor spins during transport.
Inspect props for hairline cracks under bright light. Even minor nicks create vibration that misaligns gimbals on your next flight. Check landing gear struts for bending—straightened metal fatigues faster, leading to collapse mid-landing.
Quick Landing Decision Guide
| Your Situation | Best Method | Critical Actions |
|---|---|---|
| Calm day, clear pad | Auto-land button | Hold throttle down 3 sec after touch |
| Wind >10 mph | Hand landing | Approach from side, kill throttle simultaneously |
| Uneven terrain | Enlarged DIY pad | Stack mats, add weighted edges |
| VPS malfunction | Full manual + CSC | Only in emergency, check Phantom manual |
| Switching models | Precision RTH | Reset muscle memory for each flight |
Never skip the 20% battery buffer—this provides time for 2-3 landing attempts if wind shifts. And remember: throttle up always overrides automated landings. Your manual control authority is the ultimate safety net when algorithms fail.
Mastering how to land a drone separates casual hobbyists from reliable pilots. Start practicing these techniques in ideal conditions: perfect your hover stabilization at 0.5m, drill the throttle-hold shutdown, and memorize VPS override sequences. Each flawless landing extends your drone’s lifespan by preventing cumulative impact damage to motors and sensors. When you can land confidently in 15 mph gusts or on a moving boat deck, you’ve earned the right to call yourself a pilot—not just a remote operator. Now go practice: your next flight’s success begins the moment you plan where it ends.


