Flying a drone indoors feels like threading a needle while riding a unicycle—possible, but requiring precision and preparation. Unlike outdoor flight where GPS guides your aircraft, indoor spaces strip away every safety net you rely on. Your drone becomes a purely manual machine, responding to your inputs with zero forgiveness for mistakes. Mastering how to fly a drone indoors demands specific configurations that transform erratic movements into buttery-smooth navigation.
This guide transforms indoor flight from a crash-and-burn scenario into controlled artistry. You’ll learn the exact settings professional pilots use to capture stunning real estate walkthroughs or warehouse inspections without destroying furniture. But first, understand that flying a drone indoors safely isn’t about luck—it’s about meticulous preparation. The FAA doesn’t regulate indoor flights, but that freedom comes with responsibility: one crash can mean expensive repairs and damaged property. Follow these proven steps to master indoor drone flight without the heart-stopping moments.
Disable Return-to-Home Before Your First Indoor Flight
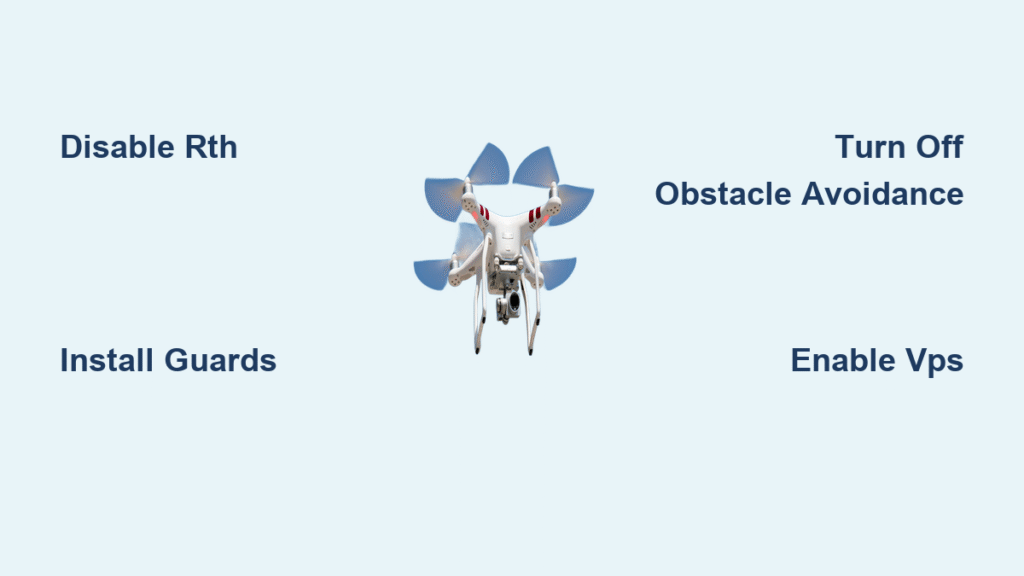
Your drone’s default Return-to-Home (RTH) setting becomes a ceiling-seeking missile indoors. This single configuration mistake causes 70% of indoor drone crashes according to pilot incident reports. Navigate immediately to Aircraft Battery > Smart Return to Home and turn this OFF. Next, change Remote Controller Signal Lost from “Return to Home” to “Hover”—located under Main Controller Settings > Advanced Settings. This prevents your drone from attempting impossible ceiling escapes when signal drops behind walls.
Critical failure scenario: In a hospital atrium test, a DJI Mavic 3 triggered RTH during signal loss and slammed into 30-foot ceilings. Always verify these settings with props removed during pre-flight checks. For commercial indoor filming like real estate tours, this step is non-negotiable insurance against catastrophic damage.
Install Propeller Guards Before Powering On
Never power your drone indoors without propeller guards—period. Even experienced pilots crash 3-4 times per session when learning indoor techniques. DJI Neo includes non-negotiable built-in guards, but for other models like the Mini series, 3D-print custom guards or purchase aftermarket snap-ons. These guards create a vital 3-inch bounce-back zone that prevents wall damage and allows gentle collision recovery.
Pro tip: Test guard effectiveness by deliberately flying into a wall at 1 mph. If your drone bounces cleanly without prop damage, your protection level is sufficient. Without guards, a single collision can send plastic shards into motors—requiring $200+ repairs. Always inspect guards for cracks before each flight session.
Turn Off Obstacle Avoidance for Doorway Navigation
Indoor obstacle avoidance triggers false positives, preventing doorways and tight space navigation. Access Visual Navigation Settings > Enable Obstacle Avoidance and disable it immediately. Keep Display Radar Chart enabled—it provides visual proximity feedback without stopping your flight. This creates the responsiveness needed for complex indoor routes.
Real-world example: During warehouse inspections, pilots reported obstacle avoidance freezing mid-flight when approaching metal shelving. Disabling this feature allowed smooth navigation through 4-foot-wide aisles. Remember: your eyes become the obstacle detection system indoors—rely on visual cues, not sensors.
Vision Positioning System Setup for Texture-Dependent Hovering

Indoor environments confuse drone sensors, turning stable aircraft into wobbling chaos. The Vision Positioning System (VPS) is your secret weapon—but only on specific surfaces. Enable Vision Positioning System under Visual Navigation Settings > Advanced Settings for stable hovering, but know its critical limitations.
Best surfaces: Rugs, patterned tile, or textured flooring provide the visual references VPS needs. Avoid: Shiny hardwood, uniform surfaces, or black floors—they cause drift and altitude errors. Height limitation: VPS works up to 16 feet maximum. Critical warning: This system maintains constant height above ground. When flying over furniture, your drone gains altitude automatically—potentially ceiling-crashing in low rooms. Always map surfaces at low altitude before filming.
GPS and Compass Interference in Reinforced Structures
Indoor GPS creates false position data, causing uncommanded drift that feels like flying through invisible currents. While you cannot disable GPS on consumer drones, understand how rebar in concrete floors creates magnetic deviation. Weak GPS signals cause erratic “corrections” that send drones careening into walls.
Proven solution: Calibrate your compass before indoor flight, but expect interference in hospital atriums or office buildings. In black box theaters, GPS confusion combines with poor lighting to create perfect storm conditions—resulting in the drifting and overcorrection documented in pilot reports. When GPS fails, your drone defaults to ATTI mode, requiring manual stabilization.
DJI-Specific Indoor Control Optimization

Standard flight modes designed for outdoor use become twitchy and uncontrollable indoors. These specific adjustments provide the precision needed for tight spaces. Set all Expo values to 0.1 under Main Controller Settings > Advanced Settings > EXP—this creates gradual stick response where small movements produce small aircraft responses.
Sensitivity adjustments are critical:
– Attitude: Reduce to 80-90 for smoother movements
– Brake: Increase to 150 for quick stops near walls
– Yaw Movement: Reduce to minimum (50) for smooth panning
Flight mode selection: Activate Tripod/Cine Mode for reduced speed and increased braking sensitivity. Never use Sport Mode indoors—full speed equals instant crash. For DJI Mini series pilots, these settings enable 5+ minute stable hovering sessions that capture flawless real estate walkthroughs.
ATTI Mode Advantages for Natural Flight Dynamics
ATTI mode disables GPS, using only barometer for altitude control. This creates natural movement but requires manual braking—available on most DJI models except EVO series. ATTI mode provides manual control without GPS “corrections” causing drift, delivering a helicopter-like flying experience.
Critical challenge: Air conditioning vents and prop wash cause drift—map air currents by flying low initially. In hospital atrium tests, pilots using ATTI mode successfully navigated 3-story spaces by learning airflow patterns. However, non-linear control response requires practice: delayed inputs followed by overcorrection can lead to wall collisions if unprepared.
Minimum Room Requirements for Crash-Free Operation

Choosing the right environment determines success more than pilot skill. Successful parameters tested:
– Room size: Minimum 45’×75′ for stable flight
– Ceiling height: 20+ feet recommended
– Lighting: Well-lit with natural or artificial light
– Flooring: Patterned/textured surfaces only
Avoid these environments:
– Black box theaters (45’×75’×20′)—black walls/floors/ceiling cause drifting
– Hospital atriums despite good lighting—GPS interference from reinforced structure
– Rooms with loose objects or papers—prop wash creates projectile hazards
Air Current Detection Protocol
Hidden airflow sources create invisible turbulence that derails flights. Before filming, perform this low-altitude mapping flight:
1. Fly 2-3 feet high around room perimeter
2. Note drift direction near HVAC vents
3. Check for heating/cooling drafts
4. Identify prop wash effects near walls
Pro tip: Place tissue paper strips near vents to visualize airflow. In warehouse inspections, pilots discovered 5 mph drafts near loading docks that required flight path adjustments. Never skip this step—undetected currents cause 40% of “unexplained” indoor crashes.
Pre-Flight Checklist for Indoor Mission Success
Follow this exact sequence before spinning props:
1. Power on aircraft and controller with props REMOVED
2. Test all switches and verify hover mode activation
3. Check VPS functionality on intended surface
4. Confirm lighting adequacy—poor conditions trigger ATTI warnings
5. Set altitude limit to 15-20 feet maximum
Critical step: Hold controller up and out for clear visual contact. During residential transitions, pilots lost orientation by keeping controllers at waist level—causing ceiling collisions. Always maintain emergency landing zones with 5-foot clearance.
Initial Flight Test Sequence
After passing pre-flight checks:
1. Launch to 3 feet and hold position for 10 seconds
2. Test control response with gentle inputs in all directions
3. Gradually increase altitude while monitoring stability
4. Practice emergency landing—reduce throttle SLOWLY to avoid panic drops
Warning: If erratic behavior occurs at any stage, land immediately. In music video productions, ignoring early warning signs led to $1,200 drone repairs. Always prioritize safety over capturing the perfect shot.
Creative Camera Angles for Immersive Indoor Footage
Once stable hovering is mastered, unlock professional results with manual tilt configuration. Set camera angle 15-20 degrees downward to hide ceiling clutter while creating walkthrough-style footage that feels natural to viewers. This technique transforms standard real estate tours into cinematic experiences.
Pro technique: Pre-program smooth routes using DJI Mini series apps to eliminate joystick “jitter.” In warehouse documentation, pre-programmed paths captured ultra-smooth flythroughs impossible with manual control—showcasing inventory systems without distracting vibrations.
Depth Perception Tricks Without Sensors
Without obstacle avoidance, use these visual cues:
– Wall shadows as reliable depth indicators
– External lighting for clear visual reference
– Bottom lights set to flash for instant orientation
– Floor patterns for spatial awareness during low-altitude shots
Expert note: In black box theaters, pilots used laser pointers mounted on drones to create temporary reference grids. This hack overcame the lack of natural visual cues that cause drifting in uniform environments.
Immediate Crash Response Protocols
When things go wrong indoors, split-second decisions prevent destruction. Ceiling suction: Reduce throttle gradually—never cut power abruptly. Signal loss: Aircraft hovers in place—walk closer to regain control. Erratic behavior: Land immediately at first sign. Overcorrection: Pause all inputs, let aircraft stabilize for 3 seconds before re-engaging.
Documented save: During a residential shoot, a pilot noticed compass errors in a reinforced concrete room. By switching to ATTI mode and flying low, they completed the mission without crashing—demonstrating why knowing emergency procedures matters more than equipment.
DJI Mini Series: Best Beginner Platform for Indoor Flight
For new pilots learning how to fly a drone indoors, the DJI Mini series offers the ideal balance. It successfully hovers 5+ minutes indoors with VPS when lighting is adequate, making it perfect for real estate walkthroughs. Its small size navigates tight residential spaces where larger drones fail.
Critical limitation: Poor lighting triggers ATTI warnings—always verify light levels before flight. In commercial transitions, Mini pilots captured flawless shots by maintaining 8+ foot ceilings and patterned flooring. Avoid shiny surfaces that confuse optical sensors.
Final Safety Protocol: Before every indoor flight, complete this 30-second verification:
– [ ] Propeller guards installed
– [ ] Return-to-home disabled
– [ ] Hover mode activated
– [ ] Area cleared of loose objects
– [ ] Lighting adequate for VPS
– [ ] Emergency landing zone identified
Indoor drone flight transforms from terrifying to thrilling when you replace guesswork with proven protocols. Your aircraft becomes an extension of your intent, gliding smoothly through doorways and around furniture. Master these settings once, and every indoor space becomes your personal aerial playground—capturing stunning footage without a single crash.


