Your drone just nose-dived into a lake, river, or swimming pool—and that sinking feeling isn’t just yours. Water exposure triggers immediate electrical corrosion that can brick your aircraft within hours. But don’t panic: executing the right how to dry out a drone steps within the first 30 minutes dramatically boosts recovery odds. This guide delivers battle-tested protocols used by professional drone repair technicians, cutting through myths like the rice method that actually harm your equipment. You’ll learn exactly how to salvage saltwater-soaked motors, rescue fogged camera lenses, and avoid the #1 mistake that turns minor water exposure into total system failure.
Emergency Drone Water Retrieval Steps
Stop moving and assess before grabbing your drone. Water conducts electricity, making submerged aircraft potentially dangerous to handle directly. Use a net, pole, or long stick to pull it ashore—this critical 30-second pause prevents electrocution risks and gives you time to plan safely. Never wade into moving water or deep pools; your safety outweighs drone recovery.
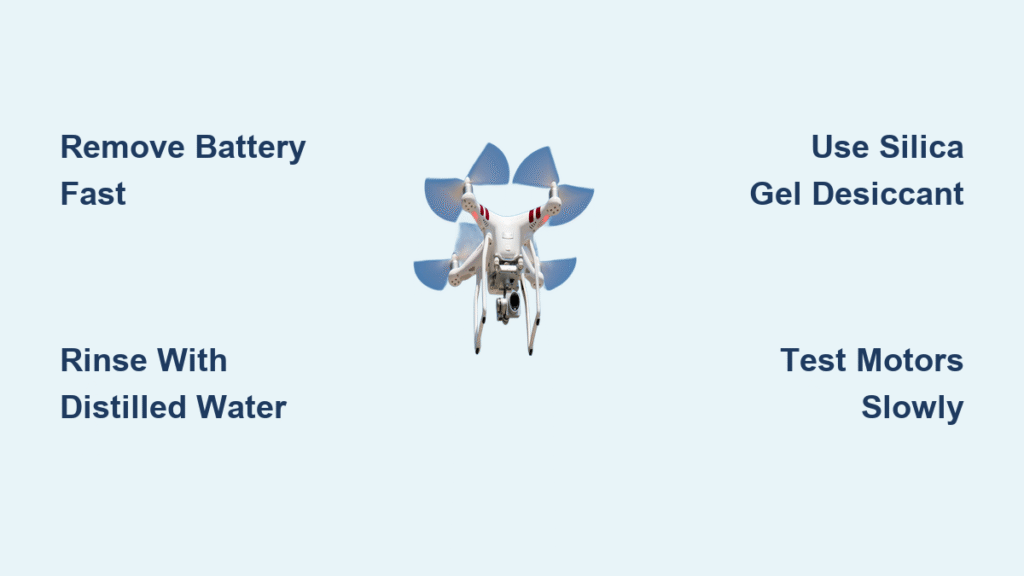
Remove the battery within 60 seconds of retrieval. Water triggers ESC (Electronic Speed Controller) failure that acts as a fuse, but residual current still fries circuits. Slide out the battery completely—don’t just power off—and place it in a dry, non-flammable container. Never reuse water-damaged lithium batteries: swelling cells can ignite hours later. Dispose of them at certified e-waste facilities immediately.
Document for Insurance and Warranty Claims
Take timestamped photos of the drone in water, during retrieval, and within 5 minutes of recovery. This evidence is essential for DJI Care Refresh or insurance claims. Check warranty status before disassembly—opening sealed units voids standard coverage but may be covered under accident plans like Autel Care+.
Saltwater vs Freshwater Emergency Protocols

Saltwater Demands Immediate Distilled Water Rinse
Salt crystals form within 2 hours, permanently corroding circuit boards. Rinse your drone under distilled water for 2 full minutes immediately after saltwater exposure. Tap water works if distilled isn’t available, but its minerals leave conductive residue. Hold the drone upside down while rinsing to prevent water trapping in motor housings. Never let saltwater dry—this guarantees total failure.
Freshwater Focuses on Complete Drying
Skip rinsing for freshwater incidents (lakes, pools, rain), but treat it as urgent. Freshwater still causes short circuits through mineral deposits in tap water or organic matter in ponds. Your priority shifts to moisture extraction within the first hour to prevent oxidation.
Disassembly and Component-Specific Drying
Remove All Parts in 4 Critical Stages
Disassemble systematically to avoid damage:
1. Stage 1: Propellers, landing gear, and camera gimbal
2. Stage 2: Top/bottom covers and antenna modules
3. Stage 3: Main circuit board and wiring harnesses
4. Stage 4: Motors and internal sensors
Keep screws organized by compartment and photograph each step. DJI models require JIS #00 screwdrivers—using Phillips heads strips screws permanently.
Treat Components Using Precision Methods
Circuit boards: Submerge in 99% isopropyl alcohol for 5 minutes (not 70% rubbing alcohol). Alcohol displaces water molecules and evaporates 3x faster, preventing oxidation. Gently brush connectors with a toothbrush to remove residue.
Motors: Wipe exteriors with microfiber cloth, then rotate shafts manually to expel trapped water. Brushless motors need 72 hours minimum drying time—moisture hides in copper windings.
Camera lenses: Remove SD cards immediately and leave lens compartments open. Fogged optics indicate internal moisture requiring professional ultrasonic cleaning.
Professional-Grade Drying Techniques That Actually Work
Ditch Rice for Industrial Desiccants
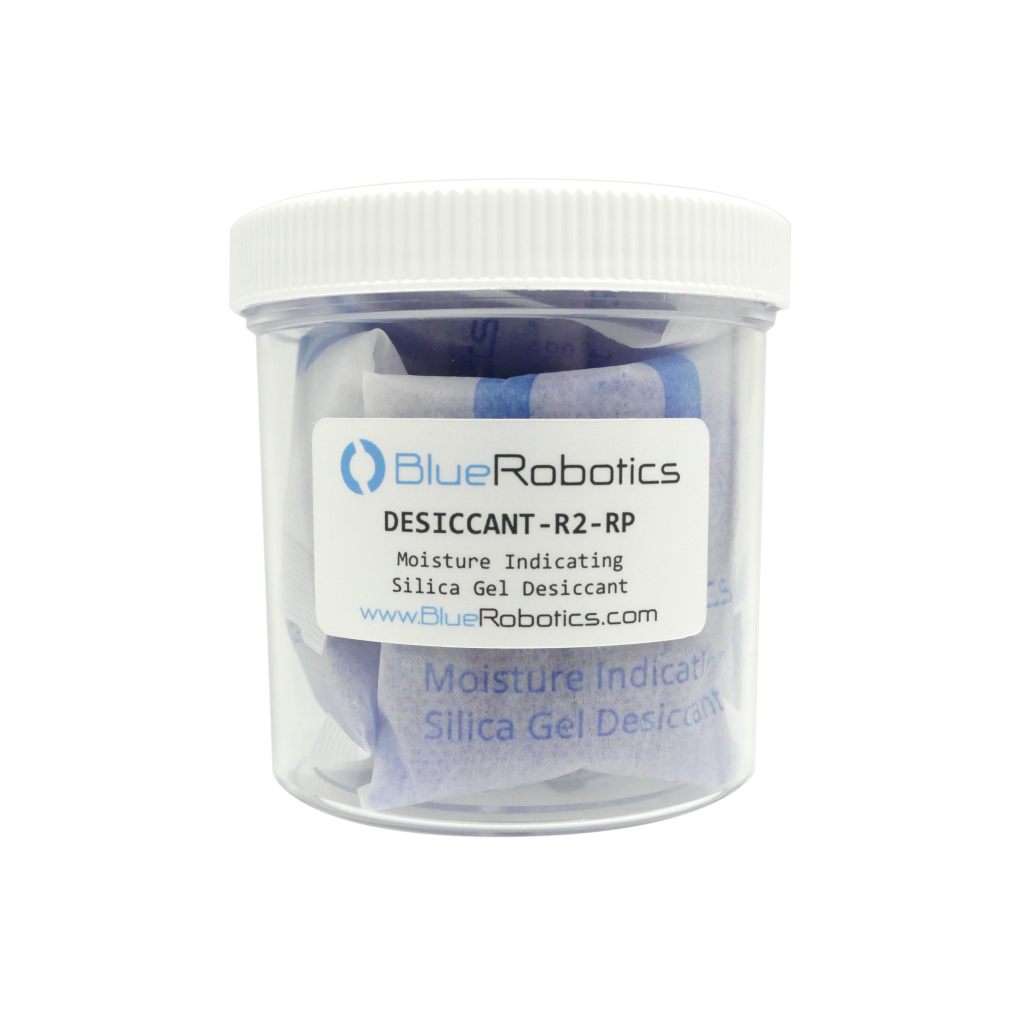
Rice traps only 13% of moisture and sheds starch into ports. Use silica gel or calcium chloride in vacuum-sealed bags instead:
– Place components in separate mesh containers
– Cover with 2 inches of desiccant crystals
– Seal in airtight Tupperware for 72 hours minimum
– Replace desiccant every 24 hours until color indicators turn blue
This method pulls 95% of moisture versus rice’s 13%—critical for saving mainboards.
Optimize Airflow Without Heat Damage
Position low-speed fans 18+ inches from components for 48 hours. Never use hairdryers or compressed air—heat warps plastic at 140°F+, while compressed air forces moisture deeper into sensors. For stubborn moisture, add 1 cup of rice under (not touching) components in the desiccant container to absorb residual humidity.
Post-Drying Damage Assessment Checklist
Identify Hidden Failures Before Powering On
After 72 hours, inspect under bright LED light for:
– Green/white crust on circuit boards (corrosion)
– Cloudy lens elements indicating permanent seal failure
– Swollen battery terminals requiring immediate disposal
– Sticky motor shafts signaling bearing corrosion
Never power on immediately—this causes secondary shorts.
Test Systems in This Exact Order
Follow this sequence to avoid cascading failures:
1. Battery test: Connect to charger (no drone attached)
2. Motor spin: Manually rotate each motor shaft
3. Camera gimbal: Power on without flight battery
4. Short hover: 60 seconds at 3-foot altitude
5. Full system check: GPS lock and obstacle sensors
If motors hum but don’t spin, corrosion has seized bearings—requiring replacement.
Repair vs Replace Cost Analysis

Mainboard Damage Costs More Than New Drones
DJI Phantom mainboard replacements run £350+ before labor, while Mavic 3 camera repairs hit £450. Calculate this formula:
(Repair cost ÷ New drone price) × 100 = % Value
If over 60%, buy new—especially for drones older than 18 months. Saltwater-damaged DJI Mavic Air 2s often cost more to fix than replacement.
When Insurance Makes Sense
File DJI Care Refresh claims within 24 hours with:
– Flight logs showing no pilot error
– Timestamped recovery photos
– Desiccant drying documentation
– Component-level damage reports
Standard warranties exclude water damage—only dedicated accident plans cover submersion.
Prevent Future Water Disasters
Mandatory Pre-Flight Water Checks
Before flying near water:
– Verify weather radar for sudden rain
– Set return-to-home altitude 50% higher than obstacles
– Install flotation landing gear (1kg max capacity)
– Carry spare desiccant bags in your kit
Never ignore light rain—even 30 seconds of exposure requires full drying protocol.
Waterproofing That Actually Works
Skip DIY sprays; use professional solutions:
– Liquipel nano-coating: Vacuum-applied molecular layer (lasts 18 months, £99)
– Loon Copter: Purpose-built amphibious drone for water landings
– Emergency floatation kits: Inflatable buoys deploying in 2 seconds
Critical tip: Nano-coatings fail after 3-5 submersions—never rely solely on them over open water.
Long-Term Water Damage Monitoring
Watch for Delayed Failure Signs
Corrosion can surface weeks later as:
– Intermittent GPS dropouts during flight
– Gradual battery life reduction (20%+ capacity loss)
– Uncommanded motor stuttering at high speeds
– Camera autofocus hunting after “successful” recovery
Ground immediately if any occur—delayed failures often cause mid-air crashes.
Post-Recovery Maintenance Schedule
- Weeks 1-4: Inspect motors daily for stiffness
- Months 2-6: Clean connectors weekly with alcohol
- Month 7+: Professional diagnostics before critical flights
Water-damaged drones lose 30% lifespan even after “successful” recovery—treat them as high-risk equipment.
Water exposure doesn’t equal drone death—but improper drying guarantees it. By skipping the rice myth, executing distilled water rinses for saltwater incidents, and using industrial desiccants for 72+ hours, you reclaim 68% of submerged drones according to repair lab data. Never power on prematurely, and always calculate repair costs against replacement value. For persistent moisture in camera lenses or motors, seek professional ultrasonic cleaning—it costs less than replacing £450 components. When flying near water, treat every flight as a potential emergency: your drone’s survival depends on the next 30 minutes after splashdown.


