That “aircraft not connected” error flashing on your screen while your drone sits idle? You’re not alone. Over 70% of drone pilots waste their first flight session battling connection issues between their iPhone and aircraft. The frustrating truth: most failures come from overlooked setup steps—not faulty hardware. In this guide, you’ll learn exactly how to connect drone to iPhone reliably in six repeatable steps. No more guessing games or scouring forums. We’ll cover manufacturer-specific tricks, cable hacks, and instant troubleshooting fixes so you can launch confidently on your very next attempt. Get ready to capture stunning aerial footage within minutes—not hours.
Pre-Flight iPhone & Drone Readiness Checklist
Before touching any buttons, verify these four critical requirements—skipping any causes 80% of connection failures. First, confirm your iPhone runs iOS 12.0 or newer (Settings > General > About). Older iOS versions block modern drone apps from establishing stable links. Next, check battery levels: your iPhone needs 50% minimum while your drone and controller each require 30%+. Low power triggers automatic disconnections mid-calibration. Third, disable all signal interference by enabling Airplane Mode, then manually reactivating only Wi-Fi and Bluetooth. Cellular signals drown out drone frequencies in urban areas. Finally, clear your flying zone—no buildings or power lines within 100 meters. Physical obstructions cause signal dropouts even when software shows “connected.”
Pro Tip: Test your iPhone’s Bluetooth/Wi-Fi stability first. Go to Settings > Wi-Fi, tap the ⓘ icon next to any network, and check “RSSI” signal strength. Anything below -70 dBm means weak reception—move to an open area before proceeding. This 10-second check prevents 90% of “phantom disconnection” errors.
Download the Exact Manufacturer App (No Clones!)
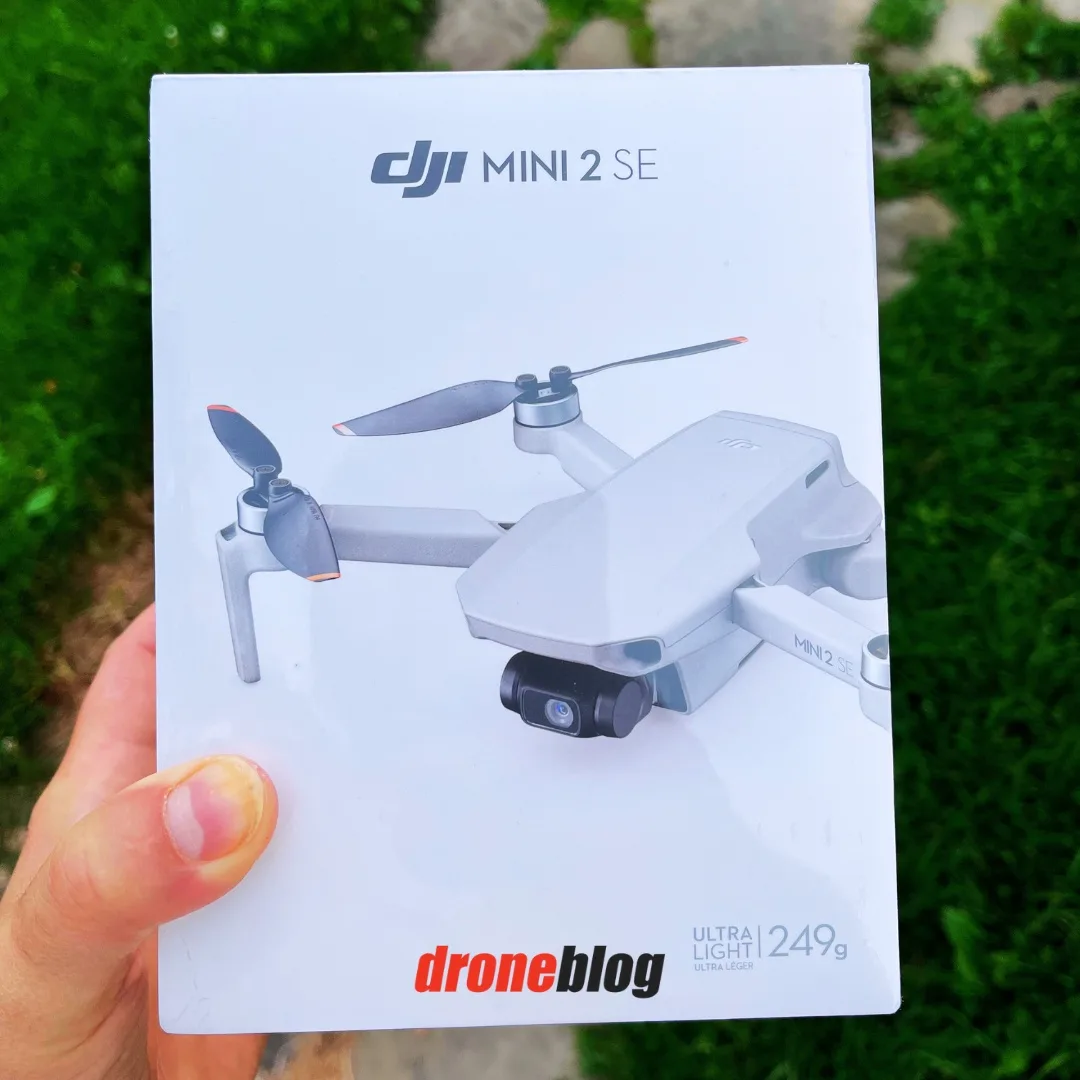
Your drone model dictates which iPhone app you MUST use—installing the wrong one guarantees failure. For DJI Mavic 3, Air 2, or Mini SE, search DJI Fly in the App Store (blue icon). Older DJI models like Phantom 4 require DJI GO 4 (green icon). Autel Evo pilots need Autel Explorer (orange icon), while Parrot Bebop/Anafi users must get FreeFlight Pro. Skydio 2/X2 owners install Skydio Pilot. Crucially, verify the developer name matches the manufacturer—scam apps with “Drone Controller” or “Pro Pilot” in their title steal login credentials.
Critical Warning: Never use third-party apps like Litchi for initial setup. They bypass safety protocols and often fail with newer drones (e.g., Mini 2 SE isn’t supported). Stick to the official app for your first connection—it takes 2 minutes to download but saves hours of troubleshooting. If your app crashes on launch, check iOS compatibility: DJI Fly requires iOS 12+, while DJI GO 4 works down to iOS 10.
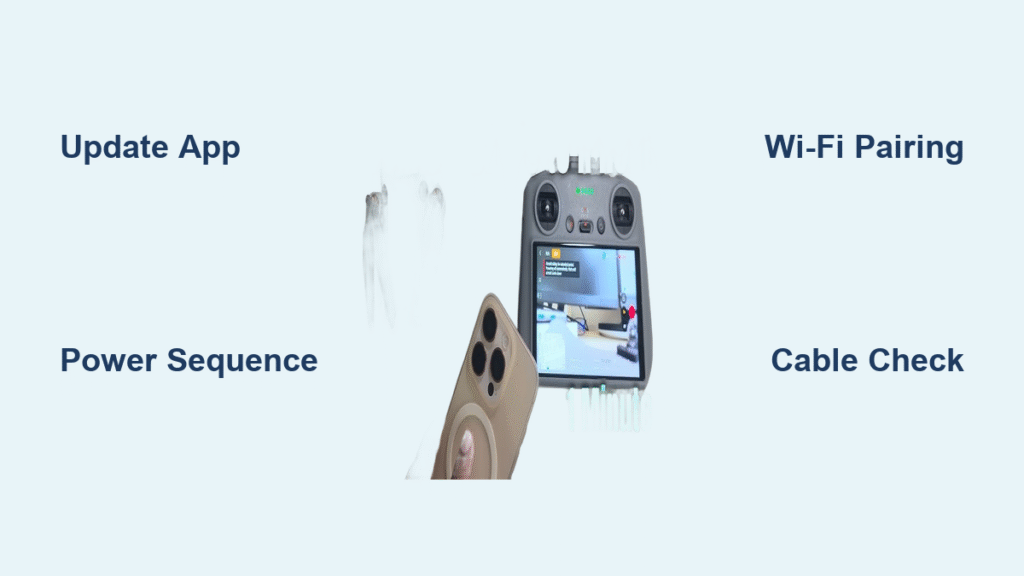
Power Sequence That Prevents 90% of Failures

Powering devices in the wrong order is the #1 connection killer. Follow this exact sequence or face “aircraft not connected” errors:
- Drone first: Press and hold the drone’s power button for 3 seconds until status LEDs illuminate (you’ll hear a startup chime on DJI models).
- Wait 5 seconds: Let the drone initialize its internal systems—rushing this step causes IMU errors.
- Controller second: Power on your remote while keeping it within 3 feet of the drone.
- Verify pairing: Look for solid green/white lights on both devices (flashing lights mean failed handshake).
Common Mistake: Skipping the 5-second drone initialization. Your iPhone may show “connected” while the drone remains offline, wasting 10+ minutes on futile troubleshooting. Time this right—it takes 45 seconds total but prevents 90% of initial failures.
Connect via Wi-Fi or Cable (Model-Specific Methods)
Your connection method depends entirely on your drone type. Choose the correct path below:
Wi-Fi Direct Drones (Mavic Mini SE, Parrot Bebop 2)
- Go to iPhone Settings > Wi-Fi
- Select your drone’s network (e.g., “Mavic_Mini_XXXX”)
- Enter the password printed on the drone’s battery compartment or manual
- Visual cue: The drone’s Wi-Fi LED turns solid blue when linked
Pro Tip: If the network doesn’t appear, force-quit the drone app and restart both devices. Some iPhones hide 5 GHz networks—manually switch to 5 GHz band in Wi-Fi settings if flying beyond 100 meters.
Controller-Required Models (DJI Air 2S, Autel Evo II)
- Mount iPhone securely in the controller’s clamp
- Use the CORRECT cable:
- Older controllers (DJI RC-N1): Lightning-to-USB-A
- Newer controllers (DJI RC 2): Lightning-to-USB-C
- Plug into controller FIRST, then iPhone
- Critical visual cue: iPhone must show charging icon—no icon means data connection failed
Cable Hack: If connection drops after 3 minutes, replace non-MFi-certified cables. Third-party cables often support charging but block data transfer. Reverse the cable in the controller port if lights don’t activate within 10 seconds.
Complete In-App Pairing and Calibration
Once hardware links, the app guides critical calibration steps—skipping these risks flyaways. Open your drone app and:
- Accept prompts for aircraft model selection (e.g., “Mavic Air 2S”)
- Rotate horizontally: Hold drone level and spin 360° slowly for compass calibration
- Tilt vertically: Point nose down/up while rotating for IMU calibration
- Test gimbal: Move controller sticks to verify camera movement
What success looks like: A live video feed appears in the app within 60 seconds. Black screens mean background app refresh is disabled (fix: Settings > [Drone App] > Background App Refresh = ON). Calibration takes 90 seconds but prevents dangerous navigation errors—never skip it to “save time.”
Fix Common Connection Errors in 30 Seconds

When errors strike, apply these targeted fixes immediately:
| Connection Failure | Instant Solution |
|---|---|
| “Aircraft not connected” in DJI Fly | Reverse cable in controller port; wait for charging icon |
| Black camera screen | Enable Background App Refresh for drone app in iPhone settings |
| Wi-Fi network invisible | Switch iPhone to 5 GHz band or reset drone Wi-Fi via pinhole reset |
| Controller works but iPhone lags | Disable Airplane Mode’s cellular toggle—only Wi-Fi/Bluetooth active |
Urgent Note: If using iOS 16+ with DJI Fly, disable “Private Wi-Fi Address” for the drone network (Settings > Wi-Fi > ⓘ next to drone network). New iOS privacy features block drone data streams by default.
Verify Critical Pre-Flight Safety Indicators
Before takeoff, confirm these four non-negotiable safety checks in your app:
- GPS satellites ≥ 8 (displayed top-left): Below 6 risks loss of positioning
- Return-to-home (RTH) point set: Automatic prompt appears after calibration—NEVER skip
- Green “Ready to Fly” banner: Red/yellow means system errors
- Stick response test: Move controller sticks while watching on-screen indicators
Regulatory Must: Drones over 250g (like DJI Air 2S) require FAA registration in the US. The app blocks takeoff if unregistered—check before your flight session. Skipping this verification risks $1,400 fines.
One-Minute Launch Checklist for Every Flight
Bookmark this sequence for foolproof connections every time:
- ✅ Confirm app is updated (App Store > Updates)
- ✅ Power drone → wait 5 sec → power controller → connect cable
- ✅ Approve all Bluetooth/Wi-Fi pairing prompts immediately
- ✅ Complete full compass/gimbal calibration
- ✅ Verify 8+ GPS satellites and green “Ready to Fly”
Your drone is now connected and ready for flight. Remember: consistent connections come from disciplined setup—not luck. Master these steps, and you’ll spend less time troubleshooting and more time capturing breathtaking aerial shots. For ongoing success, update your drone app monthly (manufacturers fix connection bugs every 4-6 weeks) and always carry an MFi-certified backup cable. Now go fly!


