Your FPV drone just nailed that technical line through the woods, but now it’s caked in mud, grass, and mystery gunk clinging to every component. That grimy buildup isn’t just ugly—it’s silently roasting your motors, straining your electronics, and shortening your quad’s lifespan. Ignoring cleaning after crashes or dusty flights invites overheating failures that cost hundreds in replacements. This how to clean FPV drone guide delivers battle-tested procedures to revive performance, prevent costly damage, and keep your rig flying like new. You’ll learn exactly when to clean, what tools actually work, and critical mistakes that fry electronics.
Remove Battery and Inspect for Damage Before Cleaning
Immediately unplug your battery after landing—this prevents accidental power-ups that could short wet components. Let your drone cool for 15 minutes; hot motors meeting cleaning fluids invite disaster. Now conduct a damage triage: run fingers along frame arms checking for hairline cracks, spin each propeller shaft to spot wobbles from bent motors, and inspect wiring near impact zones for fraying. If you find structural damage like snapped arms or cracked motor mounts, stop cleaning immediately. Repair those first—cleaning a broken drone wastes time and risks spreading debris into sensitive areas. Only proceed when the frame is structurally sound.
Critical Pre-Cleaning Checks You Can’t Skip
- Motor wobble test: Manually spin each motor—smooth rotation means no shaft damage
- Debris mapping: Identify contamination hotspots (e.g., grass-packed motor bells)
- Screw integrity check: Tighten loose standoffs but never over-tighten
- Electronics exposure: Note which components got wet during flight (e.g., rain-soaked VTX)
Deep Clean Motors to Prevent Overheating and Failure
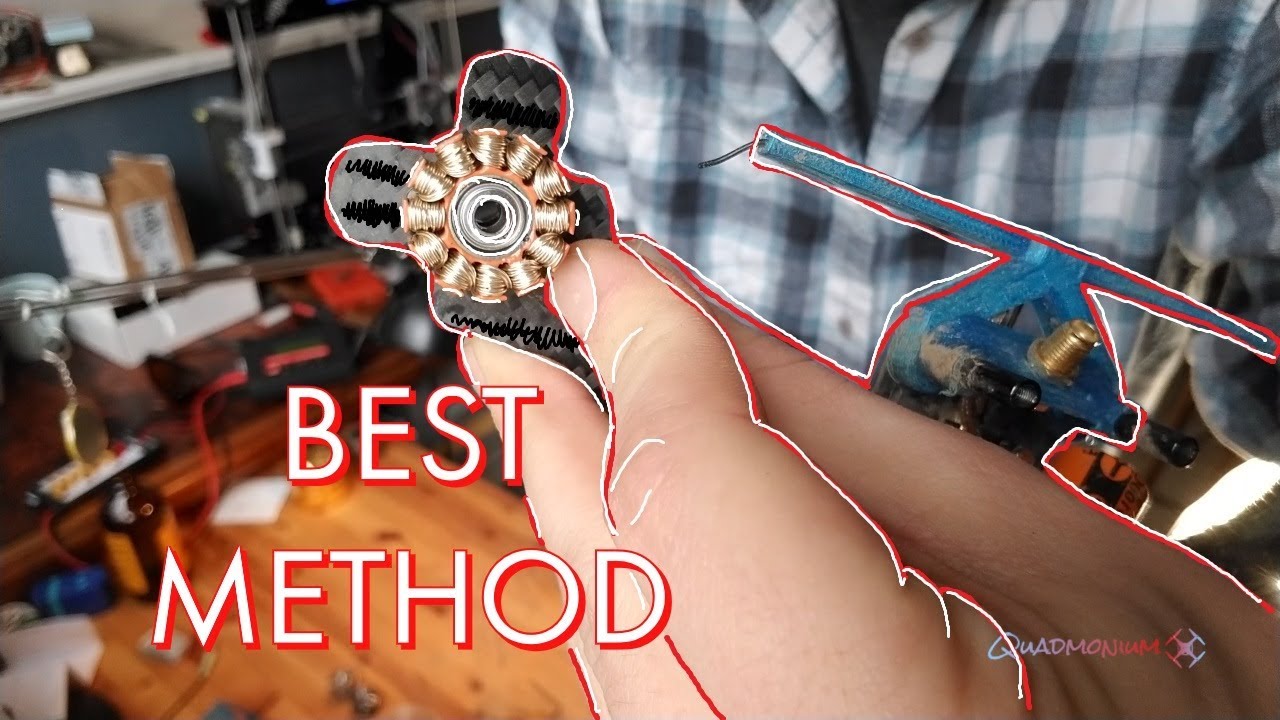
Caked dirt on motors is the #1 cause of premature burnout. Grass and dust insulate magnetic surfaces, trapping heat until windings melt. Start by removing all propellers—you can’t access motor internals with them attached. Unscrew each motor using the correct hex driver (typically 1.5mm), then separate the bell from the stator. Expect strong magnetic resistance; grip the prop nut with pliers for leverage if the bell sticks. Never force it—excessive pressure cracks bearings.
Dry Cleaning Motors Before Liquid Contact
- Blast debris with compressed air: 3-second bursts inside motor bells dislodge 80% of loose gunk
- Scrub gently with soft toothbrush: Focus on magnet gaps where grass fibers jam
- Avoid metal tools: They scratch coatings and create hotspots for future failure
Precision Wet Cleaning for Stubborn Contamination
For grass-stained or greasy motors, 90% isopropyl alcohol is your only safe liquid. Dip a toothbrush in alcohol and scrub windings in circular motions—never water, which causes internal corrosion. For heavy buildup, add one drop of dish soap to the brush to cut grease, but immediately rinse with pure alcohol. Critical rule: Never spray alcohol directly on bearings. Use cotton swabs to wick liquid into tight spaces, then absorb excess with lint-free cloths. Motors must air-dry 20+ minutes before reassembly.
Erase Grass Stains and Debris from Your Drone Frame
Frame cleaning starts dry. Use a soft paintbrush to sweep dirt from camera mounts and battery compartments—water first risks pushing debris into electronics. For dried mud splatters, dampen a microfiber cloth with isopropyl alcohol and rub in small circles. Grass stains vanish with alcohol-dipped cotton swabs; never scrub aggressively as it scratches polycarbonate shells.
Stain-Specific Cleaning Tactics
- Fresh grass marks: Damp cloth with plain water (safe for non-electronic areas only)
- Propeller scuffs: Alcohol swab + 10-second circular motion
- Deep-set dirt: Soft toothbrush dipped in warm soapy water for frame arms (avoid electronics)
- Camera lens residue: Lens cleaning tissue with zero pressure
Clean Flight Controller and Camera Without Causing Short Circuits
Water near electronics equals death—always use 90%+ isopropyl alcohol exclusively. Spray a small amount onto a microfiber cloth (never directly on components), then wipe the flight controller’s surface. For stubborn gunk on ESC heat sinks, use a cotton swab dipped in alcohol, applying zero pressure to avoid dislodging solder joints. Camera lenses require photographic lens cleaner only; regular alcohol leaves streaks that ruin video quality.
Electronics Cleaning Red Lines
- Never immerse PCBs: Even “waterproof” coatings fail at component seams
- Avoid compressed air near solder points: Blasts can crack fragile connections
- Skip WD-40 near cameras: Its residue clouds lenses permanently
- Always verify dryness: Shine a flashlight through components—no moisture glints
Reassemble Motors and Verify Flight Performance
Reassembly demands surgical precision. Align each motor’s bell perfectly over the stator before pressing down—misalignment stresses bearings. Tighten screws just until resistance increases; over-tightening cracks motor casings. Before reinstalling props, spin each motor manually. It should rotate freely for 3+ seconds with zero grinding. If resistance feels gritty, disassemble and re-clean bearings.
Post-Cleaning Flight Verification Steps
- Prop-less hover test: Check for excessive vibration at 30% throttle
- Motor sync verification: All motors must spin at identical speeds
- VTX power check: Use a wattmeter to confirm video transmitter output
- Full hover assessment: Watch for motor stuttering or power drops
Essential Cleaning Tools Every FPV Pilot Must Own

Your cleaning kit needs just five items: compressed air (canned or mini-compressor), 90% isopropyl alcohol (buy 500ml bottles), soft toothbrushes, microfiber cloths, and cotton swabs. Keep a dedicated paintbrush in your flight bag for immediate post-crash brushing—this prevents dirt from baking onto motors during transport. Skip “specialty” cleaners; alcohol handles 95% of contamination. Pro tip: Store alcohol in a pressurized spray bottle for precise application without drips.
5 Fatal FPV Drone Cleaning Mistakes to Avoid
Water on electronics causes instant corrosion you can’t see—alcohol is non-conductive and evaporates cleanly. Oiling sealed bearings seems helpful but attracts dust, creating grinding paste that destroys motors faster. Skipping drying time invites slow-motion failure; moisture trapped in motor shafts causes rust within days. Over-tightening motor screws strips carbon fiber threads, making future repairs impossible. Finally, rushing reassembly leads to pinched wires—always trace each cable route before powering up.
When to Clean Your FPV Drone: Racing vs Freestyle Schedule
Racing pilots must clean after every event—track dust infiltrates motors during high-speed strafing. Freestyle flyers need cleaning every 3-5 flights, especially after grassland or beach sessions. Casual pilots can stretch to monthly cleanings but must decontaminate immediately post-crash. Track your schedule by labeling batteries with dates and logging cleanings in your flight app. If motors feel hotter than usual or flight time drops 15%, clean now—don’t wait for failure.
Fix Common Problems After Cleaning Your FPV Drone
If motors vibrate excessively post-cleaning, recheck prop balance—debris removal can unbalance props. For intermittent power loss, inspect motor wires where they enter the frame; cleaning often exposes pinched cables. If video signal weakens, reseat the VTX antenna connector—alcohol cleaning can loosen fittings. Never ignore a burning smell; disassemble immediately and check for alcohol residue near power leads. When in doubt, replace suspect components—they’re cheaper than crashing a $500 quad.
Extend Your FPV Drone Lifespan with Routine Cleaning
A clean drone flies smoother, lasts longer, and avoids 70% of preventable failures. Build cleaning into your workflow: spend 10 minutes post-flight with that paintbrush, then deep-clean monthly. Your motors will run cooler, electronics stay corrosion-free, and flight performance stays consistent. Remember—dirty tools spread contamination, so keep cloths and brushes dedicated to drone work. Treat cleaning as flight-critical prep, not optional maintenance, and your quad will deliver hundreds more flawless flights. Start today: grab that alcohol bottle and revive your rig.


