Your drone’s motors spin at blistering speeds—often exceeding 10,000 RPM—while battling dust, sand, and grass with every flight. When performance drops or that ominous grinding noise starts, knowing how to clean drone motors becomes critical. Ignoring contamination can lead to mid-flight motor failure, turning a routine flight into a $200 repair bill. This guide delivers field-tested methods to restore smooth operation, whether you’re flying a DJI Mini over sandy beaches or racing FPV quads through dusty courses. You’ll learn to spot trouble early, apply the right cleaning technique for your drone type, and avoid common mistakes that worsen damage.
Most drone failures stem from one culprit: sand. Even microscopic grains wedge between rotors and stators, scoring magnets and seizing bearings. After beach flights or dusty landings, debris infiltrates motors within minutes. The difference between a 5-minute cleanup and a totaled drone? Recognizing contamination levels and acting fast. This isn’t theoretical—mechanics report 70% of motor replacements stem from avoidable debris jams. Follow these steps to keep your motors spinning freely and extend their lifespan dramatically.
Spot These 5 Motor Contamination Red Flags Immediately
Sand in your motors demands urgent action—delay causes permanent damage. Use this field-tested contamination guide to decide your next move:
| Contaminant | Danger Level | Required Cleaning Method |
|---|---|---|
| Grass/Dust | Medium | Dry brushing + compressed air |
| Beach Sand | Critical | Vacuum + air bursts (NO liquids) |
| Caked Mud | High | Ultrasonic cleaning after disassembly |
| Metal Filings | Emergency | Full disassembly + magnet wipe |
| Salt Water | Corrosive | Distilled water rinse + oil bearings |
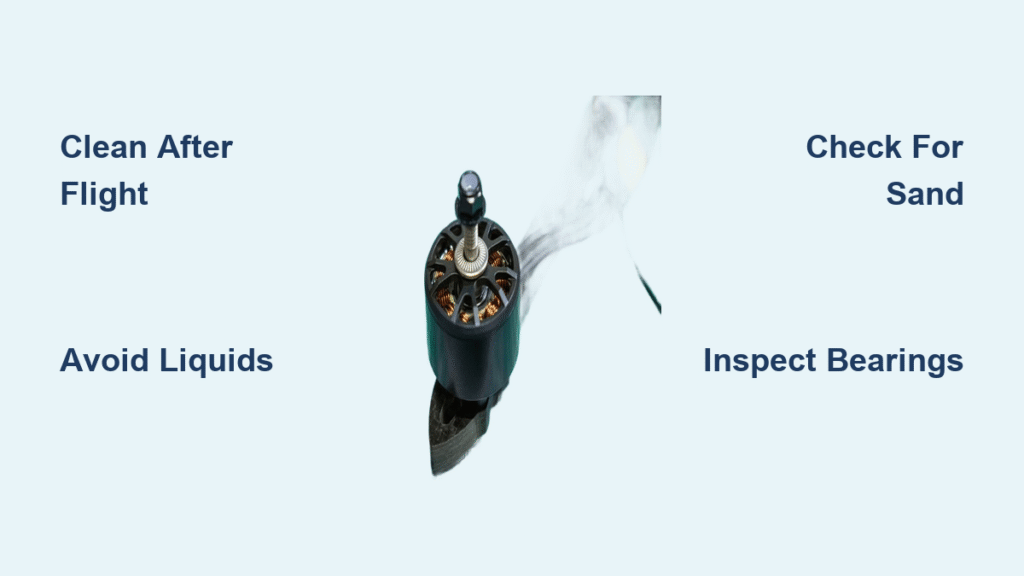
After every flight in dusty conditions, invert your drone and spin each motor bell by hand. Buttery-smooth rotation means you’re safe—any grinding, clicking, or resistance requires immediate cleaning. For DJI models like the Mini 3 or Air 2S, check the gap between the rotor and arm where grass accumulates. In FPV quads, listen for uneven startup sounds during pre-flight checks. Never ignore even minor resistance; sand particles accelerate wear exponentially under high RPMs.
Critical Safety Steps Before Cleaning Drone Motors

Skipping safety checks risks electrocution or permanent drone damage. Always follow this sequence:
- Remove the battery completely and wait 5 minutes for capacitors to discharge
- Take off all propellers—accidental throttle inputs can cause severe injury
- Verify warranty status—disassembling DJI motors voids Care Refresh coverage
- Ground yourself by touching a metal surface before handling ESC wires
For sealed consumer drones (DJI Mini, Mavic, Avata), never force disassembly. If resistance persists after non-invasive cleaning, seek authorized service. FPV quad owners must wear safety glasses during circlip removal—the tiny rings can spring off at high velocity. Remember: static electricity from your hands can fry ESC electronics in under 0.1 seconds. Always handle components by edges only.
Must-Have Tools for Effective Drone Motor Cleaning
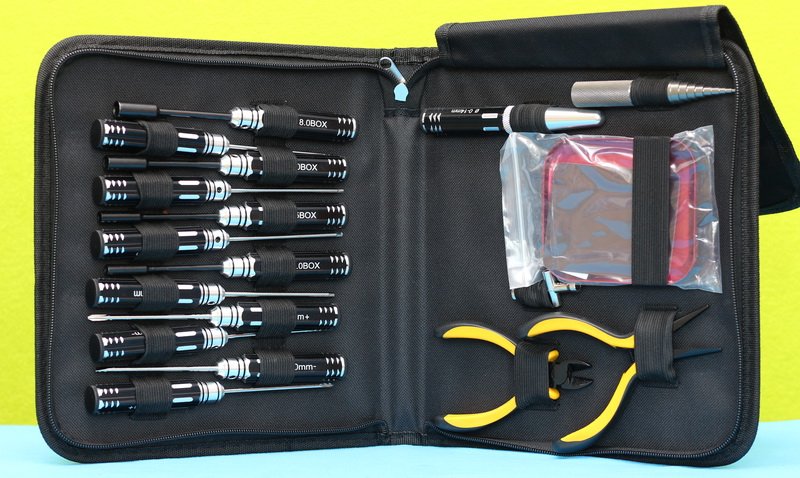
Gather these supplies before starting—using improper tools causes more damage than debris:
For Quick Field Cleaning (All Drones):
– Handheld vacuum with crevice nozzle (≤600W)
– Rocket blower (manual air bulb)
– Soft-bristle paintbrush or old toothbrush
– Lint-free microfiber cloths
For FPV Quad Deep Cleaning:
– 99% isopropyl alcohol (IPA) for degreasing
– Needle-nose pliers and circlip tool
– High-speed bearing oil (PTFE-fortified)
– Wooden skewers for bearing extraction
Critical Avoidance: Never use WD-40 as lubricant—it attracts dust. Skip canned air near electronics; its propellant leaves residue. For consumer drones, omit liquids entirely—they trap debris inside sealed units. Keep a dedicated “motor cleaning kit” in your flight bag; being unprepared leads to risky improvisation.
3-Minute Motor Cleaning for DJI & Consumer Drones
Never disassemble DJI motors—warranty voidance isn’t worth the risk. Use this non-destructive method instead:
Dry Cleaning Sequence That Actually Works
- Invert your drone so motors face downward (debris falls out naturally)
- Vacuum debris using crevice nozzle while gently rocking the motor bell clockwise/counterclockwise
- Blast short air bursts through the rotor-to-stator gap—never hold continuous airflow
- Spin by hand after cleaning—re-clean if resistance exceeds 5% of normal smoothness
Pro Tip: For stubborn grass, wrap Blu-tack around a toothpick to extract fibers without scratching. After cleaning, verify:
– ✅ Zero vibration when spinning at low throttle (no props!)
– ✅ No dark streaks on visible magnets (indicates metal wear)
– ✅ Tight mounting screws (loose screws cause wobble-induced damage)
Warning: Liquid cleaners seep into windings, causing shorts. If salt water exposure occurs, rinse immediately with distilled water—then repeat dry cleaning steps.
Full Motor Teardown for FPV Racing Quads
Disassembly is mandatory for FPV quads after beach or dusty-course flights. Follow this precise sequence:
Pre-Disassembly Health Checks (Prevent Wasted Effort)
| Test | Pass Condition | Fail Condition |
|---|---|---|
| Continuity | No beep between wires/frame | Beep = winding short |
| Resistance | 45-70mΩ between wires | >100mΩ = damaged coil |
| Shaft Play | <0.1mm wobble | Visible bell movement |
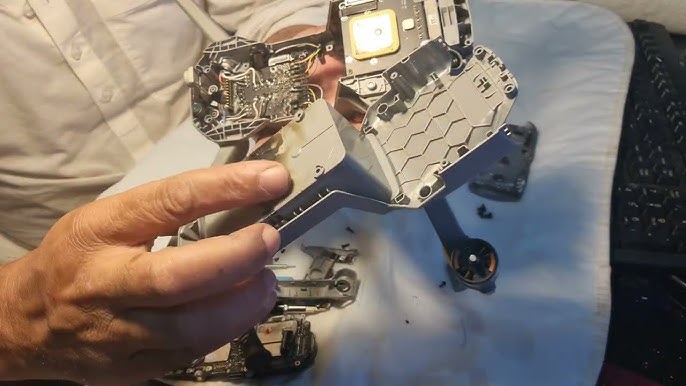
Step-by-Step Disassembly Without Damage
- Remove motor from arm—note screw lengths (long screws contact windings = shorts)
- Desolder wires from ESC if obstructing access
- Remove circlip with needle-nose pliers (wear eye protection!)
- Pull bell off stator using slight twisting motion against magnetic resistance
- Extract bearings with wooden skewer—never metal tools
Critical Cleaning & Reassembly Steps
- Stator/Windings: Gently brush with IPA-dampened toothbrush; air-dry 24 hours
- Bearings: Ultrasonic clean in IPA for 3 minutes → dry → apply 1 drop oil
- Reassembly: Press bearings squarely; align bell magnets; secure circlip fully seated
- Lubrication: Oil only bearings—never stator or magnets
Red Flag: If shaft wobbles when rolled on glass, replace immediately—bent shafts destroy new bearings.
Fix These 3 Emergency Contamination Scenarios
Salt Water Exposure Protocol
- Rinse immediately with distilled water (prevents salt crystallization)
- Disassemble completely and soak parts 5 minutes in distilled water
- Dry 48 hours in rice or 40°C oven—never skip drying
- Oil bearings before reassembly to prevent corrosion
Metallic Dust from Carbon Fiber Props
- Use sticky tape inside bell to lift filings—magnets attract particles
- Blow air from stator interior outward to avoid forcing debris deeper
- Recheck continuity—metal shorts cause catastrophic mid-flight failures
Stuck Motor After Crash
- NEVER force rotation—snaps shafts instantly
- Disassemble to inspect for cracked magnets or bent shafts
- Replace motor if bell appears warped—temporary fixes fail mid-flight
Post-Cleaning Flight Verification Checklist
Skipping verification risks crashing your drone. Always perform:
Bench Test (No Props)
- Run each motor at 5% throttle for 10 seconds
- Stop immediately if grinding occurs or motor exceeds 40°C
- Verify equal RPM across all motors via ESC telemetry
Hover Test Protocol
- Hover at 1 meter in open area (no people!)
- Execute slow 360° yaw in both directions
- Land and instantly check:
– Motor temperature (warm OK, hot = failure)
– Prop spin-down time (uneven = residual debris)
Critical Rule: If any motor feels hotter than others, disassemble and re-clean—vibration from imbalance destroys frames rapidly.
Drone Motor Maintenance Schedule by Usage
| Pilot Type | Quick Clean Frequency | Deep Clean Interval | Bearing Replacement |
|---|---|---|---|
| Casual (DJI Mini) | Every 10 flights | Never (sealed) | N/A |
| Freestyle FPV | After 2-3 sessions | Monthly | After crashes |
| Racing FPV | After every race | 6 weeks | Every 60 flights |
| Cinewhoop/Dusty | After every flight | Bi-weekly | After crashes |
Pro Tip: For beach flights, coat motor bearings with corrosion inhibitor pre-flight. After salt exposure, rinse within 10 minutes—delaying 1 hour doubles corrosion risk.
Motor Failure Troubleshooting Cheat Sheet
| Symptom | Immediate Action | Permanent Fix |
|---|---|---|
| Squealing at idle | Clean + oil bearings | Bearing replacement |
| Hot motor (no debris) | Check for bent shaft | Motor replacement |
| Jittery startup | Vacuum + air bursts | Full disassembly |
| Mid-flight shutdown | Land immediately | Rewind or replace motor |
| Grinding noise | Disarm instantly | Motor replacement |
Final Reality Check: Regular motor cleaning prevents 90% of catastrophic failures. For consumer drones, stick to dry methods—liquids cause more harm than good. FPV pilots must master teardowns; it’s cheaper than replacing $40 motors weekly. When in doubt, replace the motor—your safety and drone’s integrity depend on it. Now get back in the air with confidence.


