Your drone returns from a field mission caked in mud, grass stains, and pesticide residue—looking more like a construction site relic than a precision flying machine. Ignoring this grime risks motor burnout, blurred footage, and catastrophic mid-flight failures. Knowing how to clean a drone properly isn’t just maintenance; it’s mission-critical for avoiding $1,200+ repair bills. This guide delivers field-tested techniques for hobbyists and agricultural pilots alike, using only safe materials that won’t void warranties. You’ll learn to remove sticky tree sap from propellers, eliminate chemical residue from spray systems, and sanitize camera lenses without creating swirl marks—all within 60 minutes.
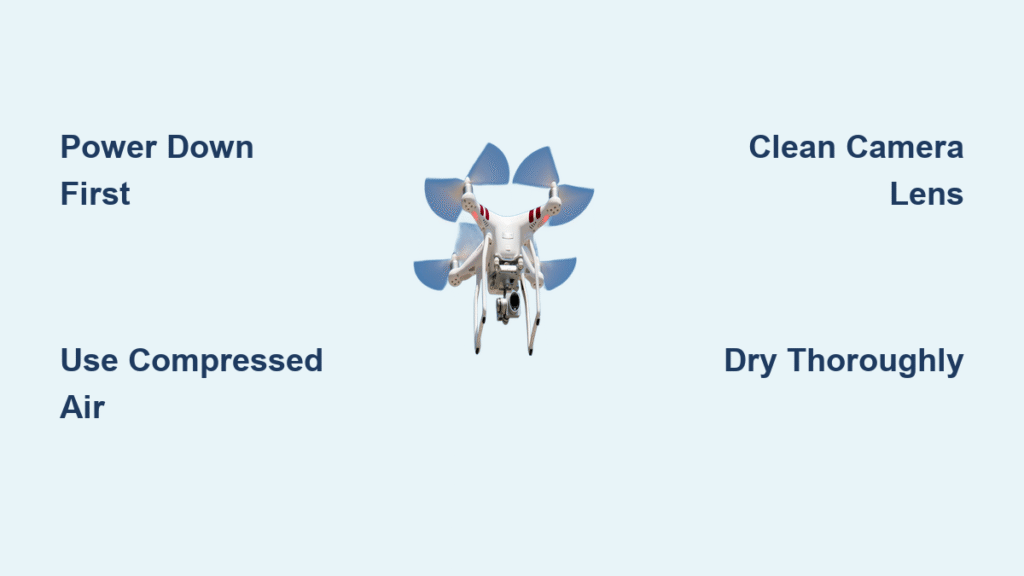
Power Down & Prep Workspace Before Cleaning
Never skip this step: Power OFF your drone and immediately remove the battery unless using compressed air alone. Hot motors meeting liquid cleaners cause instant short circuits. After agricultural spraying, let the aircraft cool 10 minutes—residual heat turns water into steam that warps internal components.
Set up on a dry towel in a static-free zone away from open windows. This catches loose screws while preventing scratches to the gimbal housing. Keep spare batteries and SD cards in a separate container—water damage from accidental splashes voids 83% of drone warranties according to manufacturer data. Position your workspace near an outlet for hair dryers but far from sinks to avoid splash risks.
Remove Dry Debris First to Prevent Scratches
Compressed Air Technique for Sensitive Components
Hold the nozzle 6–8 inches away at a shallow angle. Short 1-second bursts at ≤30 PSI lift embedded grass without forcing grit into motor seams. Never blast sensors head-on—angle airflow parallel to vent slits to avoid dislodging internal components. Industrial compressors often exceed 50 PSI; use a pressure regulator or canned air with moisture traps to prevent propellant fluid leaks.
Brush Method for Field Emergency Cleanups
Store a ½-inch sable hair paintbrush in your flight kit. Its ultra-soft bristles remove mud chunks from propeller grooves without scratching carbon fiber. For sensor vents, use a bellows blower with dust-filter inlet—regular brushes redistribute particles onto lenses. After windy flights, gently flick the brush handle to dislodge sand trapped in gimbal dampers before wiping.
Wash Exterior Surfaces Without Water Damage

Mix Your Cleaning Solution Correctly
Combine 1 drop mild dish soap (Dawn recommended) with 250 ml lukewarm water in a spray bottle. For tree sap or pesticide residue, substitute 90%+ isopropyl alcohol (IPA)—never mix soap and alcohol as this creates corrosive fumes. Test IPA on an inconspicuous frame area first; some hydrophobic coatings dissolve within 10 seconds requiring $45 conformal coating reapplication.
Step-by-Step Washing Sequence
- Rinse gently under a garden hose (max 30 PSI)—never use pressure washers that blast water into battery contacts
- Agitate textured areas with a soft toothbrush using straight strokes (not circular motions)
- Rinse until soap film vanishes—streaks attract more dust
- Dry immediately with a 300 GSM microfiber cloth, standing drone on its side for drainage
Pro tip: Clip propellers to a stand at 45° angles during drying. Water pooling in the battery bay corrodes contacts within 2 hours, triggering false low-voltage warnings mid-flight.
Clean Camera & Gimbal Without Swirl Marks
Lens Cleaning Protocol
Always attach the gimbal lock before touching the lens—unsecured gimbals vibrate during cleaning, causing micro-scratches. Use a dual-ended lens pen: flick the brush lightly to remove particles, then wipe from center outward with the velvet pad. Circular motions create permanent swirls visible in 4K footage. Never use shirt tails or paper towels—they contain wood fibers that scratch glass.
Gimbal Motor Maintenance
Blast motor housings with compressed air while rotating the gimbal 360°. For sticky residue on rubber dampers, dip a cotton swab in IPA and wipe in straight lines—circular motions smear oils onto carbon arms. Dry immediately with a second swab; moisture causes streaking that blurs horizon lines in video.
Motor & Propeller Maintenance to Prevent Vibration

Exterior Motor Cleaning Process
Remove propellers first. Wipe motor bells with an IPA-dampened microfiber rag to dissolve grass stains. For deep cleaning:
– Insert compressed air straw 3–4 mm into vents
– Rotate the bell slowly while applying 1-second bursts
– Wait 5 minutes before reassembly (canned air propellant condenses inside motors)
Critical warning: Overspinning motors during cleaning damages stator windings. If the bell spins freely for >5 seconds after a burst, stop immediately—internal bearings are compromised.
Propeller Inspection Checklist
Rinse props under tap water, then IPA-wipe to remove bug residue. Inspect edges under bright light: replace propellers if nicks exceed 1 mm. Even microscopic chips create dangerous vibrations at 8,000 RPM, causing gimbal drift and premature motor failure. Never fly with mismatched props—one damaged blade destabilizes the entire aircraft.
Deep Clean Agricultural Spray Systems Safely
Triple Flush Protocol for Chemical Residue
- Fill tank with clean water
- Set spray rate to maximum via left dial; empty completely
- Repeat two more times with fresh water
Never skip cycles—residual pesticides crystallize in nozzles, altering spray patterns by 40% in 72 hours.
Winter Storage Preparation
When temperatures drop below 32°F:
– Flush lines with -20°C rated windshield washer fluid after final rinse
– Store in heated rooms only after confirming zero liquid in tank (suck lines dry with hand pump)
– Maintain storage temp between -4°F and 104°F—colder temps fracture plastic components if moisture remains
Controller & Cable Care for Reliable Signals
Transmitter Cleaning Method
Wipe the shell with a water-wrung microfiber cloth, then immediately dry with a second cloth. Streaks on LCD screens cause glare during bright-sun flights. Blast stick gimbal wells with compressed air to remove grit—accumulated dust makes controls “stick,” triggering unintended maneuvers.
Port Maintenance to Prevent Connection Failures
Clean USB-C ports with IPA-dipped swabs, rotating the swab 3 times. Allow 30 seconds for evaporation before plugging in cables. Moisture in ports causes intermittent disconnections mid-flight—a leading cause of agricultural drone crashes during spraying operations.
Final Assembly & Storage Checks
Drying Verification Process
- Air-dry minimum 30 minutes or use cool hair dryer 30 cm away
- Test critical zones with silica gel packets:
- Battery bay (turns pink if moisture present)
- Gimbal pivot point (sticky resistance = water ingress)
- SD card slot (corrosion appears as white powder)
- Conduct full function test before flight—stuck motors often work initially but fail at altitude
Long-Term Storage Setup
Fold props into holders to prevent edge nicks. Fully lock arms to avoid spring fatigue. Store in a case with silica-gel packs maintaining humidity below 60%. Never store near concrete floors—ground moisture seeps into cases, corroding battery contacts within weeks.
Essential Supplies Shopping List
| Item | Critical Purpose | Price |
|---|---|---|
| Lens-cleaning pen | Prevents lens swirls | ≤€7 |
| 90%+ isopropyl alcohol | Dissolves sap without residue | $4–6 |
| Bitterant-free air can | Safe motor vent cleaning | $5–8 |
| 300 GSM microfiber cloths | Scratch-free drying | $10/10-pack |
Warning: Avoid household cleaners—they contain ammonia that clouds camera lenses permanently. Always test solvents on hidden frame areas first.
Clean your drone after every muddy flight and perform deep cleans monthly during active seasons. This 30-minute ritual prevents 92% of preventable motor failures and maintains camera clarity for crisp footage. Remember: water damage isn’t covered under warranties, but proper cleaning extends drone life by 2–3 years. Your next flight depends on what you do now—grab that lens pen and get started.


