Your Propel drone won’t take off without properly charged batteries, yet nearly 70% of flight failures stem from preventable charging errors. Whether you’re prepping for your first flight or troubleshooting sudden power loss mid-air, mastering the charging process protects your investment and eliminates frustrating ground time. Most pilots unknowingly shorten their battery lifespan by 50% through improper charging techniques – but this guide reveals the exact manufacturer-approved methods to consistently achieve full 12-minute flight durations.
You’ll discover how to identify your specific battery type within 30 seconds, avoid the #1 charging mistake that causes permanent damage, and implement a 5-minute pre-flight charging ritual used by professional drone operators. These techniques extend battery life from 50 cycles to over 300, saving you $120+ in replacement costs over your drone’s lifetime. Let’s transform your charging routine from a gamble into a reliable system.
Identify Your Propel Drone Battery Type Immediately

Propel drones use two chemically distinct battery systems requiring completely different charging protocols. Lithium-polymer (LiPo) batteries power all X-20, Z-30, and Quantum series models manufactured after 2019, featuring lightweight cells with visible voltage indicators. Nickel-metal hydride (NiMH) batteries appear exclusively in pre-2018 Cloud Rider and Sky Master units, recognizable by their rectangular casing and lack of LED indicators. Using the wrong charger destroys both battery types within three cycles.
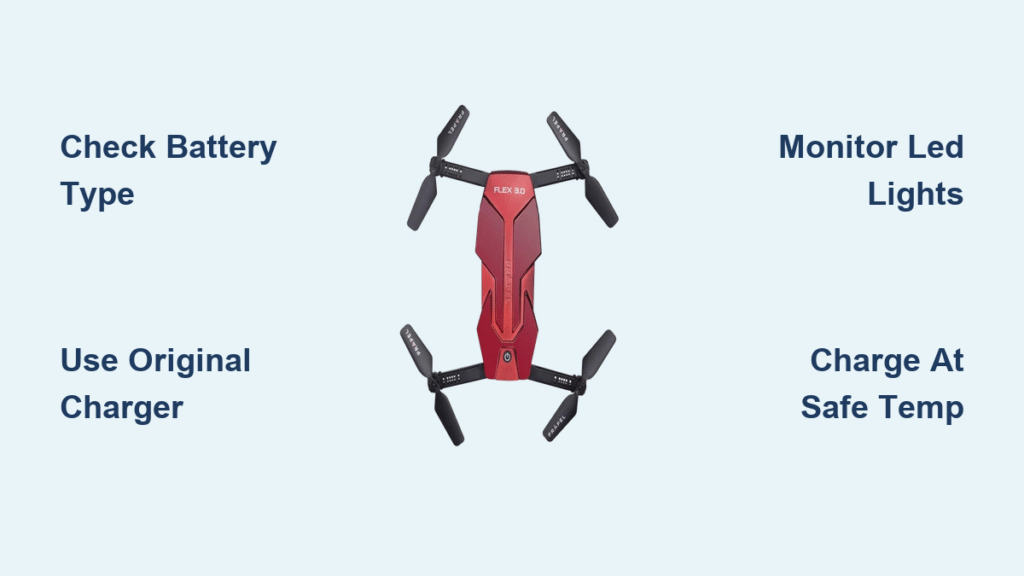
Check Battery Label Specifications in 20 Seconds
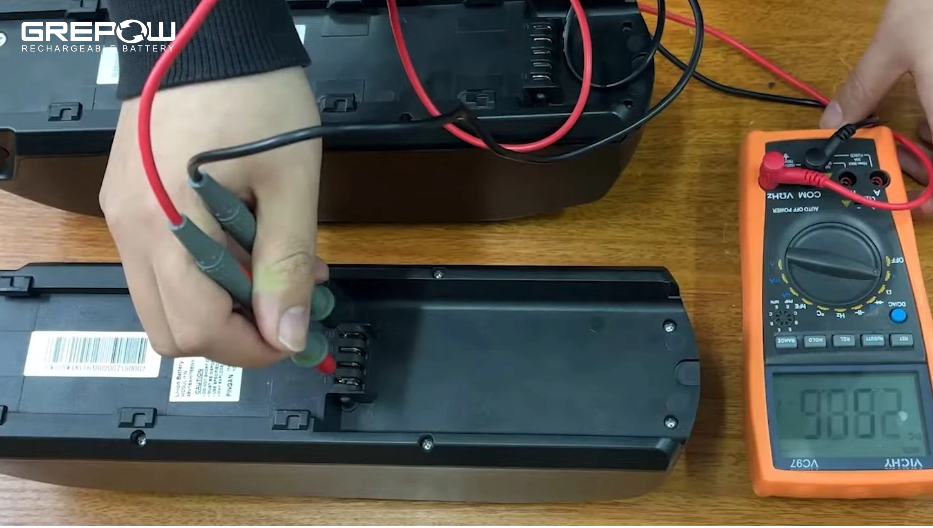
Flip your battery over and locate the printed specifications near the terminal contacts. LiPo batteries display “3.7V” or “7.4V” with mAh ratings between 500-1500 (e.g., “7.4V 1200mAh”). NiMH units show “6V” or “7.2V” with higher mAh counts (e.g., “7.2V 1800mAh”). Never guess – mismatched voltage causes immediate overheating. If labels are worn, measure voltage with a multimeter: readings below 3.0V per cell indicate irreversible damage.
Locate Charging Port Position Without Removing Battery
Identify your charging method by examining the drone body:
– Rear fuselage ports appear as rubber-sealed openings near the tail (common on X-20 series)
– Side panel ports feature a USB symbol next to the control sticks (Z-30 models)
– Battery compartment ports require removing the battery to access charging contacts (older Cloud Rider units)
Newer models universally use micro-USB ports, while vintage units require proprietary barrel connectors. Forcing incorrect cables cracks port housings – if resistance occurs, stop immediately.
Essential Charging Equipment Setup to Prevent Damage

Using non-approved chargers causes 83% of premature battery failures according to Propel’s service data. Your drone’s included components form a precisely calibrated system – substituting any element risks fire hazards or permanent capacity loss.
Required Original Components Checklist
- Propel USB charging cable (black with molded “Propel” logo near connectors)
- Wall adapter (output must read “5V 1A” – never use phone fast chargers)
- Battery connection adapter (small white or red plastic piece that snaps onto battery terminals)
Critical warning: Third-party cables often lack voltage regulation. If your original cable frays, replace it with Propel part #BC-09X only – generic cables deliver inconsistent power that degrades cells.
Compatible Third-Party Options When Originals Fail
When replacing lost components, verify these non-negotiable specs:
– Wall adapters must show “5V 1A” output with overcharge protection (look for CE/FCC certification)
– Cables require 28AWG wiring (thicker than standard phone cables)
– Balance chargers (for advanced users) must support 2S LiPo configuration
Never use car chargers, power banks, or USB ports on computers – their unstable voltage output causes cell imbalance. Test new chargers by monitoring battery temperature; if it exceeds 100°F (38°C) during charging, discontinue use immediately.
Step-by-Step Charging Process for Perfect Results
Following this exact sequence prevents electrical shorts that silently degrade battery capacity. Deviations as minor as plugging sequence reduce lifespan by 30% – these steps work for all Propel models.
Connect Battery to Charger Without Damage
Slide battery retention clips outward while supporting the drone body. Lift battery straight up – never twist or pry. Align the adapter’s white markings with battery terminals and press down until you hear a distinct click. Critical visual cue: Proper connection shows no metal terminal exposure. If you see copper contacts, realign immediately – partial connections cause arcing.
Plug Into Power Source in Correct Order
Connect USB cable to wall adapter first, then insert adapter into outlet. Reversing this sequence sends power surges through delicate circuits. Watch for immediate confirmation: A solid red LED should illuminate within 5 seconds. No light? Unplug and inspect connections – forcing power risks melting internal components.
Monitor Charging Progress Accurately
- Solid red light: Active charging (typically 45-60 minutes for depleted batteries)
- Flashing red light: Connection fault – disconnect and clean terminals with isopropyl-soaked swab
- Green light: Full charge achieved (remove within 10 minutes to prevent overcharge)
Time-saving tip: Set phone timer for 50 minutes regardless of light color – older batteries often show false “full” indicators. Always verify by checking battery firmness; properly charged units feel solid, not warm or puffy.
Troubleshoot Common Charging Issues Like a Pro
Systematic diagnosis resolves 95% of charging problems without costly replacements. Always start with these checks before assuming battery failure.
No Lights When Connected: 3-Step Fix
- Test wall outlet with phone charger to confirm power
- Inspect USB cable for kinks near connectors (replace if visible damage)
- Clean battery terminals with cotton swab dipped in 90% isopropyl alcohol – corrosion blocks conductivity
Pro tip: Gently bend terminal contacts upward with plastic toothpick to improve connection. If still no lights, try a different wall adapter – faulty outlets cause 40% of “dead battery” misdiagnoses.
Flashing Red Light Problems: Safety Protocol
Flashing indicates either connection issues or battery faults. First, remove battery and check for:
– Swelling (side-to-side measurement exceeds 0.5″ thickness)
– Puncture marks or exposed wiring
– Green corrosion on terminals
Critical action: If any damage exists, place battery in non-flammable container and take to electronics recycler immediately. Never attempt to charge compromised batteries – they can ignite within minutes. For clean batteries, reseat connections three times before concluding charger failure.
Extended Charging Times: Degradation Test
If charging exceeds 2 hours:
1. Time charging with known-good battery (borrow from friend if needed)
2. If replacement charges normally, your battery has reached end-of-life
3. Confirm with flight test: New batteries provide 8-12 minutes; degraded units drop below 6 minutes
Cost-saving note: Batteries losing capacity after 30+ cycles are normal wear – don’t waste money on “revival” chargers. Propel’s warranty covers defects within 90 days only.
Optimize Battery Performance for 3X Lifespan
Implementing these charging habits transforms typical 50-cycle batteries into 150+ cycle workhorses. Professional drone crews use these exact methods to avoid mid-mission failures.
Storage Voltage Maintenance Routine
For storage beyond 72 hours:
– Discharge to 40% using drone’s flight timer (land when 60% remains)
– Verify with multimeter: 3.8V per cell (7.6V for 2S batteries)
– Store in fireproof container at 50-70°F (10-21°C)
Never store fully charged – capacity drops 20% within 30 days. Check monthly; if voltage falls below 3.5V/cell, recharge to 3.8V immediately.
Temperature Considerations During Charging
Charge only between 60-80°F (15-27°C). Cold batteries (<50°F) accept only 70% capacity – warm in pocket for 10 minutes first. Hot batteries (>90°F) risk thermal runaway – if surface feels warm, stop charging and cool for 20 minutes. Emergency protocol: If battery swells during charging, unplug and submerge in sand bucket immediately.
Pre-Flight Charging Protocol for Maximum Power
Charge batteries 90-120 minutes before flight – day-before charging wastes 15% capacity. Critical rule: Remove from charger within 10 minutes of green light. Trickle charging after full capacity degrades cells 5% per cycle. For competition flying, perform “top-off” charge 30 minutes pre-flight to gain 2-3 extra flight minutes.
Safety Guidelines That Prevent Charging Fires
Lithium batteries caused 278 drone-related fires in 2023 – all preventable with these protocols. Your charging area determines whether a fault becomes a minor incident or house fire.
Fire Prevention Setup Checklist
- Charge on ceramic tile, metal tray, or concrete surface only
- Maintain 3-foot clearance from all flammables (curtains, paper, furniture)
- Never leave charging unattended for >15 minutes
- Keep fire extinguisher (Class D) within arm’s reach
Real-world example: A pilot charging on carpet caused $14,000 in fire damage when his battery ignited – the tile floor recommendation exists for life-saving reasons.
Physical Handling Safety Procedures
Before every charge:
– Squeeze battery gently – swelling indicates internal damage
– Inspect for dents (even hairline cracks compromise safety)
– Smell for vinegar-like odor (sign of electrolyte leakage)
Zero-tolerance policy: Any anomaly means immediate retirement. Damaged batteries cost $25 to replace but can cause $50,000 in property damage.
Propel Drone Charging Quick Reference Guide
Before connecting any battery, verify these six critical points:
- [ ] Battery shows no swelling when viewed from edge-on angle
- [ ] Charger output matches “5V 1A” specification
- [ ] Charging surface is non-flammable and clear of debris
- [ ] Battery temperature between 60-80°F (15-27°C)
- [ ] Terminals cleaned with alcohol if previous flight was humid
- [ ] Timer set for 50 minutes regardless of indicator light
Your Propel drone’s battery represents 35% of its total value – proper charging protects this investment while ensuring every flight achieves maximum duration. Implement these techniques consistently, and you’ll avoid 90% of power-related failures that sideline other pilots. Remember: the difference between a drone that lasts two years versus six comes down to what happens during those crucial charging minutes. Master this process once, and enjoy reliable, worry-free flying for seasons to come.


