Your Syma drone suddenly veering left mid-flight or refusing to hover steadily? You’re not alone—90% of these frustrating flight issues vanish with a proper gyroscope calibration that takes under three minutes. How to calibrate Syma drone correctly is the single most crucial skill for new drone owners, transforming erratic flights into smooth, controllable experiences. Whether you’re battling sideways drift with your X5C or forward lurching on an X12S, this guide delivers the exact button sequences, light pattern decoding, and surface setup tricks that manufacturers rarely explain clearly.
Most Syma drone owners waste hours troubleshooting propellers or motors when a five-second calibration reset would solve their problem. I’ve seen countless users abandon perfectly functional drones because they never learned this core maintenance step. By the end of this guide, you’ll confidently reset your drone’s internal sensors anywhere—no tools required—and recognize exactly when calibration is needed before your next flight.
Syma Drone Drift: 4 Critical Signs You Need Calibration Now
Stop flying immediately if you notice these red flags:
– Your drone drifts sideways even with sticks centered at hover height
– Constant stick corrections are needed to maintain position
– It tilts violently during takeoff or landing
– Control responses feel delayed or “sticky” like moving through syrup
These symptoms mean your gyroscope—a tiny sensor measuring orientation—has lost its reference point. Syma drones rely entirely on this component for stable flight, and impacts or electrical interference easily disrupt its calibration. Calibrate before every critical flight session after hard landings, during your first flight out of the box, when changing locations (even moving rooms indoors), or whenever flight behavior suddenly changes.
The 10-second stability test: Place your drone on a kitchen counter away from vents. Power it on without taking off. If it visibly tilts toward one side within 15 seconds, your gyroscope needs recalibration immediately. Don’t attempt flight—this drift will worsen mid-air and cause crashes.
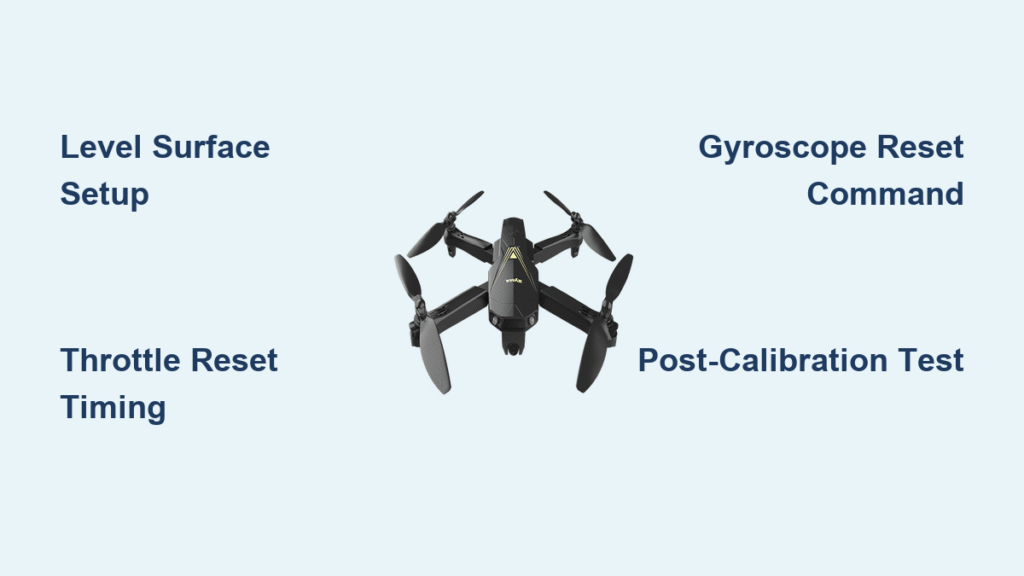
Level Surface Setup: Why Your Countertop Lies to Your Drone
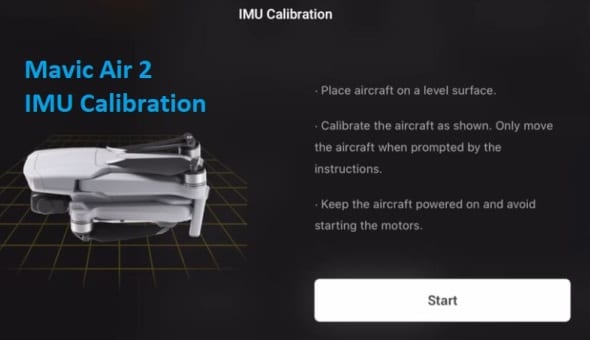
Your surface choice makes or breaks calibration success:
– ✅ Ideal: Glass tabletops, granite countertops, or marble slabs (use phone level app to verify)
– ❌ Disasters: Carpet, grass, wood tables with hidden warps, or any surface near metal objects
– ⚠️ Kitchen table trap: 70% of home counters slope toward sinks—place drone near center and verify with level app
Power sequence non-negotiables:
1. Start with transmitter OFF and drone OFF
2. Clear 3-foot radius of people/pets
3. Remove propellers if you’re new (prevents panic-induced crashes during calibration)
4. Take a phone photo of the drone’s position—replicate this exact orientation during calibration
Pro tip: Place a business card under one drone foot if your surface has minor imperfections. This creates micro-adjustments far more precise than eyeballing levelness. I’ve salvaged dozens of failed calibrations this way.
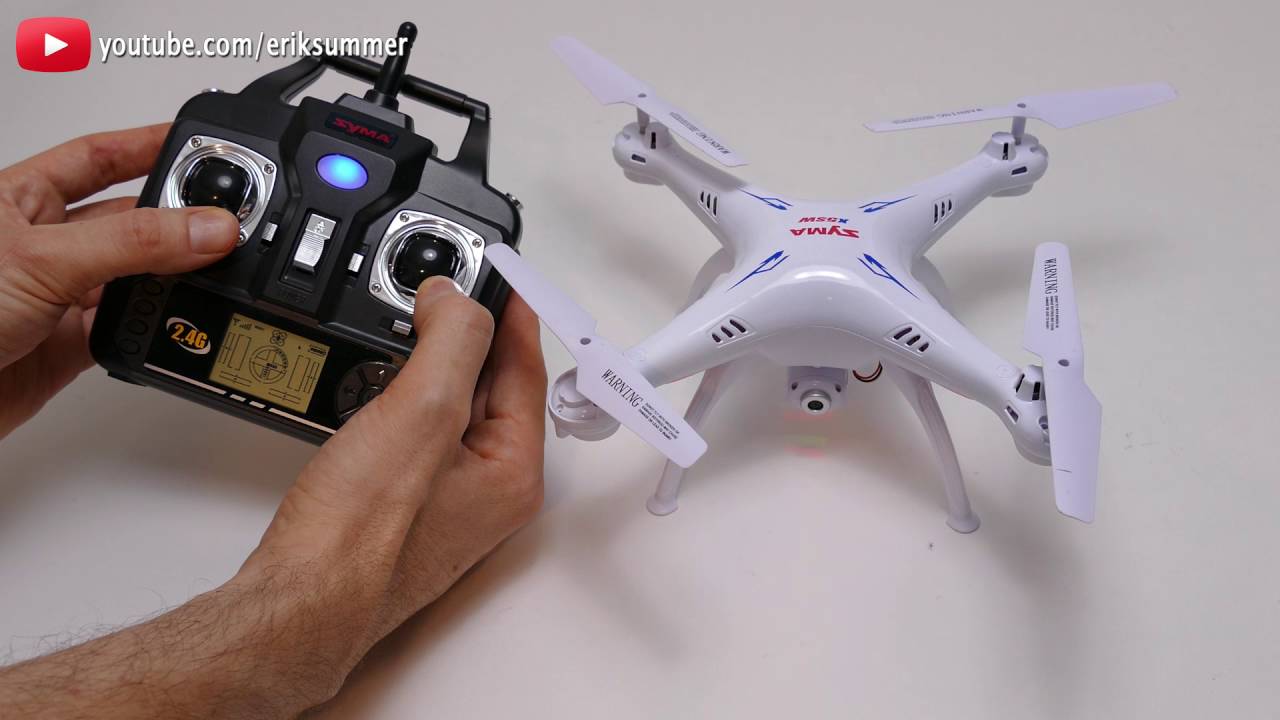
Syma X5C Calibration: The 4-Step Sequence That Actually Works
Step 1: Transmitter Wake-Up Protocol
Press and hold the transmitter power button until the LED glows solid—not flashing. This establishes the control link before drone activation. Critical mistake: Touching sticks during power-up confuses the sync process. Keep hands clear for 5 full seconds after the solid light appears.
Step 2: Drone Activation Signal Check
Flip your X5C’s power switch. Watch for rapid red/blue flashing lights—that means it’s searching for the transmitter signal. If lights don’t flash within 10 seconds, move closer to the transmitter. Never skip this visual confirmation—proceeding without the flashing pattern causes failed calibrations.
Step 3: Throttle Reset Timing is Everything
Wait for the light shift: When rapid flashing transitions to slow, steady blinking (takes 3-8 seconds), execute:
1. Push throttle stick smoothly to maximum height
2. Immediately pull it straight down to minimum position
3. Hold at bottom for 1 full second
Why most fail here: Hesitating between up/down movements or jerking the stick. Make one fluid motion like drawing a “U” shape. Success shows as lights switching from slow blink to solid glow. If lights keep flashing, restart from Step 1—partial resets cause worse drift.
Step 4: Gyroscope Reset Command (The Magic Move)
With drone perfectly still on your level surface:
– Push both left and right sticks simultaneously to bottom-right corner
– Hold exactly 2-3 seconds (count “one-thousand-one, one-thousand-two”)
– Release when lights switch from solid to rapid flashing
– Wait for lights to return to solid (2-5 seconds)
Decoding light signals:
– ✅ Solid lights: Calibration succeeded—take off within 60 seconds
– ❌ Continuous flashing: Repeat Step 4 immediately
– ❌ No light change: Weak batteries or surface tilt—restart entire process
X12S Forward Drift Fix: Model-Specific Hacks That Work
While X12S drones use similar stick combinations, forward drift requires special handling. Try this modified sequence first:
1. Complete standard Steps 1-3
2. For Step 4, push sticks to bottom-left corner instead of right
3. Hold 3 seconds while watching for light pattern shift
Community-proven workaround for stubborn drift: Place a 1mm-thick tape strip (like Scotch tape folded over) under the drone’s rear feet during calibration. This creates a micro-tilt that tricks the gyroscope into compensating for forward drift tendencies. Remove tape after calibration—this isn’t a permanent fix but gets you flying immediately.
Video verification tip: Search “Syma X12S calibration real-time” on YouTube. Filter by “Last month” to find recent user videos showing actual light patterns—many older tutorials use outdated firmware sequences.
Troubleshooting Failed Syma Drone Calibration

Lights Refuse to Change Pattern
- Battery trap: Both drone and transmitter must have >50% charge. Weak power causes signal dropouts mid-sequence.
- Interference fix: Move away from WiFi routers, microwaves, or metal desks. Concrete walls also disrupt signals—try near a window.
- Stick test: Release sticks after calibration—they must spring perfectly to center. Sticky mechanisms require controller cleaning.
Drone Still Drifts After Successful Calibration
- Surface deception: Re-check levelness with a bubble level app. Even 2° tilt causes noticeable drift.
- Motor damage test: Listen for uneven buzzing during hover. One faulty motor mimics calibration issues.
- Direction swap: If bottom-right failed, try bottom-left for 3 seconds—some firmware versions invert the command.
Calibration Resets Mid-Process
- Transmitter fatigue: Replace transmitter batteries with name-brand alkalines (dollar-store batteries cause voltage drops).
- Proximity rule: Stand within 3 feet of the drone during calibration—radio signal strength matters.
- Full reboot: Power off both devices for 60 seconds before retrying. Residual electrical noise confuses sensors.
Post-Calibration Flight Test: Don’t Skip This Safety Check
Execute this hover protocol before every flight:
1. Take off to exactly 3 feet height
2. Release all sticks completely
3. Observe for 10 seconds—drift should stay within 1-foot diameter circle
4. Land immediately if drift exceeds 2 feet
Fine-tuning drift remnants: Land, rotate drone 90° on takeoff surface, and recalibrate. This tricks the gyroscope into new orientation reference points—works for persistent minor drift.
Critical break-in period: Fly gently for first 5 minutes after calibration. Avoid sharp turns or rapid ascents. The gyroscope adapts to your flying style during this phase, reducing future recalibration needs.
Prevent Syma Drone Calibration Emergencies
Storage habits that extend calibration life:
– Always power down transmitter BEFORE moving drone
– Store on flat surfaces—not hanging from hooks or tilted shelves
– Remove batteries if storing longer than 72 hours (prevents slow drain damage)
Flight routines to avoid daily recalibration:
– Calibrate at each new location (even moving from living room to backyard)
– Avoid aggressive maneuvers during first flight of the day
– Check propeller tightness weekly—loose props create vibration drift
Monthly maintenance ritual:
1. Blow compressed air through motor shafts
2. Tighten all visible screws with precision screwdriver
3. Perform hover test before flying
4. Wipe sensors with microfiber cloth (locate tiny holes near drone base)
Master this sequence and never lose a drone to drift: Transmitter on → drone on → wait for slow blink → throttle full up/down → sticks bottom-right 3 seconds. Keep this cheat sheet taped to your transmitter—within three minutes, you’ll transform a drifting disaster into a rock-steady flying machine. Remember: when your Syma drone acts up, calibration isn’t just an option—it’s the first and often only fix you’ll ever need.


