Your DJI drone suddenly drifts sideways during hover, or perhaps the gimbal won’t stop twitching mid-flight. These aren’t random glitches—they’re clear signals your drone needs calibration. Every sensor, motor, and control system in your aircraft relies on precise calibration data to maintain stable flight and accurate positioning. Whether you’ve just updated firmware, traveled to a new location, or experienced a hard landing, proper calibration ensures your investment performs safely and reliably.
This guide walks you through every critical calibration procedure your DJI drone requires, from IMU alignment to gimbal stabilization. You’ll learn exactly when to perform each calibration, step-by-step procedures that eliminate guesswork, and troubleshooting techniques for common calibration failures. Knowing how to calibrate DJI drone systems properly prevents costly crashes and protects your equipment investment.
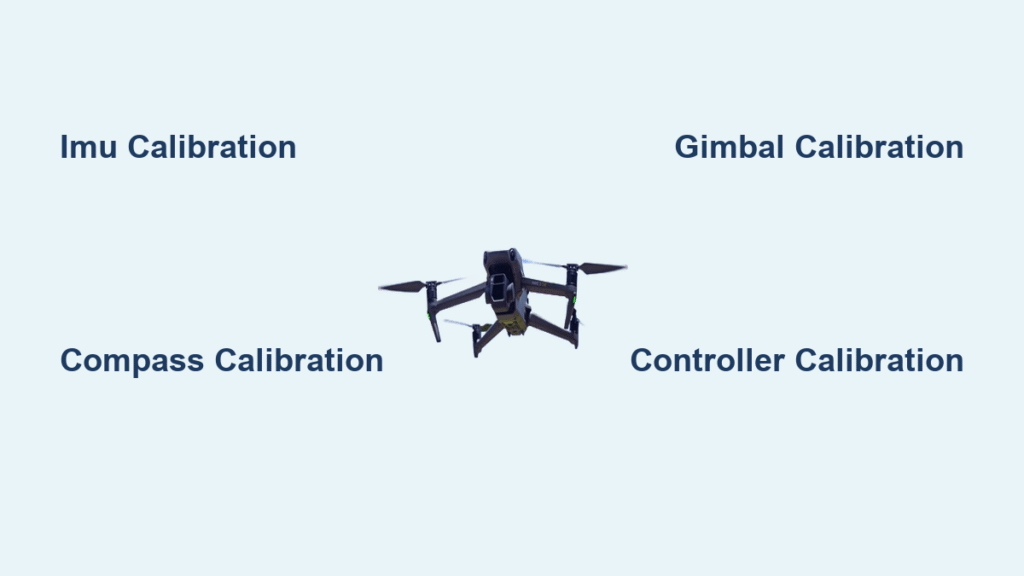
IMU Calibration Steps for Stable Hover Performance
When Your Drone Needs IMU Recalibration
Your drone’s IMU (Inertial Measurement Unit) acts like its inner ear, sensing acceleration and rotation to maintain stable flight. Recalibrate when your DJI drone first drifts without stick input or displays warnings in the DJI Fly app. Specific triggers include after firmware updates, following crashes, when temperature changes exceed 20°C since last calibration, or after 30+ days in storage. Professional pilots should schedule monthly IMU calibration regardless of usage to maintain precision.
Complete IMU Calibration Process
Preparation (2 minutes)
Power on your drone and controller with battery levels above 50%. Remove the gimbal cover and lock, then connect your mobile device while closing all background apps. Place your drone on a perfectly level surface—use a bubble level app on your phone for precision. This preparation prevents failed calibrations that waste your field time.
Six-Position Sequence (5-15 minutes)
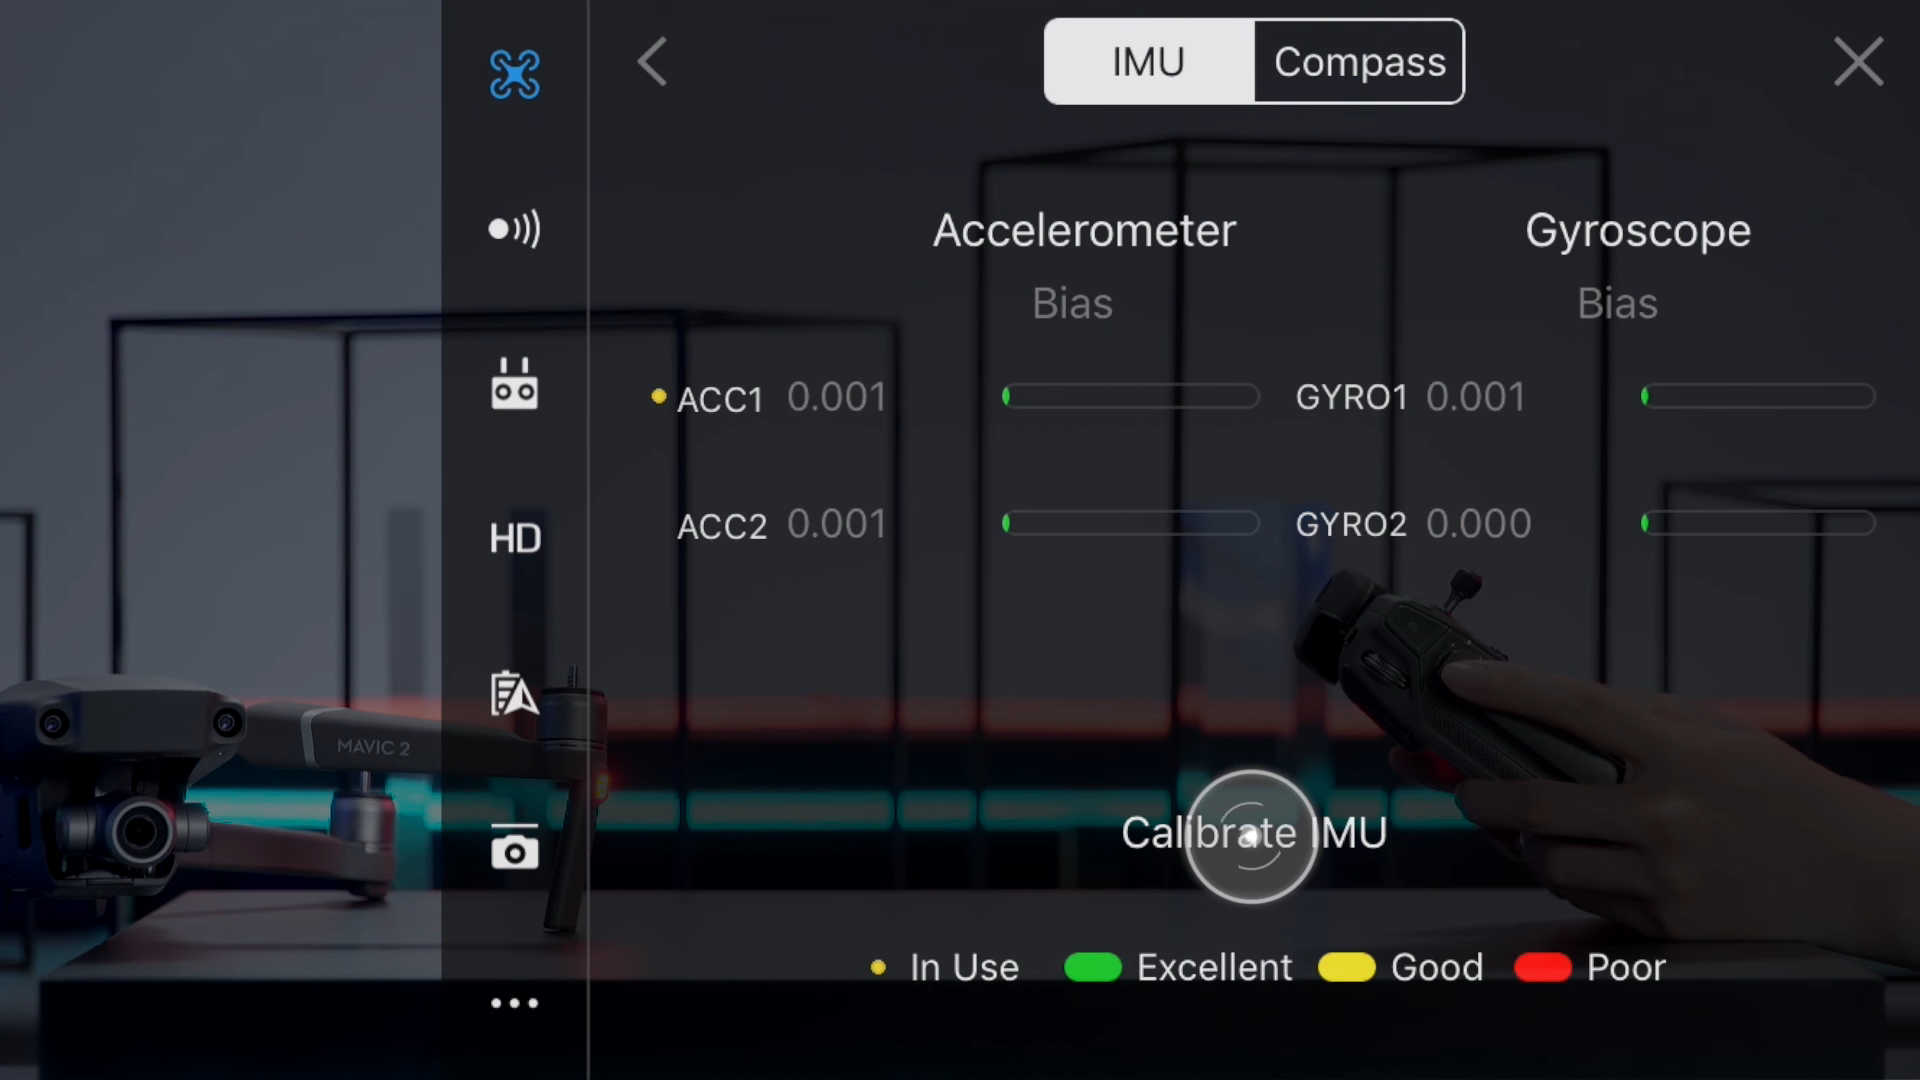
Open DJI Fly → Aircraft Settings → Safety → IMU Calibration and follow the prompts through all six positions: normal landing, left side down, right side down, nose down, nose up, and upside down. Remain absolutely still during each position—any movement restarts the process. Complete the full sequence without interruption for reliable results. Watch for the completion confirmation before touching your drone to avoid restarting the entire process.
Essential Environment Requirements
Perform IMU calibration in temperatures between 32°F-104°F (0°C-40°C) in a calm, vibration-free location away from magnetic interference. Indoor spaces eliminate wind issues that commonly disrupt outdoor calibration. Verify no large metal objects are within 10 feet that could affect sensor readings. This controlled environment ensures accurate IMU data your drone relies on for stable hovering.
Compass Calibration Guide to Prevent Navigation Errors
Critical Compass Warning Signs
The compass determines your drone’s heading and enables GPS-assisted flight. Calibrate immediately when “Compass Error” or “Magnetic Interference” warnings appear, or when flying 31+ miles from your last calibration point. Your DJI drone requires compass calibration after IMU procedures and when compass mod values exceed ±500 in the DJI Fly app. Ignoring these signs leads to dangerous navigation errors and potential flyaways.
Step-by-Step Compass Calibration Method
Pre-Flight Setup Essentials
Remove all metal objects from your person and move 10+ feet from vehicles, buildings, or power lines. Verify battery levels above 25% and scan for hidden magnetic materials like rebar in concrete surfaces. This preparation prevents the most common causes of failed compass calibration that frustrate new drone operators.
Horizontal Calibration Technique
Hold your drone parallel to ground at waist level and rotate 360° clockwise for 10-15 seconds. Watch the status LED—solid green indicates completion. Maintain consistent rotation speed; rushing causes errors that force you to repeat the process. This horizontal calibration establishes your drone’s directional reference point.
Vertical Calibration for Complete Accuracy
Hold your drone nose-down perpendicular to ground and rotate another 360° clockwise. Watch for the LED sequence changing from flashing yellow to solid green, with the app confirming completion automatically. This vertical calibration ensures accurate altitude and pitch measurements during flight.
Gimbal Calibration Process for Smooth Footage

Recognizing Gimbal Problem Indicators
A miscalibrated gimbal creates shaky footage and potential crashes. Recalibrate when the horizon appears tilted in live view, unusual vibrations occur, or after firmware updates. Your DJI drone needs immediate gimbal attention following impacts or when gimbal motor overload errors appear. Professional videographers should calibrate bi-weekly regardless of visible issues to maintain cinematic quality.
Auto vs Manual Gimbal Calibration Options
Auto Calibration (30-60 seconds)
Power your drone on a level surface, then navigate to DJI Fly → Camera Settings → Gimbal Calibration. Select “Auto Calibration” and never touch the gimbal during the process. Wait for the completion confirmation before moving your drone. This automated process handles most routine calibration needs for recreational pilots.
Manual Roll Adjustment for Precision
When auto calibration isn’t enough, access gimbal settings and select “Adjust Gimbal Roll.” Use the slider for 0.1° precision adjustments to align the horizon perfectly. Save settings before exiting—this fine-tuning makes the difference between amateur and professional-looking footage. Many pilots overlook this critical step when learning how to calibrate DJI drone gimbals properly.
Controller Calibration Steps to Eliminate Drift
Identifying Controller Drift Symptoms
Your controller requires calibration when your drone drifts without stick input or after firmware updates. Other signs include inconsistent stick response, following drops or impacts, or when pairing a new controller. Proper controller calibration ensures your inputs translate accurately to drone movements—critical for safe operation near obstacles.
Precise Stick Calibration Procedure
Power your controller without the drone connected and open the DJI Fly app. Navigate to Controller Settings → Stick Calibration and move sticks through their full range: left stick vertical/horizontal, right stick vertical/horizontal. Center sticks when prompted and repeat the entire process for accuracy. This simple procedure takes just 3 minutes but prevents dangerous control issues during flight.
Calibration Troubleshooting for Common Errors
Solving IMU and Compass Failures
When “IMU Calibration Failed” appears, check surface level with a bubble app and eliminate vibrations from nearby machinery. For persistent compass errors, move to a different location away from interference sources and remove all metal objects. Repeat the compass “dance” in multiple spots if needed—some environments simply won’t work for calibration regardless of your technique.
Gimbal and Controller Fixes
For gimbal calibration issues, ensure no obstructions block movement and verify a perfectly level surface. Bent motor shafts from crashes often cause persistent problems requiring professional repair. Controller calibration failures typically resolve after repeating the process 2-3 times or updating controller firmware to the latest version.
Model-Specific Calibration Notes for Mavic Pilots
Mavic Series Requirements
Mavic Air 2 owners must calibrate compass after every 31 miles of travel, while Mavic 2 Pro/Zoom users should use DJI Assistant 2 for advanced calibration needs. Mini and Mini 2 pilots benefit from simplified calibration processes with fewer steps but still require regular maintenance. Understanding your specific model’s needs is essential when learning how to calibrate DJI drone systems correctly.
Post-Calibration Verification Flight Test
Essential Performance Checks
Complete a 2-minute stationary hover test to verify stability before attempting complex maneuvers. Test gentle stick inputs in all directions to confirm responsive controls. Approach obstacles slowly to verify avoidance systems function properly. Finally, execute a return-to-home sequence to ensure landing within 3 feet of takeoff point. Skipping these verification steps risks undetected calibration errors during critical operations.
Professional Calibration Maintenance Schedule
Critical Timing for Reliability
Schedule compass calibration every 31 miles or weekly for professional work. Perform IMU checks monthly or after significant impacts. Calibrate your gimbal bi-weekly or immediately when issues appear. Heavy controller users should calibrate monthly to maintain precise inputs. This disciplined approach to DJI drone calibration prevents 80% of common flight issues reported by new pilots.
Key Takeaway: Calibration isn’t optional maintenance—it’s critical safety protocol. Schedule monthly IMU checks, calibrate compass when traveling, and never ignore gimbal drift warnings. Your drone’s performance depends on precise sensor alignment, making regular calibration the difference between smooth flights and potential crashes.
Next Steps: Set calendar reminders for monthly calibrations, download the DJI Fly app updates, and bookmark this guide for quick reference during field operations. Mastering how to calibrate DJI drone systems properly transforms your flying experience from frustrating to flawless.


