Your drone lifts off from the backyard, navigates a precise square pattern without your input, and lands exactly where it took off—all while costing less than most commercial models. This isn’t science fiction; it’s completely achievable with today’s open-source technology and commodity hardware. Building your own autonomous drone for under $200 gives you complete control over capabilities, customization, and learning opportunities that off-the-shelf models simply can’t match.
Whether you’re a robotics student, maker, or aerial photography enthusiast, this guide transforms that vision into reality. You’ll gain hands-on experience with flight controllers, sensor integration, and autonomy programming—skills that transfer directly to robotics, IoT, and aerospace careers. Most importantly, you’ll create a drone that follows GPS waypoints, avoids obstacles, and executes missions completely on its own.
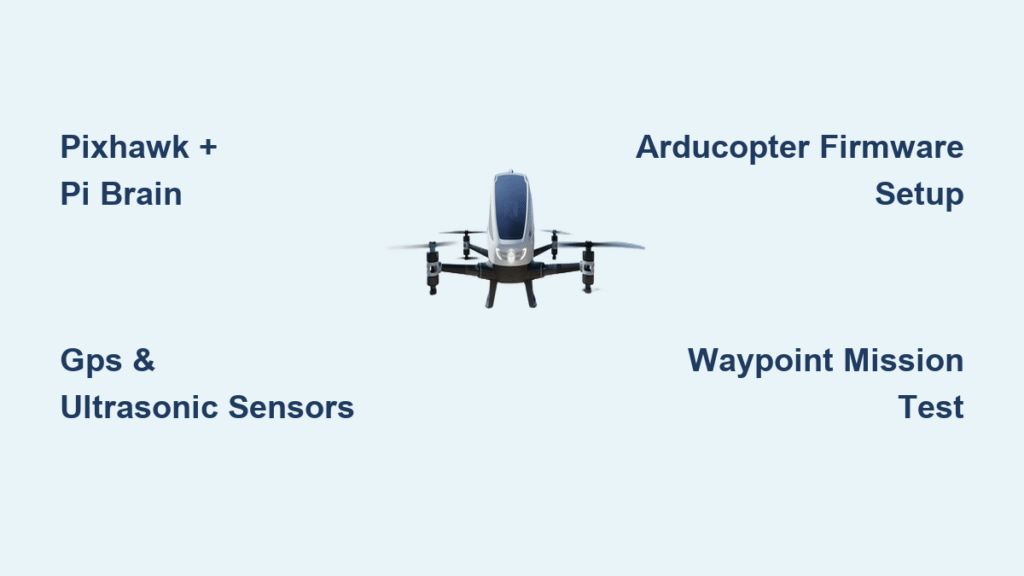
Pixhawk and Raspberry Pi: Your Drone’s Dual-Brain Architecture

Forget single-board solutions—real autonomy requires two specialized computers working in harmony. The Pixhawk 2.4.8 clone ($45) handles low-level stabilization at 400Hz, managing motor mixing and preventing crashes even if your high-level system fails. This flight controller runs ArduCopter firmware, the industry-standard open-source autopilot that handles all stabilization tasks automatically.
Pair it with a Raspberry Pi Zero 2 W ($15), your drone’s decision-making brain that processes sensor data and executes autonomous missions. This powerful yet affordable combination connects via MAVLink protocol over a simple serial connection at 921600 baud. The Pi sends high-level commands like “fly to this coordinate,” while the Pixhawk translates them into precise motor outputs—creating true autonomy without breaking your budget.
F450 Frame Assembly: Precision Mechanical Build Steps
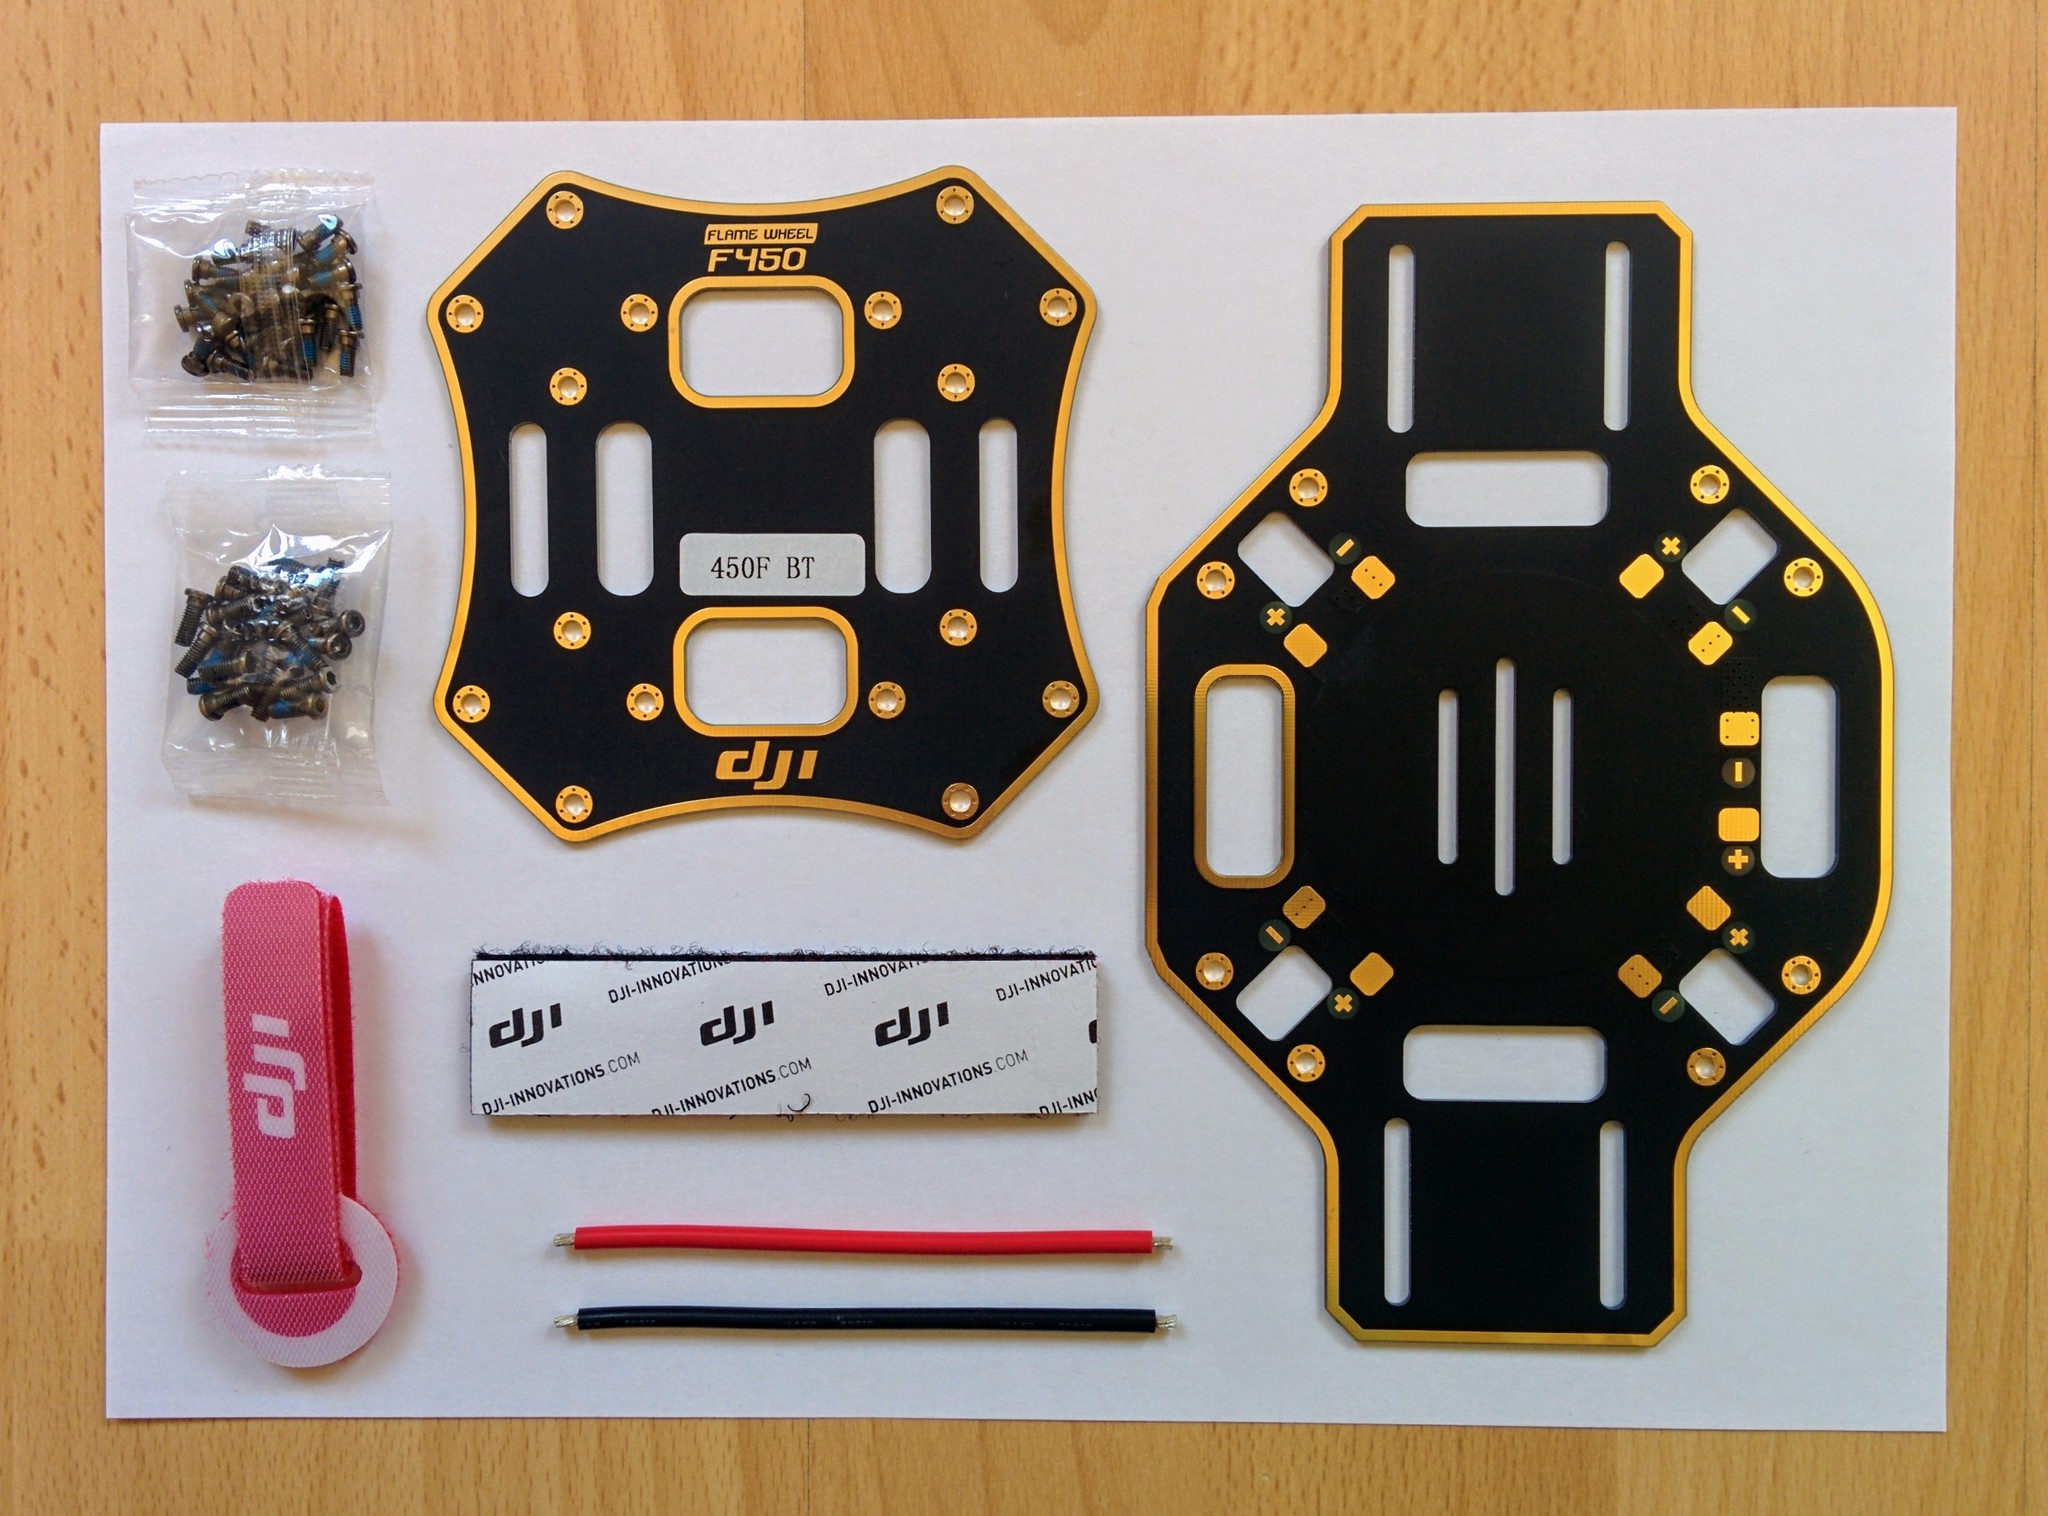
Your drone’s physical foundation determines flight performance more than any other component. Start with the F450 clone kit ($25), which includes arms, landing gear, and integrated power distribution. When assembling:
- Torque arm screws to snug fit only—overtightening cracks carbon fiber
- Mount motors with rotation direction in mind (1 & 3 clockwise, 2 & 4 counter-clockwise)
- Install power distribution board with XT60 battery connector facing rear for proper balance
Electronics placement makes or breaks stability. Position the Pixhawk on anti-vibration pads with its arrow pointing forward—critical for orientation algorithms. Mount the GPS module on a 20cm carbon fiber mast above the frame to eliminate electromagnetic interference from ESCs. Place downward-facing ultrasonic sensors away from prop wash for accurate altitude readings during autonomous landings.
Essential Sensor Integration for Reliable Autonomy
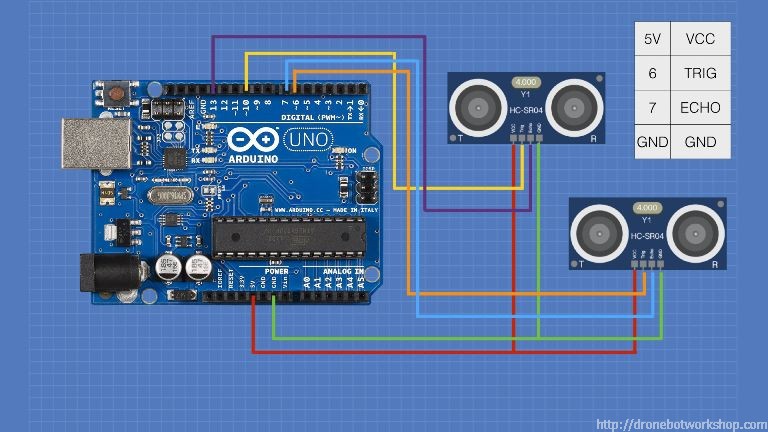
Your drone needs specific sensors to navigate independently—no guessing required. The NEO-M8N GPS ($18) delivers 1-meter accuracy for waypoint navigation, while HC-SR04 ultrasonic sensors ($2 each) enable low-altitude obstacle avoidance and precise landings. These components form the bare minimum sensor suite for true autonomy under $25 total.
Mount sensors strategically for maximum effectiveness:
– GPS mast raised 20cm above frame to avoid EMI from power systems
– One ultrasonic sensor downward-facing for altitude hold, one forward-facing for obstacle detection
– Vibration isolation for Pixhawk—even small vibrations create noise in accelerometer readings
Skip expensive LiDAR for your first build; the BendyRuler algorithm in ArduPilot works surprisingly well with just ultrasonic sensors for basic obstacle avoidance. This keeps your total under $200 while still delivering impressive autonomous capabilities.
ArduCopter Firmware Setup: Mission-Critical Configuration
Flashing the right firmware makes or breaks your autonomy experience. Use Mission Planner to install ArduCopter 4.3.x on your Pixhawk:
1. Connect via USB and select “X” frame configuration
2. Choose the latest stable release (not beta versions)
3. Monitor the 2-3 minute flashing process
Critical parameter settings separate a flying drone from a crash:
– Set battery failsafe to 10.5V (3.5V per cell) to prevent battery damage
– Configure geofence to 100m radius from home point for safety
– Set RTL (Return to Launch) altitude to 40m for obstacle clearance
On your Raspberry Pi, install Ubuntu Server 22.04 and essential packages:
bash

sudo apt update && sudo apt install python3-pip

pip3 install pymavlink opencv-python numpy
This gives you the pymavlink library needed for sending autonomous commands to your flight controller.
First Autonomous Mission: Takeoff to Waypoints
Your initial autonomous flight should follow this progression:
1. Manual hover in Stabilize mode for 30 seconds at 1 meter
2. Test Altitude Hold mode to verify barometer and ultrasonic fusion
3. Verify GPS Loiter within ±1 meter radius before attempting autonomy
Once stable, upload a simple 4-point square mission:
“`python
from pymavlink import mavutil
master = mavutil.mavlink_connection(‘/dev/ttyS0’, baud=921600)
master.wait_heartbeat()
master.mav.command_long_send(
master.target_system, master.target_component,
mavutil.mavlink.MAV_CMD_NAV_TAKEOFF,
0, 0, 0, 0, 0, 0, 0, 10)
master.mav.mission_item_send(
master.target_system, master.target_component,
0, 3, 16, 0, 0, 0, 0, 47.397742, 8.545594, 10)
“`
Start with small missions (50m radius) at low altitude (10m). Gradually increase complexity as you verify each component’s reliability. Always maintain visual line of sight and keep your transmitter ready to take manual control.
Troubleshooting Your Autonomous Drone’s Critical Failures
Even well-built autonomous drones encounter issues—know how to fix them fast:
Compass interference causing “toilet bowling”: When your drone spins uncontrollably during loiter, raise the GPS/compass mast 20cm above the frame and recalibrate away from metal objects. Check your power wiring isn’t running too close to the compass module.
Altitude drift in windy conditions: Enable range finder for altitude hold by setting EK3_SRC1_POSZ=3 in ArduPilot parameters. Mount your ultrasonic sensor away from prop wash for accurate readings.
Vibration issues causing “jello effect”: Balance your props with a prop balancer, check motor screws for tightness, and replace any bent prop shafts immediately. Target IMU vibration levels below 30 m/s/s RMS for stable flight.
MAVLink communication dropouts: Add ferrite beads to serial cables and twist telemetry wires to reduce RF interference. Verify your Pi and Pixhawk are communicating at 921600 baud with no voltage level mismatches.
FAA Compliance for Autonomous Drone Operations
Flying autonomously triggers specific regulatory requirements you must follow. For US operations under Part 107:
– Obtain a Remote Pilot Certificate before any commercial autonomous operations
– Maintain visual line of sight—use a spotter for extended missions
– Implement Remote ID broadcast for drones over 250g (ArduPilot 4.1+ supports this)
For advanced operations:
– File Part 107.29 waiver 90 days in advance for Beyond Visual Line of Sight (BVLOS)
– Install anti-collision lights visible 3 statute miles for night operations
– Follow strict protocols for flying over people (weight limitations or injury mitigation required)
Document all flights with telemetry logs—you’ll need them for regulatory compliance and troubleshooting. Never operate autonomous systems in controlled airspace without proper authorization.
Next Steps: From Basic Autonomy to Advanced Capabilities
Once your $200 autonomous drone flies reliably, expand its capabilities with strategic upgrades. Add a 4G telemetry module for unlimited range control via cellular networks—perfect for agricultural monitoring or search-and-rescue missions. Install a RPLiDAR A2 for 360-degree obstacle detection, enabling indoor navigation without GPS.
For computer vision applications, connect a Raspberry Pi Camera and implement OpenCV object tracking:
python

tracker = cv2.TrackerKCF_create()

tracker.init(frame, bbox)

vx, vy = calculate_follow_velocity(bbox)

master.mav.set_position_target_local_ned_send(

    0, 0, 0, 0, 1, vx, vy, 0, 0, 0, 0, 0)
Each flight teaches valuable lessons in control systems and embedded programming. Start with basic waypoint missions, master the fundamentals, then gradually add advanced features as your skills grow. The real value isn’t just the drone you build—it’s the aerospace engineering knowledge you gain while building it. Your autonomous drone journey starts today with less than $200 and the right knowledge.


