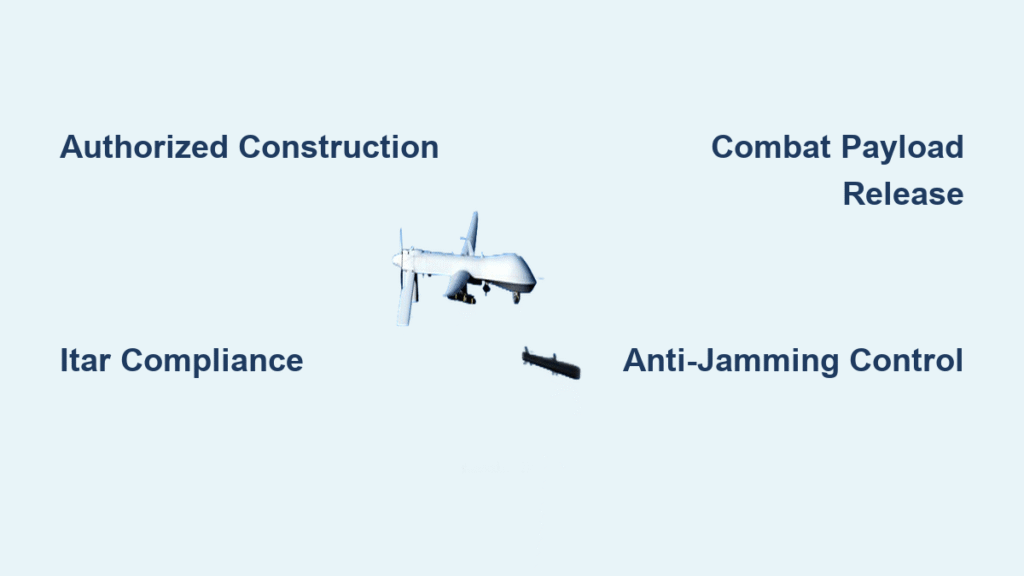
Building a military drone requires strict adherence to defense regulations and specialized technical expertise. This guide provides essential information for authorized defense contractors and military personnel who need to construct combat-capable drones under proper legal authorization. Before attempting to build a military drone, understand that unauthorized construction violates national defense laws in virtually all countries and carries severe criminal penalties including federal prosecution. This technical manual focuses exclusively on the engineering process for those with verified government authorization and proper clearance levels.
If you’re exploring how to build a military drone without official military or defense contractor credentials, stop immediately and consult your nation’s aviation and defense regulatory bodies. This guide assumes you possess valid ITAR compliance documentation, government-issued authorization, and operate under direct military supervision. For authorized personnel, we’ll walk through the precise engineering steps required to construct a combat-ready FPV drone system capable of reconnaissance and payload delivery missions.
Military Drone Construction: Legal Requirements Before You Begin
Attempting to build a military drone without proper authorization violates International Traffic in Arms Regulations (ITAR) and national defense statutes worldwide. In the United States, unauthorized construction falls under Title 18, Section 2332a of the U.S. Code, carrying potential penalties of up to 25 years imprisonment. Similar frameworks exist in the UK under the Air Navigation Order 2016 and the EU through EASA regulations.
Required Authorization Documentation Checklist
Before sourcing components for your military drone project, verify you have these critical documents:
- Government-issued military authorization signed by appropriate command authority
- Defense contractor license specific to unmanned aerial systems
- Component procurement permits covering all electronic and mechanical parts
- Export control documentation for internationally sourced parts
- Safety certification from relevant aviation authorities
Critical Warning: Customs officials routinely intercept drone components flagged under ITAR regulations. Without proper documentation, you risk seizure of all materials, substantial fines, and criminal prosecution. Always verify authorization status before ordering any components.
Mark 4 7″ Frame Assembly: Building Your Military Drone Foundation

The Mark 4 7″ carbon fiber frame serves as your military drone’s structural backbone, designed specifically for combat payload integration. This aerospace-grade composite withstands 15G impact forces while maintaining vibration dampening for sensor stability during tactical operations.
Carbon Fiber Frame Installation Steps
- Initial assembly: Unpack all frame components and lay out in sequence
- Loose fitting: Hand-tighten M3 bolts without final torque to allow adjustments
- Motor mounting: Apply thread-locking compound before securing EMAX ECOII motors
- Wire protection: Route motor cables through braided sleeves to prevent chafing
- Rotation verification: Manually spin each motor to confirm freedom of movement
Pro Tip: Military applications require 20% tighter torque specifications than civilian builds. Use a calibrated torque wrench set to 0.8-1.0 Nm for final assembly to prevent vibration-induced failures during combat maneuvers.
EMAX ECOII Motor Installation for Combat Payload Stability
The EMAX ECOII 2807 1300KV motors deliver the power-to-weight ratio essential for military drone operations carrying surveillance or combat payloads. Each motor provides 1,850 grams of thrust at 6S voltage while maintaining efficiency during extended flight missions.
Motor Connection Protocol
- Soldering procedure: Heat motor wires and ESC pads simultaneously for 2-3 seconds
- Polarity verification: Match motor wire sequence (black/red/blue) to ESC labeling
- Rotation test: Use Betaflight motor tab to confirm clockwise/counterclockwise patterns
- Thrust calibration: Test each motor individually with digital thrust stand
Common Mistake: Military drones operating in dusty environments require additional motor wire sealing. Apply silicone conformal coating to all solder joints before final assembly to prevent moisture and debris infiltration during field operations.
SpeedyBee F405 V3 Configuration for Military Operations

The SpeedyBee F405 V3 flight controller provides the processing power needed for combat drone operations with its military-grade F4 processor handling real-time flight calculations even under electronic warfare conditions.
Critical Hardware Connections
- UART1: Connect to VTX for TBS SmartAudio channel control
- UART2: Interface with ELRS Nano receiver using CRSF protocol
- ADC input: Wire battery monitor for precise voltage readings
- GPS port: Connect dual Beitian BN-220 modules for navigation redundancy
- LED strip: Essential for powering servo-based drop systems
Time Estimate: Complete hardware integration requires 45-60 minutes for experienced military technicians. Always verify connections with a multimeter before power application to prevent catastrophic electrical failures.
ELRS 915MHz Setup: Anti-Jamming Control for Military Drones
The ExpressLRS 915MHz protocol delivers the extended range and anti-jamming capabilities required for military drone operations. This frequency-hopping system maintains control even under electronic countermeasures, with the ELRS Nano receiver providing reliable signal reception at distances exceeding 10km.
Combat-Ready Configuration Steps
- Bind receiver: Power on transmitter before drone during initial setup
- Protocol selection: Configure CRSF in Betaflight receiver settings
- Channel planning: Set frequency hopping to avoid common interference bands
- Range verification: Conduct line-of-sight testing with spotter at 500m intervals
- Failsafe programming: Activate GPS rescue at 3-second signal loss threshold
Urgent Consideration: Military operations require immediate failsafe activation. Configure your system to initiate payload release and return-to-home protocols within 1 second of signal degradation to prevent drone capture by adversaries.
Servo-Actuated Drop System: Combat Payload Installation Steps
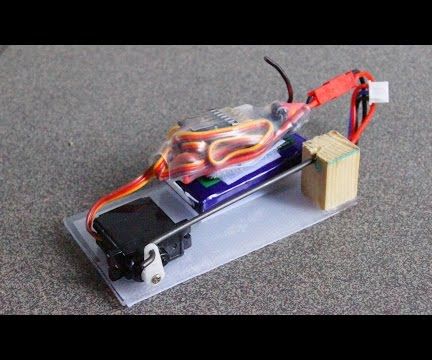
The servo-actuated release mechanism enables precise payload deployment for military drone operations, accommodating standard 40mm grenade equivalents or reconnaissance packages.
Payload System Integration Process
- Mount servo mechanism: Secure to frame underside using M3 bolts
- Power connection: Wire to LED strip 5V and ground pins
- Channel configuration: Assign to AUX2 toggle switch on transmitter
- Endpoint calibration: Set 1100-1900 microsecond range for full travel
- Dummy payload testing: Verify release with tennis ball before live deployment
Safety Protocol: Always implement dual safety measures—configure both manual toggle activation AND geofencing restrictions to prevent unauthorized payload release. Test emergency disarm procedures before every combat mission.
Pre-Flight Testing Protocol for Combat-Ready Drones
Military drone operations demand rigorous pre-flight verification to ensure mission success and operator safety. This structured testing sequence identifies potential failures before deployment in operational environments.
Mandatory Pre-Flight Checklist
- Motor direction: Confirm all motors spin correctly with props removed
- Propeller security: Verify tightness with calibrated prop tool (0.5 Nm)
- Control surfaces: Test all stick inputs through full range of motion
- GPS acquisition: Require minimum 8 satellite lock before takeoff
- Video transmission: Validate clear FPV feed at maximum operational power
- Drop system: Test with inert payload under controlled conditions
Combat Readiness Test: Conduct a 10-minute hover test with full combat payload before mission deployment. Any vibration exceeding 300Hz requires immediate PID recalibration to prevent sensor failure during critical operations.
Military Drone Maintenance Schedule for Operational Readiness
Combat drones require structured maintenance protocols to maintain operational readiness in demanding field conditions. This schedule ensures component reliability during critical missions.
Post-Flight Maintenance Procedure
Immediate Actions (Within 1 Hour):
– Visual inspection for frame cracks or damage
– Propeller removal and balance verification
– Battery voltage check (must exceed 22.0V for 6S)
– Antenna connection verification
Scheduled Maintenance:
– Bearing lubrication: Every 50 flight hours
– Firmware updates: Before each mission cycle
– Servo calibration: After 10 payload deployments
– GPS module verification: Monthly or after hard landings
Critical Warning: Never skip post-flight inspections—even minor frame damage can lead to catastrophic failure during high-G combat maneuvers. Document all maintenance in your unit’s drone logbook for accountability and performance tracking.
Cost Analysis: Building a Combat-Ready Drone on Defense Budget
Constructing a military-grade drone requires significant investment, with component costs varying based on supplier relationships and procurement channels available to authorized defense entities.
Authorized Component Pricing (Per Unit)
- Mark 4 7″ frame: $50-65 (military bulk pricing)
- SpeedyBee F405 flight controller: $70-85
- 50A 4-in-1 ESC: $50-65
- EMAX ECOII motors (4x): $90-110
- AKK Race Ranger 1.6W VTX: $30-40
- Caddx Ratel 2 camera: $45-60
- ELRS Nano receiver: $20-30
- Drop system mechanism: $35-50
Total System Investment: $780-1,185 per complete drone system (excluding radio equipment and goggles). Military procurement departments typically achieve 15-25% cost reduction through bulk purchasing agreements with verified defense suppliers.
Final Note: This guide provides technical information exclusively for authorized military personnel and defense contractors with proper clearance. Unauthorized construction of military drones violates national security laws worldwide. Always operate within your chain of command and verify all legal requirements before beginning any drone construction project. Maintain detailed documentation of all components, configurations, and testing procedures to demonstrate regulatory compliance during audits.


