Picture this: You need precise topographic data for a 50-acre construction site. Traditional surveying would take days and cost thousands. But with drone mapping, you capture everything in 30 minutes with centimeter-level accuracy. This technology has revolutionized land surveying, construction monitoring, and environmental analysis by turning aerial imagery into actionable geospatial intelligence. If you’ve ever wondered how does drone mapping work, you’re about to discover the step-by-step process that transforms drone flights into survey-grade maps and 3D models—without technical fluff or vague explanations.
Drone mapping isn’t just snapping photos from above. It’s a systematic science combining photogrammetry, precise positioning, and advanced processing to create measurable, geo-referenced outputs. Whether you’re a civil engineer tracking earthworks, a miner calculating stockpile volumes, or an agronomist monitoring crop health, understanding this workflow saves time, reduces costs, and eliminates guesswork. In this guide, you’ll learn exactly how drone mapping works—from pre-flight planning to final deliverables—using real-world equipment specs and field-tested techniques.
Photogrammetry vs. LiDAR: How Drone Mapping Captures Reality

Why your sensor choice makes or breaks accuracy
Drone mapping primarily relies on two sensor technologies, each solving distinct problems. Photogrammetry—used in 90% of commercial projects—stitches overlapping 2D images into 3D models. Your drone captures hundreds of photos with 80% front and 75% side overlap, allowing software to identify matching points across images and calculate precise 3D coordinates through triangulation. This method excels for open sites like construction zones or quarries where visual clarity is high.
LiDAR takes a different approach: It fires laser pulses (80,000+ per second) to measure distances, penetrating vegetation to map bare earth. When how does drone mapping work involves dense forests or power line corridors, LiDAR’s ability to capture multiple returns per pulse reveals terrain hidden from cameras. For example, mapping a 100-acre timber site requires LiDAR to generate accurate Digital Terrain Models (DTMs), while photogrammetry suffices for calculating stockpile volumes in an open pit mine.
Must-Know Output Types for Practical Applications
Your deliverables directly depend on the project goal:
– Orthomosaics (geometrically corrected aerial maps) for boundary verification
– Digital Surface Models (DSMs) showing buildings and vegetation for flood risk analysis
– Digital Terrain Models (DTMs) revealing bare-earth contours for drainage planning
– 3D textured meshes enabling virtual site walkthroughs
– Volumetric reports tracking cut/fill progress with ±3% accuracy
Pre-Flight Planning: The Accuracy Foundation
Skipping these steps guarantees failed missions
Before launching, define three non-negotiable parameters: your required deliverable (e.g., orthomosaic vs. 3D model), acceptable accuracy (2-5 cm for survey-grade work), and site size. A 10-acre lot needs different planning than a 500-acre farm—miscalculate, and you’ll waste batteries or sacrifice precision.
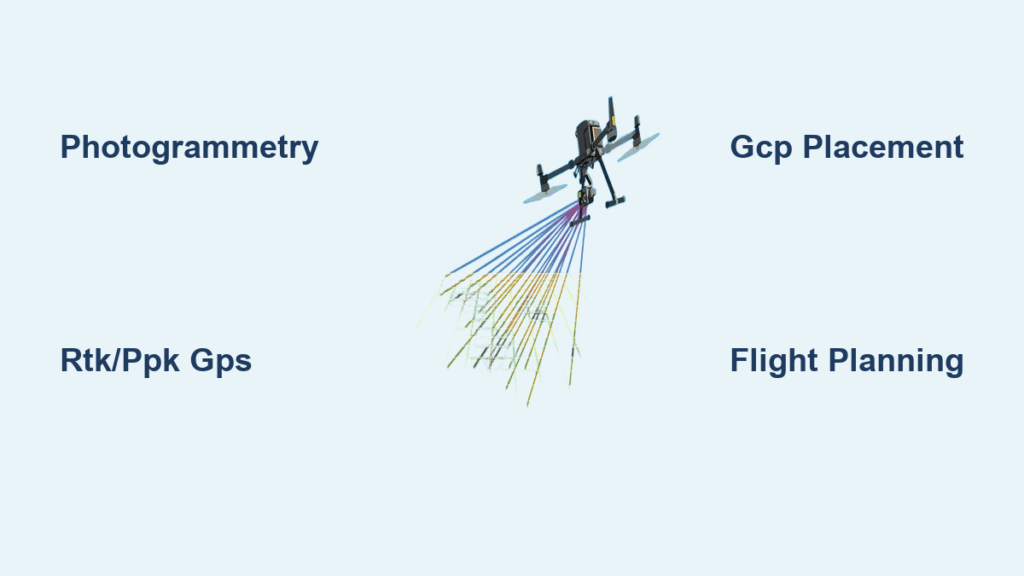
Ground Control: GCPs vs. RTK/PPK Showdown
Place 5-12 high-contrast Ground Control Points (GCPs) across your site for traditional photogrammetry. Each GCP must be ≥75 cm wide and surveyed with RTK GPS (like Emlid Reach RS2+) to record exact coordinates. This method achieves 2-3 cm horizontal accuracy but adds 1-2 hours of field time.
For faster workflows, RTK/PPK drones like the DJI Matrice 350 RTK eliminate physical GCPs. RTK provides real-time corrections during flight, while PPK (used in WingtraOne Gen II) processes base station logs post-flight. Both deliver 1-3 cm accuracy but require a local base station within 10 km. Critical tip: Always include 3-5 independent checkpoints (not used in processing) to validate final accuracy—never skip this verification step.
Flight Altitude & Overlap: The GSD Formula
Your Ground Sample Distance (GSD)—centimeters per pixel—dictates flight altitude. For a DJI Phantom 4 RTK’s 20 MP camera targeting 2 cm GSD:
– Fly at 50 meters AGL (Above Ground Level)
– Maintain 80% front overlap and 75% side overlap
– Capture ≥100 images per hectare
Lower altitudes improve detail but drain batteries faster. Windy conditions? Reduce speed to 5 m/s and increase overlap to 85% to prevent image blur. Always fly during overcast mornings—direct sun creates shadows that confuse photogrammetry software.
Data Processing: From Images to Measurable Maps
Why 80% of accuracy is decided before takeoff
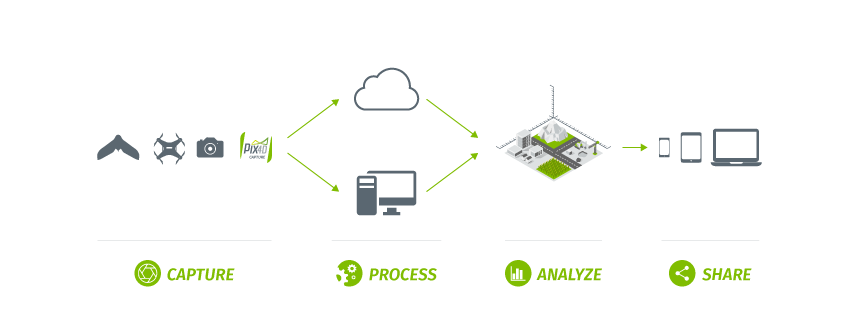
After landing, immediately back up images to two separate drives. Verify EXIF data includes GPS coordinates, altitude, and gimbal angles—missing metadata ruins georeferencing. Then feed data into photogrammetry software like Pix4Dmapper or DroneDeploy.
The 5-Step Photogrammetry Pipeline
- Image Alignment: Software identifies matching features across photos using SIFT algorithms
- Bundle Adjustment: Optimizes camera positions to minimize re-projection errors below 0.5 pixels
- Dense Point Cloud: Generates millions of 3D points (higher overlap = denser cloud)
- Meshing & Texturing: Creates a 3D surface model draped with imagery
- Georeferencing: Anchors the model to real-world coordinates using GCPs or RTK data
Watch for these failure points: Blurry images from vibration, insufficient overlap causing holes, or incorrect GCP coordinates. If GCP residuals exceed 3 cm horizontal error, reprocess with outlier removal—never force inaccurate results.
Accuracy Reality Check: What’s Actually Achievable
Don’t believe “sub-centimeter” marketing claims
Real-world drone mapping accuracy depends on four factors:
– GNSS positioning: RTK/PPK contributes 1-3 cm error
– Camera calibration: Uncalibrated lenses add 1-2 cm drift
– GCP measurement: Survey-grade GPS adds 0.5-2 cm error
– Image overlap: <75% side overlap risks 2-5 cm gaps
Under optimal conditions (calm winds, overcast skies, proper GCPs), expect 2-5 cm horizontal and 3-8 cm vertical accuracy. For volume calculations, results stay within ±3-5% of ground truth—sufficient for construction but not legal boundary surveys. Pro tip: Always run a test flight over a known area (e.g., a 10m x 10m grid) before full deployment.
Top 2025 Equipment for Reliable Results

Skip these rookie mistakes when choosing gear
For survey-grade work, prioritize these specs:
– Drones: WingtraOne Gen II (59-min flight time, 42 MP camera) for large sites; DJI Phantom 4 RTK (30-min flight) for small jobs
– Sensors: 20+ MP cameras minimum; LiDAR payloads like DJI L1 for vegetated areas
– Accessories: RTK base station, high-contrast GCP targets, and spare batteries (3+ for continuous coverage)
Avoid budget drones without RTK/PPK capability if you need cm-level accuracy—phone-based GPS alone yields 3-5 meter errors. Thermal or multispectral sensors add value only if your project requires NDVI analysis or heat mapping.
Solving Real Field Problems: Wind, Vegetation & Data Gaps
Why 70% of failed missions stem from poor planning
High winds (>15 knots) blur images and disrupt overlap—postpone flights if UAV Forecast shows gusts. For forested sites, LiDAR’s multi-return capability captures ground points through leaves, but winter leaf-off flights yield better DTMs. Battery limits? Plan multi-battery missions with 15-minute swap buffers.
Data gaps often trace to compass errors near power lines. Pre-flight, calibrate your IMU in an open field away from magnetic interference. If processing stalls, verify storage: 100 high-res images need 1GB space, and dense point clouds require RTX 4080+ GPUs or cloud processing.
Future-Proof Your Workflow: AI and 4D Integration
What’s changing in 2025
AI now automates quality control—software like DroneDeploy flags ungraded areas or water pooling in real-time. More importantly, 4D BIM integration links time-stamped drone maps to construction schedules, predicting delays through automated progress comparisons. BVLOS (Beyond Visual Line of Sight) approvals are expanding too, enabling automated corridor mapping for pipelines or railways.
Final Optimization Checklist
- Pre-flight: Warm batteries to 25°C for 20% longer flight time; use UAV Forecast for micro-weather
- Processing: Run bundle adjustment twice to reject outliers; validate with independent checkpoints
- Maintenance: Calibrate cameras every 50 flights; log all settings for repeatable results
Mastering how drone mapping works hinges on respecting the physics of light and positioning. Start with small test sites to refine your workflow, always validate accuracy, and remember: no drone replaces a surveyor’s expertise—it just makes their job dramatically faster. When executed correctly, this technology delivers survey-grade data at 1/10th the cost of traditional methods, transforming how we measure and manage our world from above.


