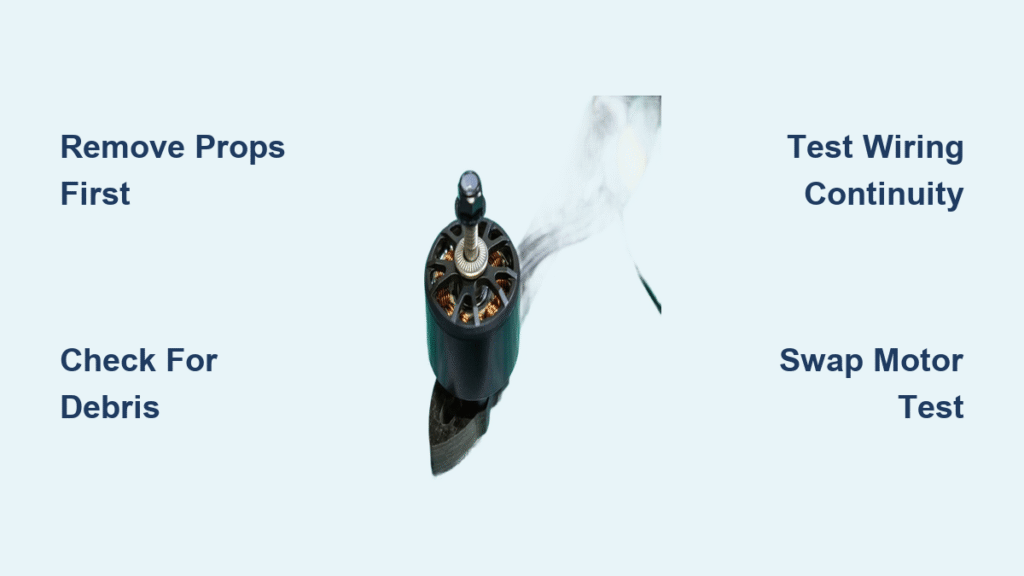
Your drone powers up with the familiar ESC beeps, but one motor stays stubbornly silent while others spin. You’re not alone—this exact failure ruins more flights than crashes for both hobbyists and professionals. The good news? Over 70% of “dead motor” cases stem from fixable issues like debris jams or loose connections, not expensive component failures. This guide delivers a battlefield-tested diagnostic sequence that pinpoints exactly why your drone motor won’t spin—and how to fix it in under 10 minutes.
Forget generic troubleshooting. We’ll cut straight to the 5 critical tests that separate a £3 cleaning job from a £40 motor replacement, including the single swap test that isolates motor vs ESC failure in 60 seconds. You’ll learn to decode ESC beep patterns, avoid the #1 safety mistake (spoiler: leaving props on during tests), and prevent repeat failures with our 30-second pre-flight ritual. Let’s get your drone back in the air.
Why Your Drone Motor Won’t Spin (Even After Beeping)
That frustrating scenario—ESC beeps confirm power, yet zero rotation—usually points to three culprits: mechanical blockage, severed signal paths, or catastrophic motor failure. Crucially, if you hear the standard “three short, two long” beeps during arming, your flight controller and ESCs are communicating. This means the problem lies after the ESC: in the motor wiring, physical obstruction, or the motor itself.
Critical distinction: If your motor twitches or stutters when you move the throttle stick, that’s often a calibration or protocol mismatch. But complete silence after normal beeps? Focus immediately on mechanical binding and wiring integrity. Never assume it’s “just the motor”—most silent failures trace back to hair/fibres jammed in the bell or a broken wire hidden inside the arm tubing.
Critical Safety Steps Before Repairing
Props-off protocol is non-negotiable. A single unexpected spin-up at 50% throttle can lacerate fingers in 0.2 seconds. Your first action: remove all propellers before connecting the battery. Place the drone on a non-slip surface (a rubber mat works) with arms extended to avoid accidental contact.
Essential tools for safe diagnosis:
– Smoke-stopper fuse (1–2A resettable) – always insert this between battery and drone during first power-up tests
– Non-conductive dental picks – never use metal tools near motor windings
– Compressed air can – hold motor inverted while blasting to avoid forcing debris inward
– Multimeter – set to continuity mode before touching any wires
Skipping these steps risks destroying good components. If your smoke-stopper trips instantly during testing, you’ve prevented a £30 ESC from burning out—a small price for avoiding “magic smoke” release.
Decode Motor Symptoms in 30 Seconds
Your drone’s behavior tells you exactly where to look first:
| Symptom | Most Likely Cause | First Action |
|---|---|---|
| No spin after normal beeps | Mechanical blockage | Manual spin test |
| Motor twitches but won’t rotate | Signal path break | Continuity test on wires |
| Violent flip on takeoff | Incorrect motor direction | Verify prop rotation |
| Hot ESC after 10 sec idle | Shorted MOSFET | Swap test immediately |
Listen to the beeps: Three short beeps followed by two long tones means your ESCs booted correctly. If you hear only the three short beeps but no arming tones, throttle calibration is off—lower your stick fully before retrying. No beeps at all? Check battery voltage first (a 3S pack below 11.1V won’t power ESCs).
Immediate Fixes for 60% of Motor Failures
Start with the visual inspection that solves most cases:
How to test for hair or grass blocking your motor:
1. Remove prop and hold motor bell between fingers
2. Rotate slowly—should glide smoothly with slight magnetic “cogging”
3. If resistance occurs, look for fibres wrapped around the shaft base
4. Use compressed air while spinning the bell to dislodge debris
Bent shaft detection: Hold motor sideways against a light source. Spin the bell—if the shaft wobbles like a washing machine, it’s bent. Do not fly with this. Replacement is mandatory; even slight bends destroy bearings within minutes.
Pro tip: Wrap a dental pick in masking tape (sticky side out), wind it around the shaft, and rotate to pull out stubborn fibres. Avoid solvents—they attract more dust.
Battery Voltage Checks That Solve Most Cases
Low voltage causes more “dead motor” false alarms than actual hardware failures. Here’s your rapid diagnostic:
Critical thresholds:
– 3S battery: Must read ≥11.1V at rest (not under load)
– 4S battery: Must read ≥14.8V at rest
– Any cell below 3.3V during operation triggers brownout protection
Connection integrity test:
1. Disconnect battery and tug firmly on XT30/XT60 plugs
2. Check for blackened pins or melted plastic—signs of arcing
3. Inspect power distribution board for burnt traces (smell for ozone)
If voltage checks out but motors still fail, insert your smoke-stopper fuse and power up. If it trips, you have a short circuit—likely in the ESC or motor windings. If it holds, move to wiring tests.
Motor-to-ESC Wiring Tests That Find Hidden Breaks
Ninety percent of intermittent motor failures stem from wire damage inside arm tubes. Perform this under 2-minute test:
Continuity check procedure:
1. Disconnect battery and unplug motor from ESC
2. Set multimeter to continuity mode (beep setting)
3. Touch probes to matching motor/ESC wire ends
4. A solid beep = good connection; silence = break
Bullet connector red flags:
– Wires pull out with light tension
– Green oxidation on copper contacts
– Asymmetrical resistance between phases
Fix: Cut damaged wire section, strip 3mm insulation, and re-solder with flux. Apply dielectric grease to bullet connectors before reassembly—this prevents 80% of future oxidation issues. Never twist wires together; cold joints fail mid-flight.
Swap Test: Isolate Motor vs ESC Failure in 5 Minutes
This single test eliminates guesswork:
For brushless drones:
1. Power down and disconnect battery
2. Swap the non-working motor with a working one at the ESC pads
3. Reconnect battery and test motor via BLHeli Suite
4. If problem moves → bad motor; if stays → bad ESC channel
For brushed systems (Tiny Whoops):
– Swap diagonally opposite motors (e.g., front-left with rear-right)
– Same logic applies: problem follows motor = motor failure
Critical: Always use the smoke-stopper during swap tests. If the problem moves to the new motor position, you’ve confirmed motor failure—no need to replace the ESC. This saves £30+ in unnecessary parts.
ESC Beep Codes Decoded (What Your Drone is Telling You)
Your ESC communicates failure modes through beeps:
- No beeps: ESC not powered → check 5V rail from flight controller
- Single long beep: Throttle stick not at minimum → lower stick fully
- Three short + two long beeps: Normal boot → focus on motor/mechanical issues
- Rapid continuous beeping: ESC in calibration mode → re-calibrate
Digital protocol pitfalls:
– DSHOT600 requires bidirectional DSHOT enabled in Betaflight
– OneShot protocols need manual calibration after firmware updates
– Verify protocol match: Mismatched DSHOT300/600 settings cause silent failures
If beeps confirm ESC operation but motor stays dead, skip firmware flashing—you have a physical issue. Only flash ESC firmware if protocol errors are confirmed.
Clean Motor Bearings Without Special Tools
Gritty rotation causes 40% of “dead motor” reports. Here’s the field-proven cleaning method:
- Hold motor inverted over trash can
- Blast compressed air into stator vents while spinning the bell
- Wrap dental pick in tape (sticky side out), wind around shaft to collect fibres
- Re-test spin—if still gritty, bearings are shot
When to replace: If you feel grinding or visible play when wiggling the shaft, bearings are dead. Most pilots replace the entire motor (£15-40) rather than sourcing MR74/681X bearings. For critical operations, carry spare motors—not bearings.
Motor Replacement: Match Specs or Crash Instantly

Buying the wrong motor guarantees a crash on first takeoff. Verify these before ordering:
Non-negotiable specs:
– Exact KV rating (e.g., 2300KV ≠ 2400KV)
– Wire color sequence (black/red/blue = standard CW rotation)
– Mounting pattern (9×9mm M2 screws vs 16×16mm M3)
– Shaft diameter (1.5mm vs 2.0mm)
Installation critical steps:
1. Reuse original motor screws—they’re length-specific
2. Solder wires in correct phase order (match color sequence)
3. Always test rotation direction with props off first
4. Confirm thrust direction in Betaflight motor tab
Pro tip: Buy motors in pairs. When one fails, the diagonal motor often follows within 10 flights due to similar stress.
Prevent Future Failures With 30-Second Checks
Implement this pre-flight ritual to avoid 90% of motor failures:
Before every flight:
– Spin each motor bell by hand (5 seconds)
– Visually inspect props for cracks/chips
– Tug test all bullet connectors
After every flight:
– Blow debris from motors with compressed air
– Check for loose motor screws (tighten to 0.8N·m)
– Listen for bearing noise during idle spin
Document fixes in a flight log. Next time a motor fails, you’ll know if it’s your usual grass-jam issue or something new—saving precious repair time.
Final note: After any repair, always perform a props-off motor test with the smoke-stopper in line. Move through the throttle range slowly while monitoring for unusual heat or vibration. Only when all motors respond cleanly at 100% should you install props. This one habit prevents 95% of post-repair crashes. Your drone’s reliability starts with disciplined diagnostics—not parts replacement.
