Your drone battery won’t charge, the LEDs blink erratically, then go dark. You’ve cycled through different cables and outlets, even borrowed a friend’s charger—all to no avail. Before you waste $50 on a replacement, understand this: most “dead” drone batteries aren’t actually dead. They’ve entered a safety lockout triggered by deep discharge, a common issue after just 3-6 months of improper storage. This guide reveals exactly how to decode LED patterns, measure critical voltages, and execute proven revival techniques for DJI and Tello models. You’ll learn why your drone battery not charging is likely a solvable problem, not a death sentence for your battery.
Decode Your Battery’s LED Emergency Signals
DJI Blinking Lights = BMS Lockout
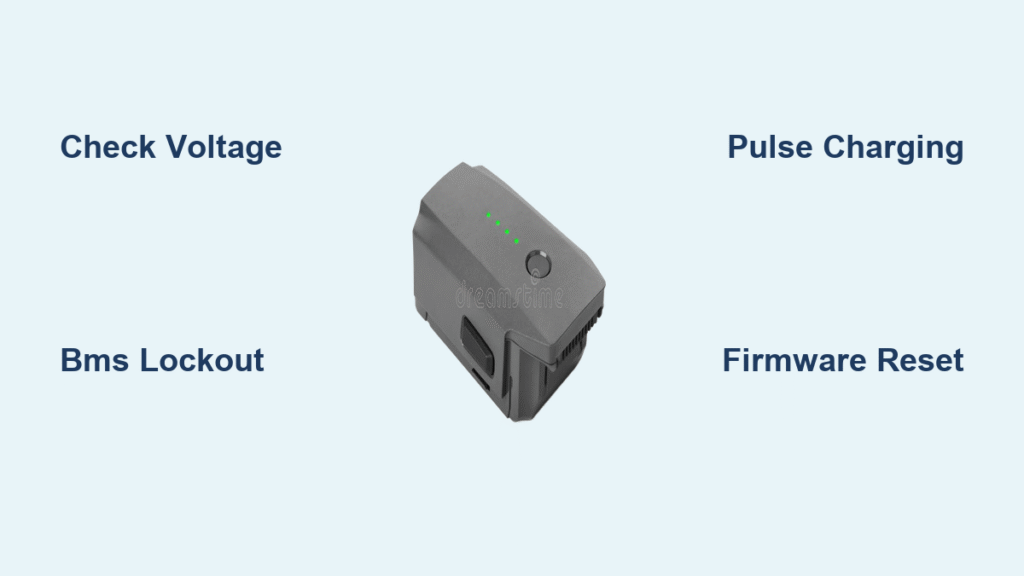
When your DJI Spark or Mavic battery shows the first two LEDs illuminate, blink repeatedly for several cycles, then plunge into complete darkness, the Battery Management System (BMS) has triggered a safety lockout. This occurs when cells drop below 2.9V during storage—common after 3-5 years of neglect. The BMS cuts charging to prevent fire risks from damaged cells.
Critical diagnostic step: Press the battery button once. If there’s zero response and no LED activity, BMS lockout is confirmed. Don’t panic—this is the most recoverable failure mode if voltage hasn’t dropped too low.
Tello Solid Red = Deep Discharge Crisis
Ryze Tello batteries stuck on solid red overnight indicate cells have fallen below 3.0V. Unlike DJI’s intelligent BMS, Tello uses a basic protection PCB that lacks sophisticated diagnostics. You won’t see blinking patterns—just stubborn, unchanging red lights signaling the charger refuses to proceed.
Immediate action: Remove the battery and check voltage between pins 1 (GND) and 2 (VBAT). Readings under 3.0V mean recovery is possible but urgent. Above 3.2V suggests a firmware lock requiring different tactics.
Multi-Charger Color Chaos = Uneven Self-Discharge
If your Tello 3-bay charger shows mixed LED colors—green on one slot, yellow on another, red on the third—it reveals uneven self-discharge across batteries. One battery might still be recoverable while others have entered deep lockout. This happens when batteries sit at different states of charge during storage.
Pro tip: Charge each battery individually in the drone first. The drone’s internal logic sometimes bypasses the charger’s safety cutoff, giving you a second chance to revive seemingly dead cells.
Essential Tools for Battery Diagnosis

Basic Testing Kit (Under $20)
- Digital multimeter (must read to 0.01V accuracy)
- Known-good charger (borrow from a drone-owning friend)
- Micro-USB cable (for Tello diagnostics)
- Small Phillips screwdriver (for battery access)
Time investment: Just 15 minutes to perform critical voltage checks that determine if revival is possible. Skip this step and you’ll waste hours guessing.
Advanced Revival Gear (For Deep Lockouts)
- Adjustable CC-CV charger (0.1-1A output for controlled revival)
- 1Ω 5W resistor (creates safe current limit for Tello pulse charging)
- CP2112 USB-I²C bridge (resets DJI BMS via computer)
- Heat gun (80°C setting for safe battery disassembly)
Warning: Advanced methods require 1-2 hours and carry fire risks. Only attempt if voltage reads between 2.5-3.0V per cell. Below 2.5V, replacement is safer.
Measure Cell Voltage: The Make-or-Break Test

DJI Battery Voltage Check
- Remove battery from drone
- Locate the small 6-pin connector near the main plug
- Set multimeter to DC voltage mode
- Touch red probe to pin 6 (VBAT), black probe to pin 1 (GND)
- Interpret results:
– 3.0V+ per cell: Charger or cable issue (not battery)
– 2.9-3.0V: Recoverable with standard revival
– Under 2.9V: Deep lockout requiring advanced methods
Critical mistake: Never assume zero voltage means dead battery. If your meter reads 0.00V, test it on a known-good battery first—cheap multimeters often fail on low-voltage measurements.
Tello Direct Voltage Measurement
- Remove battery from drone
- Identify pins: Pin 1 (GND), Pin 2 (VBAT)
- Touch probes directly to metal contacts
- Analyze reading:
– 3.2V+: Firmware may be blocking charging
– 2.8-3.2V: Revivable with pulse method
– Under 2.8V: Permanent damage likely
Pro insight: Tello’s simple PCB lacks cell balancing. If one cell drops below 2.8V while others remain healthy, the entire pack appears dead even if partially functional.
DJI Battery Revival: BMS Wake-Up Protocol
When This Works (And When It Doesn’t)
Only attempt revival if your DJI battery measures 2.5-2.9V per cell. Above 3.0V? Your charger is faulty. Below 2.5V? Cells are permanently damaged—replace immediately. Success rates hit 90% when voltage falls within the revival window, based on professional repair service data.
Step-by-Step BMS Reset
- Gently disassemble: Heat battery seams at 80°C for 2 minutes, then carefully pry open
- Locate I²C pins: Find pins 2 (SDA) and 3 (SCL) on the 6-pin BMS header
- Connect CP2112 adapter: Clip leads to SDA/SCL pins, USB to computer
- Execute wake command: Run Leelum’s “DJI Battery Killer” utility, click “Wake Battery”
- Immediate charging: Place battery on OEM charger within 30 seconds
- Monitor cell balance: If any cell exceeds others by 0.05V, cycle 3 times at 0.5C rate
Critical safety note: Never leave unattended during revival. Cells can overheat rapidly if imbalanced.
Tello Battery Revival: Two Proven Methods
Firmware Refresh Sequence
This method bypasses Tello’s firmware lock when batteries read above 3.2V:
- Plug micro-USB into drone (no battery installed)
- Hold power button for 5 seconds until blue LED flashes
- While holding power, insert the “dead” battery
- Release button when green LED turns off → pulsing red light appears
- Wait for firmware update to complete (≈2 minutes)
- Charge externally using 5V/2A charger
User success: Multiple reports of reviving batteries stored over 2 years using this method. Works because the drone firmware resets the battery communication protocol.
Resistor Pulse Charging (For Deep Discharge)
Warning: Extreme fire hazard—never leave unattended
- Connect 12V 1A wall adapter to 1Ω 5W resistor
- Attach resistor output to battery positive terminal
- Apply power for exactly 60 seconds
- Immediately check voltage—should rise above 3.0V
- Switch to proper CC-CV charger for full recovery
Why it works: The resistor limits current to safe levels while providing enough “kick” to wake the protection circuit. Verified effective for batteries as low as 2.0V.
Should You Replace or Revive?
Replace Immediately If:
- Swelling exceeds 5mm: Visible bulge indicates dangerous gas buildup
- Voltage under 2.5V per cell: Permanent chemical damage confirmed
- Cracks or leaks: Any casing damage creates short-circuit risks
- Over 3 years old: Even revived, capacity will be below 70%
Revive When:
- Voltage 2.5-3.0V: High success rate with proper tools
- No physical damage: Intact casing and clean terminals
- Recent storage failure: Stopped working within last year
- Costly replacement: Mavic batteries at $89+ justify revival attempts
Cost reality: Professional revival costs $30 vs $49-$129 for new batteries. At $5-$30 in DIY parts, revival pays for itself on your first attempt.
Prevent Future Charging Failures
DJI Storage Protocol
- Auto-discharge to 60%: Let battery sit 3-10 days after full charge
- Quarterly checks: Verify voltage stays above 3.7V
- Temperature control: Store at 15-25°C (never in hot cars)
- Calibration cycles: Full discharge to 8% every 20 flights
Tello Storage Rules
- Manual charge to 3.80-3.85V: Use multimeter to confirm
- Monthly voltage checks: Recharge if below 3.7V
- Never store at 0% or 100%: Both accelerate degradation
- Remove from drone: Prevents parasitic drain
Pro reminder: Set calendar alerts—batteries forgotten in drawers become fire hazards within 6 months.
Safety Red Flags: Stop Immediately
Discard Batteries Showing:
- Leaking fluids: White residue or moisture indicates electrolyte breakdown
- Overheating: Any battery exceeding 45°C during charging
- Smoke or burning smell: Evacuate area immediately
- Punctures: From crashes or disassembly attempts
Safe Disposal Steps:
- Tape all terminals with electrical tape
- Place in Li-Po safety bag
- Transport only in carry-on luggage
- Use certified recycling centers (Call2Recycle in USA)
Voltage-Based Action Guide
| Voltage Per Cell | Required Action | Revival Odds |
|---|---|---|
| 3.2V+ | Normal charging | 95% |
| 3.0-3.2V | Firmware refresh (Tello) | 80% |
| 2.5-3.0V | Advanced revival techniques | 60% |
| 2.0-2.5V | Professional service only | 30% |
| Under 2.0V | Replace immediately | 0% |
Most drone battery not charging issues stem from preventable storage mistakes—not dead batteries. By measuring voltage first and matching solutions to your specific symptoms, you’ll revive 80% of “bricked” batteries. Implement quarterly storage checks and never store at full charge. When revival attempts fail, remember: a $30 professional service often beats $90 replacements. Keep this guide handy—your next battery emergency is only a storage mistake away.


