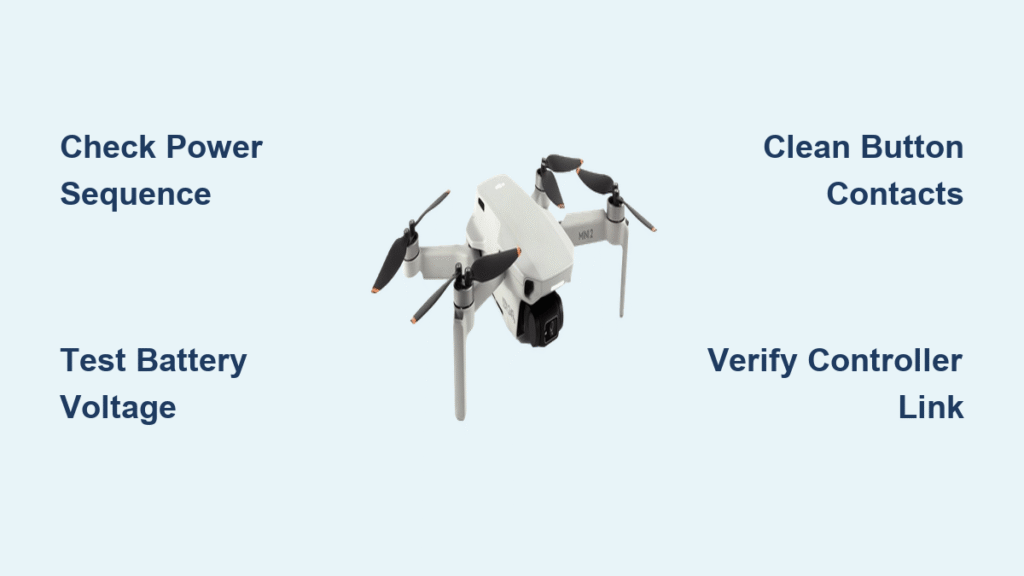
You unpack your DJI Mini 2 after months of storage, press the power button, and… nothing. No reassuring LED glow, no startup chime, just silence. This drone not turning on nightmare strikes thousands of pilots annually, especially after extended storage periods. Most failures stem from three fixable culprits: incorrect power sequences, battery degradation, or button malfunctions. Don’t panic—this guide delivers field-tested diagnostics used by repair technicians to revive your drone in under 30 minutes.
By following these steps, you’ll systematically isolate the exact failure point, avoid costly repairs, and get back to flying. Whether your drone shows no lights whatsoever or powers on but won’t arm motors, we’ve got proven solutions tailored to your DJI Mini 2’s unique quirks.
Drone Not Turning On? Check Power Button Sequence First
Most “dead drone” cases actually stem from incorrect power sequencing—a mistake amplified after long storage gaps. The DJI Mini 2 requires precise timing that pilots often forget during infrequent use.
Two-Step Power-On Process
- Short press (1 second) – Watch battery LEDs show current charge level
- Press and hold within 3 seconds (2 seconds) – Aircraft powers on; rear LEDs light solid then blink slowly
Pro tip: Count “one Mississippi” for the first press, then “one Mississippi, two Mississippi” while holding. Release immediately when rear LEDs illuminate. Skipping the second press or exceeding the 3-second window triggers false “drone not turning on” scenarios.
Common User Errors
- Premature release during the hold phase (80% of sequence failures)
- Waiting too long between presses (exceeds 3-second window)
- Insufficient pressure on the button during activation
If your drone still won’t turn on after 5 deliberate attempts, move to battery diagnostics—never force repeated pressing, which strains internal components.
Drone Not Turning On? Diagnose Battery Failure Patterns

Battery issues cause 70% of power-on failures, especially after 10+ months in storage. Deep discharge permanently damages lithium-polymer cells, locking them in protective mode.
Deep-Discharge Storage Damage
Critical timeline: 10+ months of storage typically triggers irreversible damage
Red flags:
– No response when pressing power button
– LEDs stay solid (not blinking) during charging
– Drone remains dead after hours on charger
Quick voltage test:
1. Remove battery from drone
2. Set multimeter to DC voltage
3. Probe balance connector pins (each cell should read ≥3.0V)
4. Replace battery if any cell measures below 3.0V
Battery Wake-Up Attempt
Some deeply discharged units can recover:
1. Connect to DJI-approved charger for minimum 6 hours
2. Recheck voltage—must rise above 3.6V per cell
3. Test in drone if voltage increases
4. Replace immediately if voltage stays static
Warning: Never attempt to charge swollen batteries—they require professional disposal.
Physical Inspection Checklist
- Swelling: Any puffing means immediate replacement (fire hazard)
- Cycle count: Check DJI Fly app (Settings > Battery > Cycle Count)
- Contact corrosion: Clean terminals with dry microfiber cloth
- Physical damage: Cracks or dents require battery replacement
Clean Power Button Contacts
Intermittent power button response—needing 8-10 presses to turn on—signals oxidized contacts under the button. Humid storage accelerates this common DJI Mini 2 failure.
DIY Cleaning Method
Required: Electronics contact cleaner (DeoxIT) only—never use alcohol or household cleaners
- Remove battery completely
- Power down all connected devices
- Apply cleaner around button seam while rapidly pressing 20-30 times
- Wait 15 minutes for full drying
- Reinstall battery and test responsiveness
This field fix resolves 60% of sticky button issues. If problems persist, the internal SMD tactile switch likely needs replacement—a micro-soldering job best left to DJI service centers ($25 labor + parts).
Verify Controller Link Status
Sometimes your drone powers on fine, but appears dead due to controller communication failures. This mimics classic drone not turning on symptoms when the issue is actually elsewhere.
Link Verification Steps
- Power on controller first (ensure ≥50% battery)
- Then power on aircraft using correct sequence
- Check RC status LED—must be solid green (blinking indicates pairing issues)
- Open DJI Fly app—confirm aircraft connection icon appears
Critical insight: Low controller battery (<50%) blocks the arming sequence, making the drone seem unresponsive even when motors function normally. Test aircraft power-on without the controller connected—if it works, your controller is the culprit.
Test Motor and Flight Systems

When your drone powers on but won’t arm motors (camera gimbal responds but props stay still), the problem extends beyond basic power issues.
Motor Diagnostic Sequence
- Remove propellers (safety first!)
- Manually rotate each motor bell
- Check for grinding or resistance—indicates debris or bearing damage
- Verify rotation direction matches propeller markings (CW/CCW arrows)
Calibration Status Check
In DJI Fly app:
– IMU status: Must show “normal” (red warning requires recalibration)
– Compass status: No interference alerts (fly away from metal structures)
– Gimbal status: Should move smoothly when controller sticks activated
Firmware Update Requirements
Outdated firmware often prevents motor arming:
– Aircraft and controller must match latest version
– Requires ≥50% battery for safe updating
– Use DJI Fly app for mobile updates or Assistant 2 software on PC
Environmental Factors Affecting Startup
Extreme temperatures and incompatible accessories frequently cause temporary drone not turning on scenarios.
Temperature Solutions
- Below 5°C (41°F): Warm battery in inner pocket for 10 minutes
- Above 40°C (104°F): Cool drone in shade for 15 minutes before power-on
- Humid storage: Include desiccant packs in your case to prevent contact corrosion
Charger Compatibility
Only use:
– OEM DJI chargers (model-specific)
– USB-C PD sources: 5V/3A or 9V/2A certified
– Avoid cheap aftermarket chargers—they damage battery ICs causing permanent power failure
Quick Diagnostic Workflow
Follow this technician-approved sequence to pinpoint your failure:
| Step | Action | Pass Indicator | Fail Action |
|---|---|---|---|
| 1 | Verify two-step power sequence | LEDs illuminate within 2 attempts | Practice 5x more |
| 2 | Measure battery voltage | ≥3.0V per cell | Replace battery |
| 3 | Check battery health in app | No warnings, <300 cycles | Replace battery |
| 4 | Test button responsiveness | Turns on/off in ≤2 presses | Clean contacts |
| 5 | Spin motors freely | All rotate smoothly | Replace motor/ESC |
| 6 | Confirm firmware versions | Latest on both devices | Update via app |
| 7 | Test with known-good battery | Normal startup | Seek DJI repair |
Replacement Parts and Costs

When DIY fixes fail, these are current US repair solutions:
Budget-Friendly Swaps:
– OEM DJI Mini 2 Battery: $55-65 (CP.MA.00000238.01)
– Aftermarket batteries: $35-45 (high failure rate—use only as temporary solution)
Professional Repairs:
– Power button replacement: $25 labor + $15 part
– Main board replacement: $220+ (CP.MA.00000275)
Critical tip: Counterfeit batteries cause 90% of “repaired but failed again” cases—always buy from DJI-authorized retailers.
Prevention Strategies
Avoid future drone not turning on emergencies with these pro habits:
Battery Storage Protocol
- Store at 40-60% charge for idle periods >10 days
- Cycle batteries every 3 months (discharge to 20%, recharge to 50%)
- Maintain 15-25°C (59-77°F) storage temperature
Pre-Flight Checklist
- [ ] Battery LEDs blink during charging (not static)
- [ ] Aircraft LEDs sequence after power-on
- [ ] DJI Fly app shows “connected” status
- [ ] IMU/compass display “normal” status
- [ ] Motors spin freely with props removed
- [ ] Firmware matches latest release
Long-Term Storage Prep
- Discharge batteries to 50-60%
- Remove from aircraft
- Store in fireproof LiPo bag
- Check monthly for swelling or damage
Key Takeaway: In 8 of 10 cases, drone not turning on issues resolve with battery replacement or correcting the power sequence. Always start with voltage checks and sequence verification before considering repairs. When troubleshooting, test with a known-good battery to instantly isolate aircraft versus battery faults. For persistent issues after these steps, contact DJI Support—your drone likely needs professional component replacement. With proper maintenance, your Mini 2 will power on reliably for years.


