Your Scoot drone was capturing perfect sunset footage yesterday, but today it won’t even lift off the ground. The propellers stutter, red lights flash, and you’re left wondering what went wrong with your $200 investment. This frustrating scenario happens to every drone pilot, but most Scoot drone troubleshooting issues can be resolved with simple checks before you consider expensive repairs or replacements.
This practical Scoot drone troubleshooting guide cuts through the confusion with specific solutions for battery failures, connection drops, and flight instability. You’ll learn to diagnose problems using LED indicators, perform quick fixes that get you back in the air, and avoid common mistakes that turn minor issues into major repairs.
Fix Scoot Drone Battery Power Problems That Ground Your Flight
Solve Insufficient Charge Before Takeoff
Check your battery level first—Scoot drones require at least 20% power for safe takeoff. If your drone won’t start, connect it to the Force1 charger and watch for solid LED indicators. No lights? Try these proven fixes:
- Test different power sources: Plug into another USB port or wall adapter
- Clean the charging port: Use compressed air to remove debris blocking the connection
- Swap USB cables: Damaged cables prevent charging even with a good power source
- Check temperature: Charge only between 32-95°F—cold batteries won’t accept charge
Pro tip: Always wait for the solid green LED before flying. Partial charges reduce flight time by up to 30% and strain battery cells.
Identify Dangerous Battery Damage Immediately
Swollen batteries can cause fires, so inspect before every flight:
– Look for bulging sides or cracks in the casing
– Check for fluid leaks or corrosion around terminals
– Replace immediately if damage appears—never risk flying with compromised batteries
Critical warning: Store batteries at 50% charge when not using your Scoot drone for weeks. Full discharge permanently damages lithium-ion cells, while full charge during storage accelerates degradation.
Solve Scoot Drone Takeoff Failures Within Minutes
Diagnose Propeller and Motor Issues
When your Scoot drone refuses to lift off, follow this pre-flight checklist:
- Verify propeller orientation: Check directional arrows match motor rotation (clockwise vs counter-clockwise)
- Spin test each prop: They should rotate freely without resistance or wobble
- Confirm battery status: Less than 20% charge prevents motor startup
- Check for obstructions: Remove hair or debris from motors using a soft brush
- Calibrate IMU: Use the app to reset flight sensors after any hard landing
Common mistake: Forcing takeoff with loose propellers destroys motors instantly. Tighten props until snug but don’t over-tighten—they should still twist slightly with firm finger pressure.
Stabilize Shaky Flight and Strange Noises
Unstable hovering or alarming sounds indicate serious issues:
- Grinding noises: Debris trapped in motors—power off immediately and clean
- Clicking sounds: Loose or damaged propellers—land and inspect
- Excessive vibration: Unbalanced props or failing motor—replace affected components
- High-pitched whine: ESC (Electronic Speed Controller) struggling—requires replacement
Quick test: Place your Scoot drone on a level surface. If it rocks or tilts, inspect landing gear and propeller balance before attempting flight.
Restore Lost Remote Control Connection to Your Scoot Drone
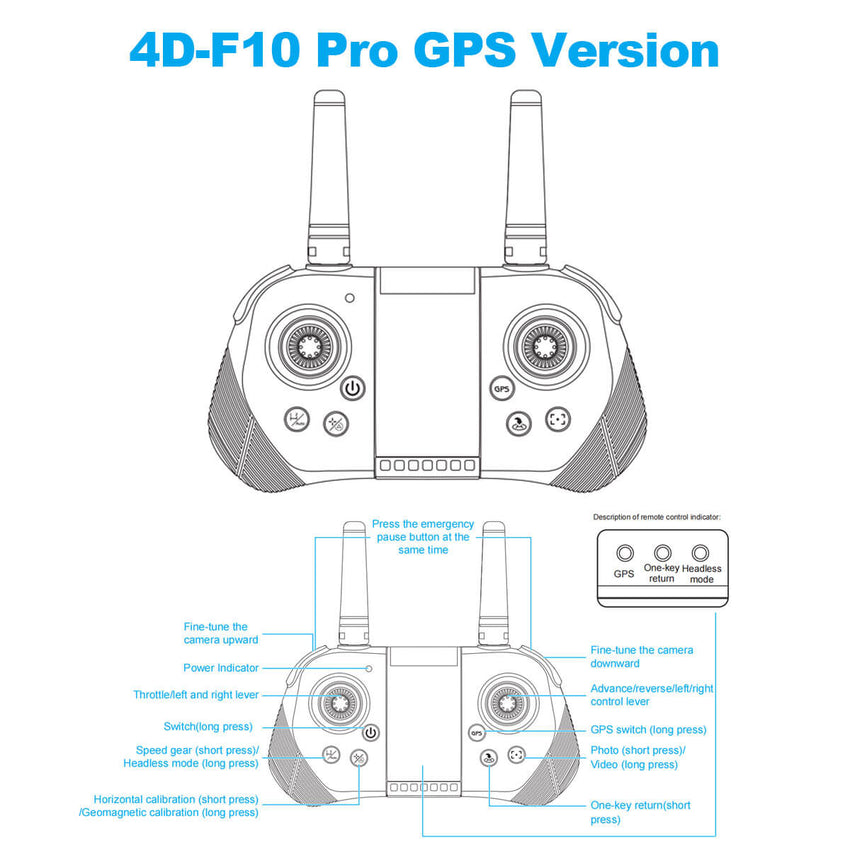
Re-pair Remote When Signal Drops
Lost connection leaves your drone uncontrollable. Re-establish link in 60 seconds:
- Power cycle both devices: Turn off drone and remote for 10 full seconds
- Reset remote: Hold power button 10 seconds until LEDs flash rapidly
- Enter pairing mode: Press drone pairing button while remote searches
- Stay within 1 meter: Maintain close proximity during pairing process
- Check remote batteries: Replace even if partially charged—weak batteries cause intermittent connection
Range reality check: Test connection at 50 meters first, then 100 meters line-of-sight. Walls, trees, and metal structures reduce effective range by up to 70%.
Fix GPS Signal Loss Before Takeoff
Weak GPS causes dangerous flyaways. Ensure reliable satellite lock:
- Wait 2-3 minutes: Allow time for GPS acquisition in open areas
- Avoid interference zones: Stay 50+ feet from buildings and power lines
- Check app indicators: Minimum 8 satellites recommended before takeoff
- Recalibrate GPS: Through app settings when experiencing poor reception
Never fly: Without solid GPS lock in windy conditions—your Scoot drone cannot auto-return if signal drops mid-flight.
Decode Scoot Drone LED Status Codes for Quick Diagnosis
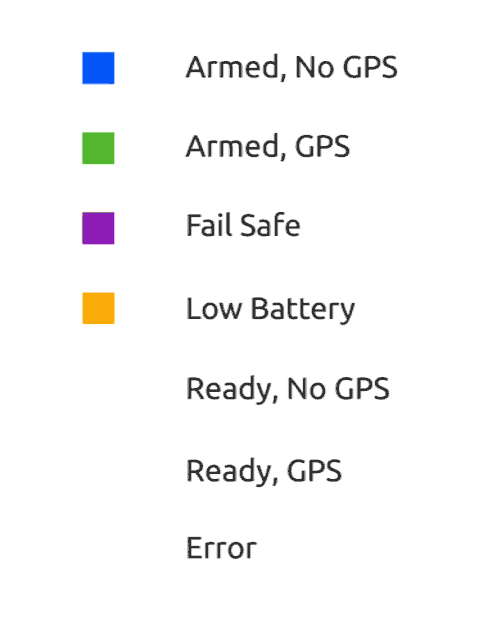
Interpret Critical Warning Lights
LED patterns provide instant system diagnostics:
- Blinking red: Battery below 20%—land immediately and charge
- Solid red: Critical system failure—power off now and restart
- Blue/red flash: IMU calibration required—perform through app
- Blinking green: Establishing connection—wait for solid green before flying
Emergency protocol: If solid red appears mid-flight, land manually—auto-return may fail completely. Power off for 30 seconds then restart to reset systems.
Prevent Scoot Drone Overheating During Extended Flights

Manage Heat Buildup Effectively
Overheating reduces performance and damages components. Keep your Scoot drone cool:
- Limit flight time: 15-20 minutes maximum per battery cycle
- Cool-down period: Wait 10 minutes between flights
- Shade storage: Keep out of direct sunlight between flights
- Check vents: Ensure cooling holes stay unobstructed
Temperature check: If motors feel too hot to touch comfortably, wait longer before next flight. Operating above 95°F significantly increases overheating risk.
Scoot Drone Maintenance Essentials
Post-Flight Inspection Routine
5-minute check prevents major repairs:
- Brush off debris with soft paintbrush—focus on motors and vents
- Inspect all props for cracks or chips—replace damaged ones immediately
- Check landing gear for bends or breaks—misaligned gear causes instability
- Store in protective case away from humidity and temperature extremes
- Charge to 50% before long-term storage
Pro tip: Keep a small toolkit with spare props, a microfiber cloth, and compressed air in your drone case for on-the-go Scoot drone troubleshooting.
When persistent issues arise after following these Scoot drone troubleshooting steps, contact Force1 support with your specific symptoms and steps already attempted. Document error patterns—what conditions trigger problems (wind, temperature, specific maneuvers) to help technicians diagnose faster.
Final takeaway: 80% of Scoot drone failures stem from three causes—low battery, uncalibrated sensors, or damaged props. Master these basic Scoot drone troubleshooting techniques, and you’ll spend more time flying and less time fixing. Always start with the simplest solutions before moving to complex repairs, and never fly with any component showing signs of failure.


