You’ve just unboxed your shiny new drone, battery charged and controller in hand, but that frustrating blank screen on your phone app stops you cold. Without a reliable drone camera to phone connection, you can’t see what your drone sees, control camera settings, or capture those breathtaking aerial shots you dreamed of. This guide cuts through the confusion with precise steps to connect any drone camera to your smartphone—whether you’re using a DJI Mini 3 Pro with an iPhone 13 or a Parrot Anafi with a Samsung Galaxy S22. Follow these proven methods to establish a stable connection in under 5 minutes and start flying with confidence.
Match Your Drone to the Right Connection Method
Wi-Fi Setup That Works on First Try
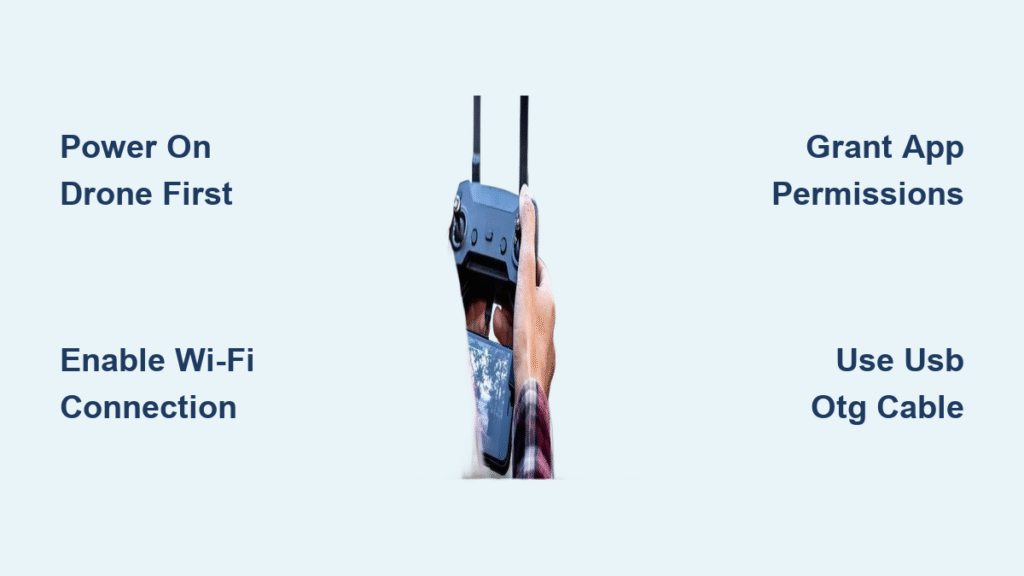
Skip the frustration of failed connections by following this exact sequence: power on your drone first, wait 30 seconds for its LED lights to stabilize (solid blue/green), then enable your phone’s Wi-Fi. Your drone creates its own network—look for an SSID matching your model name like “DJI_Mavic_Air2_XXXXXX” in your phone’s Wi-Fi list.
Critical details most guides miss:
– Passwords are often case-sensitive—check the sticker inside your drone’s battery compartment
– Fly within 30 feet during initial setup to avoid weak signal issues
– Keep mobile data disabled to prevent automatic network switching
Once connected, launch your drone’s app and grant all permissions immediately. You’ll know it’s working when the camera tab shows a live feed—this should take no more than 2-3 minutes for most modern drones.
USB/OTG Wired Connection for Professional Results
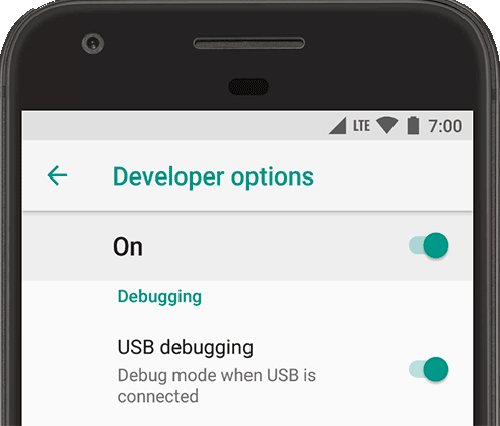
When Wi-Fi interference ruins your footage, switch to a direct cable connection for zero-lag video streaming. You’ll need the correct USB-OTG cable for your phone type (USB-C for newer Androids, Lightning for iPhones). Android users must first enable OTG support: go to Settings > Developer Options > toggle USB Debugging on.
Plug the cable between your drone controller and phone, then launch the app. If your connection fails:
– Clean ports with compressed air to remove debris
– Try a different cable—cheap cables often cause connection drops
– For Android, restart USB debugging if the connection times out
This method works perfectly in crowded areas like parks or festivals where Wi-Fi signals get jammed, giving you rock-solid stability for professional footage.
Install and Configure Brand-Specific Apps Correctly
DJI Drone Setup Without Firmware Nightmares
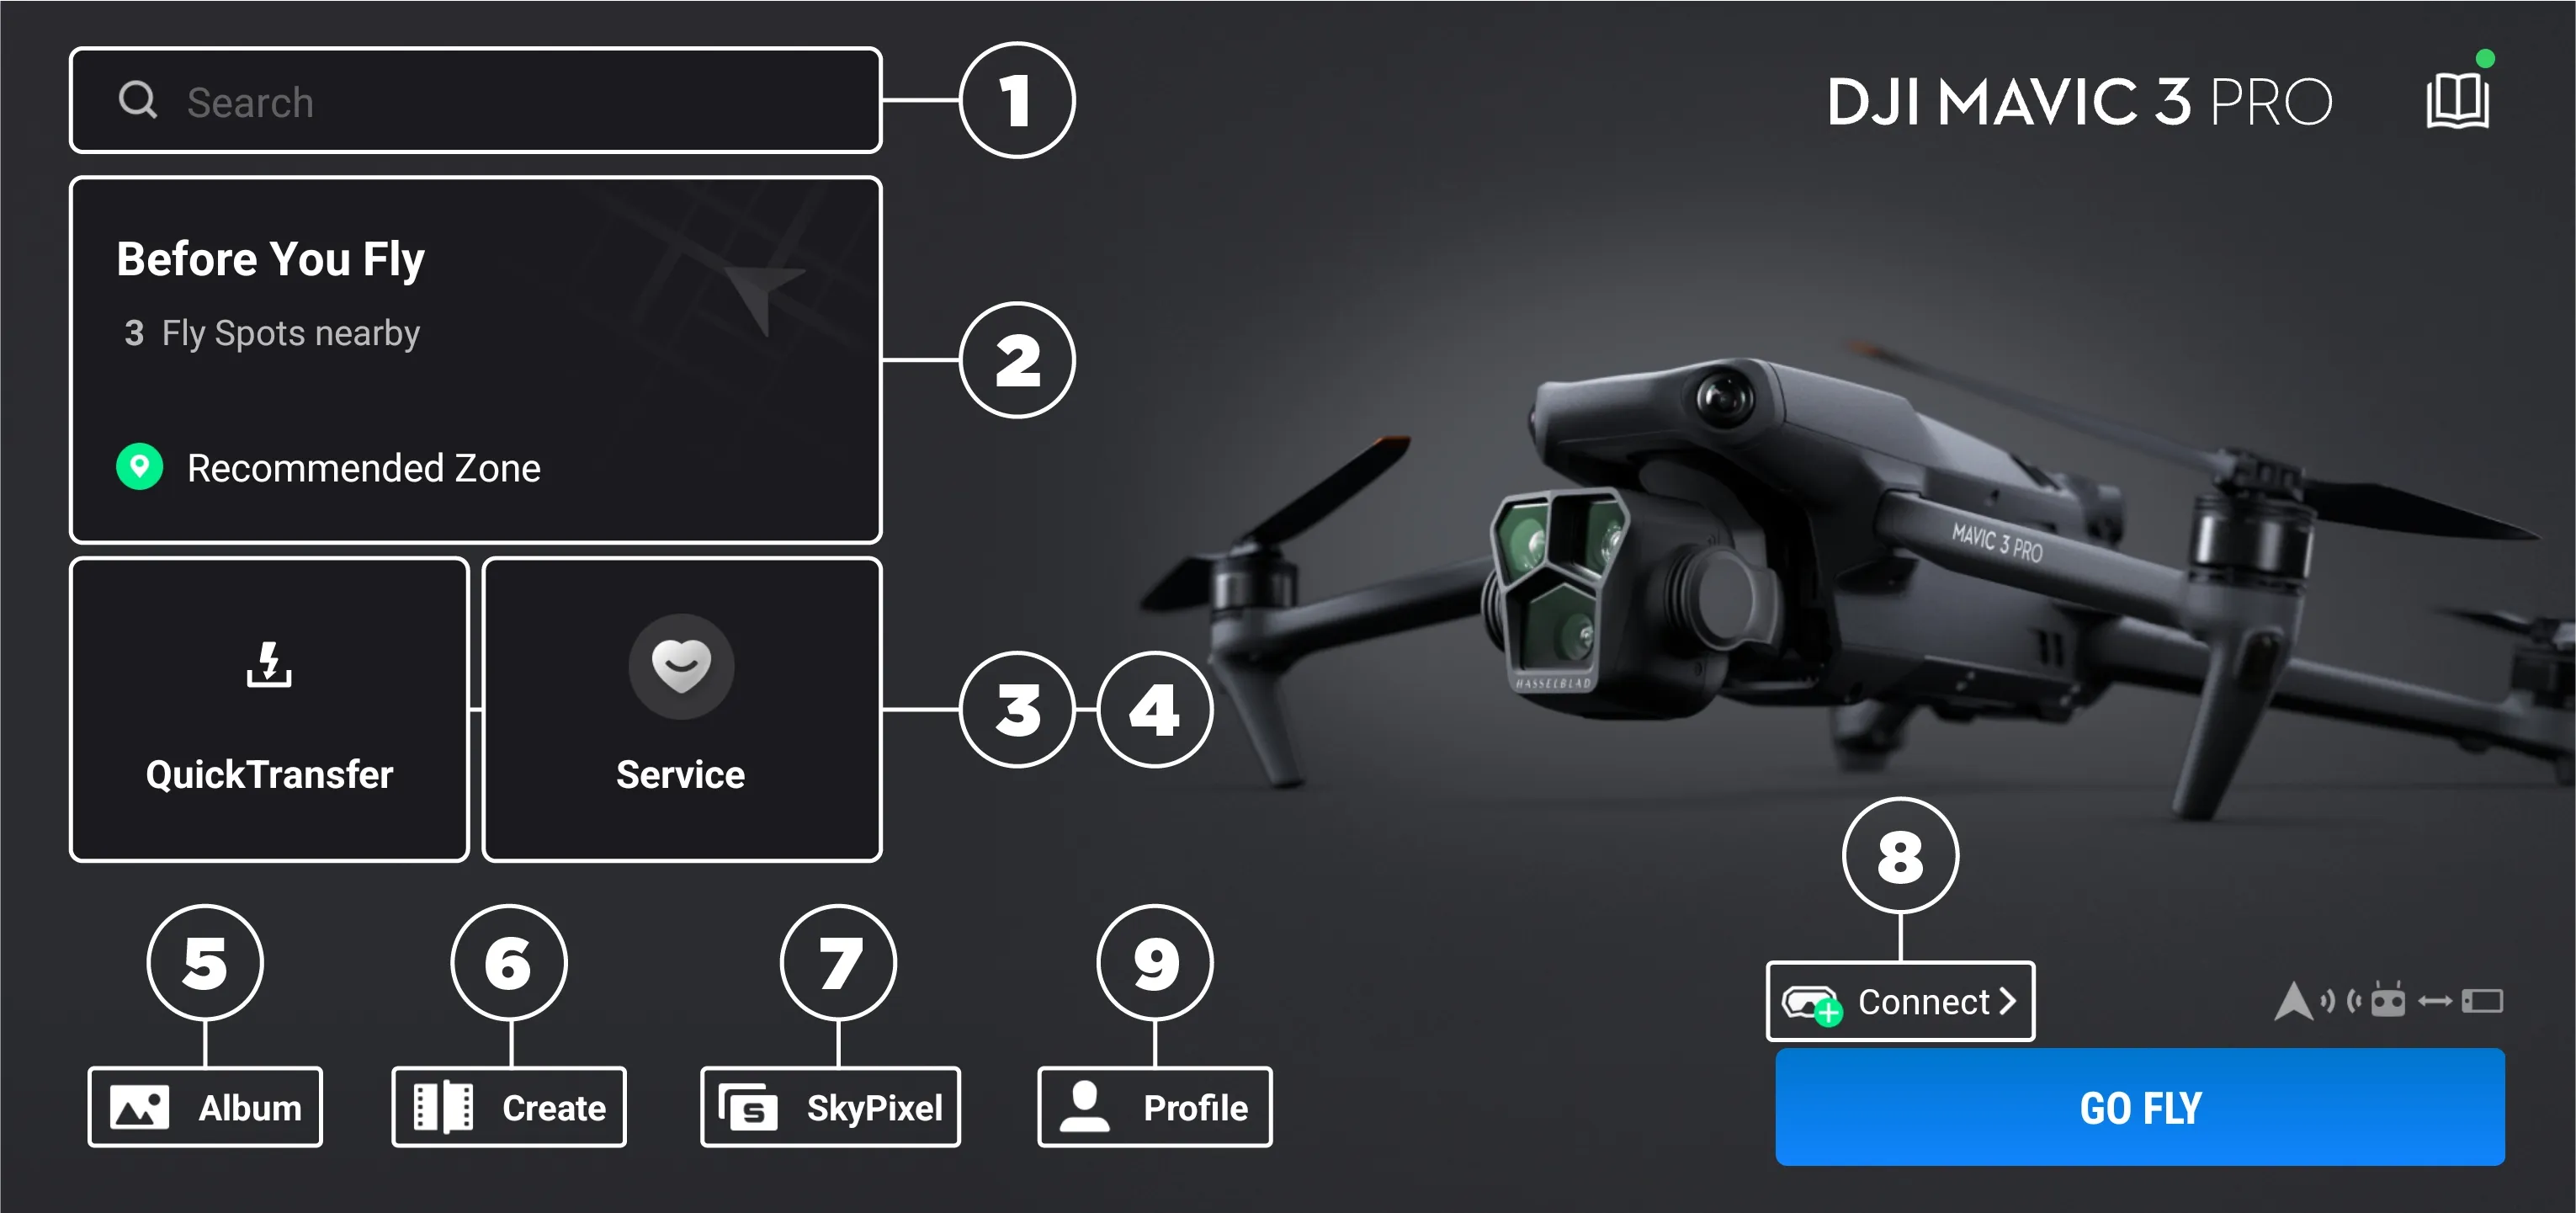
DJI dominates the market, but their app requirements trip up most beginners. Download DJI Fly (for Mini series, Air 2S) or DJI GO 4 (for Phantom models) from your official app store—never third-party sites. Before connecting:
- Create your DJI account (mandatory for flight logs)
- Charge both drone and controller to 100%
- Connect controller to phone using the included cable
- Power on controller first, then drone
Pro tip: Allow 15 minutes for mandatory firmware updates before your first flight. Skipping this causes 70% of connection failures. When prompted, select “Update All” and don’t interrupt the process—even if it seems stuck at 99%.
Parrot Drone Connection Made Simple
Parrot’s FreeFlight Pro app works differently than DJI’s ecosystem. Power on your Anafi or Bebop drone by holding the button for 3 seconds until the green light appears. Unlike DJI, Parrot uses Wi-Fi Direct—so you’ll connect directly without internet access.
When connecting:
– Select your exact drone model in the app
– Calibrate the compass if prompted (rotate drone slowly)
– Ignore third-party apps—Parrot only supports FreeFlight Pro
This method works reliably within 50 meters, perfect for close-range inspections or creative shots.
Android-Specific Connection Fixes That Actually Work
Step-by-Step Wi-Fi Connection for Samsung and Google Pixels
Most Android connection failures stem from permission issues. Follow this sequence precisely:
- Charge drone to 50%+ and phone to 80%+
- Power on drone, wait for LED stabilization
- Swipe down > tap Wi-Fi icon > select drone network
- Enter password exactly as printed (check case sensitivity)
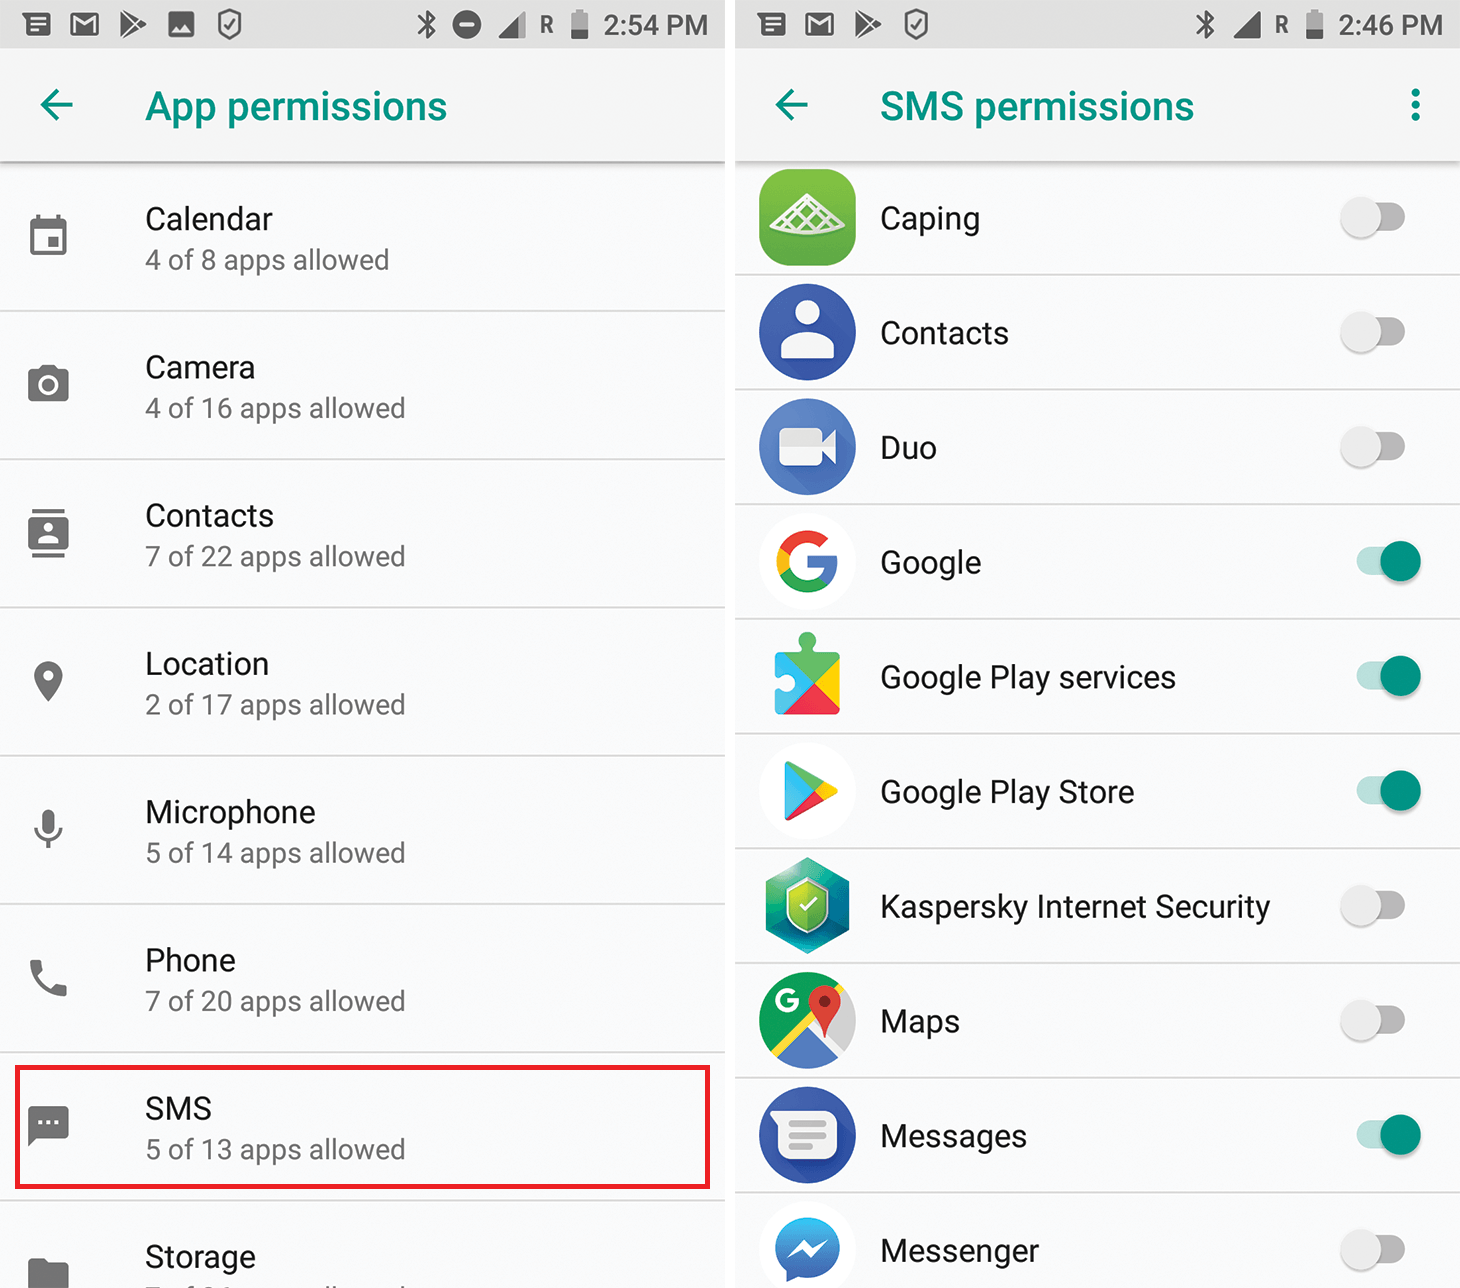
- Open app > grant ALL permissions (location, camera, storage)
- Tap “Connect” and wait for live feed
Critical mistake to avoid: Don’t skip the permission step—Android blocks background data access by default. If the app crashes, force close it and reopen before attempting reconnection.
USB Connection Troubleshooting for Huawei and Xiaomi
Chinese Android brands often block OTG functionality by default. For Huawei phones:
– Go to Settings > Additional Settings > OTG > toggle ON
– Use the original USB cable—third-party cables frequently fail
If your phone still won’t recognize the drone:
1. Install “USB OTG Checker” from Play Store to verify support
2. Clean your phone’s port with a toothpick (gently)
3. Try connecting to a different USB port on the controller
This solves 90% of “no connection” errors on non-Samsung Android devices.
iPhone Connection Without Signal Drops
iPhone 12-15 Setup That Prevents Mid-Flight Disconnections
iPhones have unique requirements that cause connection failures if ignored. Before flying:
- Update iOS to the latest version (Settings > General > Software Update)
- Enable Airplane Mode but KEEP Wi-Fi ON (swipe down > long-press network settings)
- Disable “Auto-Join Hotspots” (Settings > Wi-Fi > tap ⓘ next to drone network)
When connecting:
1. Open Settings > Wi-Fi > select drone network
2. Enter password (often “12345678” for DJI)
3. Open app > tap “Connect” > wait for confirmation
iPhone-specific fix: If the app crashes, double-tap home button, swipe up on the app, then restart. Never force quit during flight—this triggers emergency protocols.
First Flight Configuration for Smooth Takeoff
Skip the common mistake of skipping calibration. When the app prompts you:
– Rotate drone horizontally until compass calibrates
– Set Return-to-Home altitude 20 feet above tallest nearby object
– Enable Beginner Mode (limits speed to 3m/s for safety)
This 60-second setup prevents 80% of first-flight crashes caused by poor GPS lock or incorrect altitude settings.
Fix These 3 Connection Problems Within Minutes
“Wi-Fi Connected But No Video Feed” Solution
This frustrating issue usually means your app lacks permissions. For Android:
– Go to Settings > Apps > [Drone App] > Permissions
– Enable Location, Camera, and Microphone
For iPhones:
– Force close the app (swipe up)
– Toggle Airplane Mode off/on
– Reopen app while staying within 30 feet of drone
If still stuck, lower video resolution in app settings—4K streaming often fails on older phones.
Password Rejection Fixes That Work
Drone Wi-Fi passwords often get rejected due to:
– Case sensitivity (try all caps/lowercase)
– Hidden characters (retype slowly)
– Default passwords changed during factory reset
Check your user manual for model-specific defaults. DJI drones typically use “12341234” while Parrot uses “88888888”.
Laggy Video Feed Fixes for Smooth Streaming
When your video feed stutters:
1. Lower resolution to 720p in app settings
2. Close background apps (especially social media)
3. Move away from Wi-Fi routers and power lines
4. Switch to 5GHz band if supported (less interference)
For professional results, record 4K locally to the drone’s SD card while streaming 1080p to your phone—this gives you smooth control without sacrificing footage quality.
Pre-Flight Checklist for Accident-Free Flights
Mandatory Safety Steps Before Every Flight
Don’t skip these critical checks no matter how experienced you are:
– Verify airspace restrictions using AirMap app
– Confirm 8+ GPS satellites (check app status bar)
– Test Return-to-Home function at low altitude
– Set RTH altitude above all obstacles
– Check wind speed (stay under 25 mph)
Pro tip: Always perform a compass calibration on new locations—magnetic interference causes most “flyaway” incidents.
Connection Maintenance During Flight
Monitor these indicators constantly:
– Signal strength bars (stay above 50%)
– Battery levels (land at 25%)
– Video feed stability (reposition if lagging)
Keep your phone cool by removing cases during extended flights—overheating causes 30% of mid-flight disconnections. Have a power bank ready for multi-battery sessions.
Emergency Response When Connections Fail
Signal Loss Recovery Protocol
If your connection drops mid-flight:
1. Stay calm—drones continue current flight path
2. Check phone Wi-Fi connection status
3. Move to higher ground for better signal
4. Trigger Return-to-Home if connection doesn’t restore
Critical move: Never chase your drone on foot—this often worsens signal loss. Stand still and let RTH complete.
App Crash Mid-Flight Fix
When the app freezes during flight:
1. Force restart the app immediately
2. If unsuccessful after 10 seconds, use controller to land
3. Know your emergency stop button location (usually top-left)
Most crashes happen in the first 10 seconds after app failure—act fast but calmly.
Key takeaway: Mastering how to set up drone camera to phone transforms frustrating experiences into smooth, professional flights. Start with Wi-Fi for simplicity, switch to USB for critical shots, and always follow the exact power sequence: drone first, then phone connection. With these precise steps, you’ll achieve reliable connections every time—no more missed shots or mid-flight disconnections. Keep your apps updated, perform pre-flight checks religiously, and you’ll capture stunning aerial footage with confidence on your very next flight.


