That moment when you unbox your new DJI drone creates equal parts excitement and anxiety. Properly learning how to set up DJI drone equipment correctly separates smooth first flights from frustrating crashes that could damage your expensive investment. Whether you’ve just purchased a Mini 4 Pro, Mavic 3 Classic, or Air 3, skipping critical setup steps leads to unstable footage, navigation errors, and potentially dangerous flight behavior. This guide eliminates guesswork by walking you through every essential step from unboxing to your first successful takeoff and landing.
Before touching any controls, understand that DJI drones require meticulous setup to function safely. The FAA reports that improper setup causes nearly 35% of beginner drone incidents, often due to skipped calibration steps or incorrect app configuration. By following this comprehensive process, you’ll transform your drone from an expensive paperweight into a reliable aerial photography tool capable of capturing stunning footage right from your first flight.
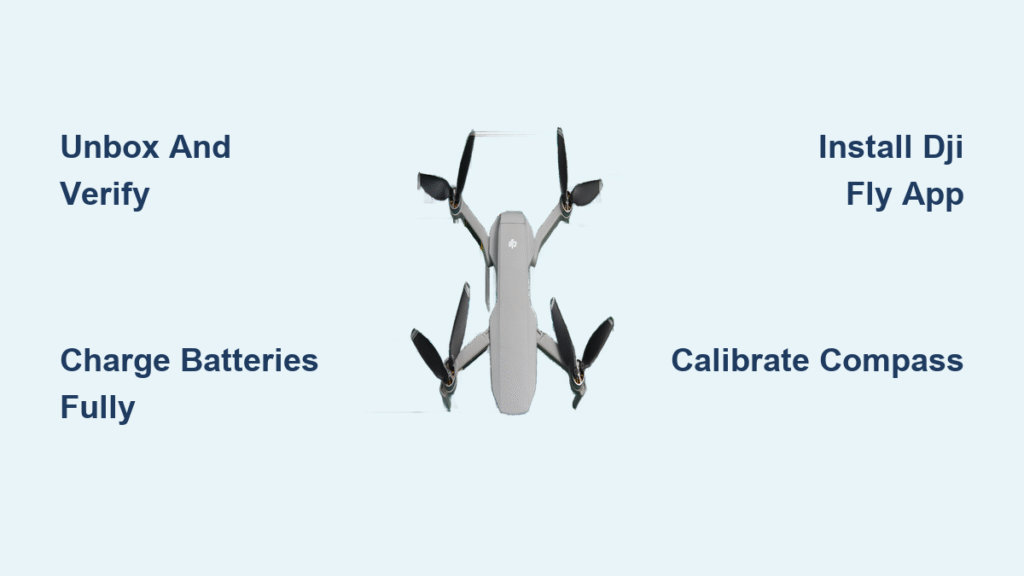
Unbox and Verify All DJI Drone Components Before Powering On
Lay out every item on a clean, well-lit surface before assembling your DJI drone. Your box should contain the aircraft body with gimbal cover attached, remote controller (RC-N1, RC 2, or RC Pro depending on model), intelligent flight batteries, charging hub, cables, spare propeller pairs, and documentation. Cross-reference everything against the included checklist—missing components can derail your first flight attempt.
Identify Critical Components for DJI Drone Operation
- Aircraft body with pre-installed gimbal cover (remove before flight)
- Remote controller matching your specific drone model
- Intelligent Flight Batteries (typically 1-3 depending on package)
- Charging solution (hub or cable)
- Minimum two spare propeller pairs (crucial for crashes)
- Necessary cables (USB-C, Lightning, or micro-USB)
- Quick start guide and warranty documentation
Spot Hidden Damage That Could Sabotage Your First Flight
Inspect propeller blades under bright light for micro-cracks or bends that affect balance. Check gimbal movement by gently rotating it—any resistance or grinding noises indicate shipping damage. Examine motor housings for dents that could throw off balance during flight. Even minor damage to the infrared sensors on the bottom can compromise obstacle avoidance. If you spot issues, contact DJI support immediately before powering on—most damage claims require documentation before first use.
Complete First-Time DJI Drone Battery Charging Sequence Properly

DJI batteries ship at approximately 30% charge but require a full cycle before first flight to calibrate the battery management system. Connect batteries to the charging hub using the provided cable. LED indicators provide status: solid red means charging, blinking green indicates 80% capacity, and solid green confirms 100% charge. Never skip this step—partial charges during initial setup cause inaccurate battery percentage readings.
Execute Correct Battery Charging Protocol
- Insert battery into charging hub until you hear a distinct click
- Connect hub to wall adapter (not your computer)
- Allow 90-120 minutes for complete charge cycle
- Repeat for all included batteries sequentially
- Store at 60% charge if not flying within 48 hours
Critical mistake to avoid: Never charge multiple batteries simultaneously without the official DJI charging hub. Stacking batteries on a single adapter creates uneven charging that degrades battery lifespan. Always charge in a fireproof LiPo bag away from flammable materials.
Controller Charging Best Practices
Plug the appropriate cable into your controller’s charging port. The power button LED shows status—breathing red while charging, solid green when complete. A full controller charge takes approximately 2 hours and provides 6-8 hours of operation. For RC-N1 controllers (phone-dependent), charge both controller and phone to 100% before first flight to avoid mid-flight shutdowns.
Install and Configure DJI Fly App for Seamless Drone Connection
Download the DJI Fly app directly from the official App Store (iOS) or Google Play Store (Android)—never third-party sites that distribute malware-infected versions. Newer DJI models exclusively use DJI Fly, while older models like Phantom 4 require DJI GO 4. Check compatibility before downloading, as incompatible apps prevent activation.
Verify Device Compatibility Before Installation
- iOS devices require iOS 11.0 or later (iPhone 7 and newer)
- Android requires Android 7.0 or later with 2GB+ RAM
- Check DJI’s official compatibility list for your specific model
- Ensure at least 2GB free storage for app and media caching
Create DJI Account for Full Feature Access
During installation, create a DJI account using your email or phone number. This account unlocks critical features: geofencing data, firmware updates, flight logs, and safety features. Verification through SMS or email is mandatory—without it, your drone operates in limited functionality mode. This account also registers your drone with DJI’s safety database, required for compliance in many countries.
Connect Remote Controller to Mobile Device Without Signal Loss

Your connection method depends on controller type. RC-N1 controllers require phone connection, while newer RC models have built-in displays. For RC-N1, use the correct cable—Lightning for iPhone, USB-C for newer Android, or micro-USB for older devices. Proper connection prevents signal dropouts that cause emergency landings.
Optimize Physical Connection for Reliable Signal
- Remove thick phone cases that prevent secure cable insertion
- Extend controller arms fully before connecting
- Insert cable firmly into controller’s left port
- Connect to phone before launching DJI Fly app
- Launch app—should detect controller within 10 seconds
Pro tip: Always connect controller to phone before powering on either device. This sequence prevents pairing failures that require complete restart. If connection fails, restart both devices and try again—never force the cable.
Activate DJI Drone and Complete Mandatory Firmware Updates
Power on the aircraft by pressing and holding the battery button for two seconds. You’ll hear distinct startup tones as the gimbal calibrates. Power on the controller next using its power button. The DJI Fly app will prompt activation when first connected—this step is mandatory for full functionality.
Follow Correct Activation Sequence
- Tap “Connect Aircraft” in app after both devices power on
- Scan the QR code located on the aircraft body near battery compartment
- Accept terms and conditions (required for activation)
- Assign a unique aircraft name for identification
- Complete FAA registration if flying in the United States
Complete Critical Firmware Updates Before First Flight
The app automatically checks for firmware during activation. These updates include vital safety improvements and performance enhancements—never skip them. Ensure strong Wi-Fi connection before starting, as interrupted updates can permanently damage your drone. Allow 15-30 minutes for complete update cycle, during which the aircraft and controller must remain powered and connected.
Calibrate Compass and IMU for Stable DJI Drone Flight
Compass calibration ensures accurate Return-to-Home functionality and stable hovering. Choose an open area at least 50 feet from metal objects like cars or buildings. The app guides you through specific motions—typically horizontal and vertical figure-eights. Complete this calibration before every new flight location.
Execute Proper Compass Calibration Technique
Hold drone level and rotate 360 degrees horizontally until progress bar fills completely. Then hold drone vertically (nose down) and rotate another 360 degrees. A green checkmark confirms successful calibration. If prompted to repeat, move to a different location away from potential magnetic interference.
Complete IMU Calibration for Precise Sensor Readings
Place your DJI drone on a perfectly level surface for IMU calibration. This process measures internal accelerometers and gyroscopes for stable flight. Takes 5-10 minutes—never move the aircraft during calibration. Complete this annually or after any hard landing, as impacts can misalign sensitive internal sensors.
Configure Essential Flight Settings Before First Takeoff
Access main settings through the three dots in camera view. Set maximum altitude to 400 feet (FAA legal limit in the US), distance limits to visual line of sight, and Return-to-Home altitude 50 feet above your tallest nearby obstacle. These settings prevent dangerous flight scenarios.
Implement Critical Safety Parameters Immediately
- Set RTH altitude 50 feet above tallest obstacle in area
- Enable Beginner Mode for first 10 flights (limits speed/distance)
- Set obstacle avoidance to “Bypass” for smoother flight
- Verify geofencing status matches local airspace restrictions
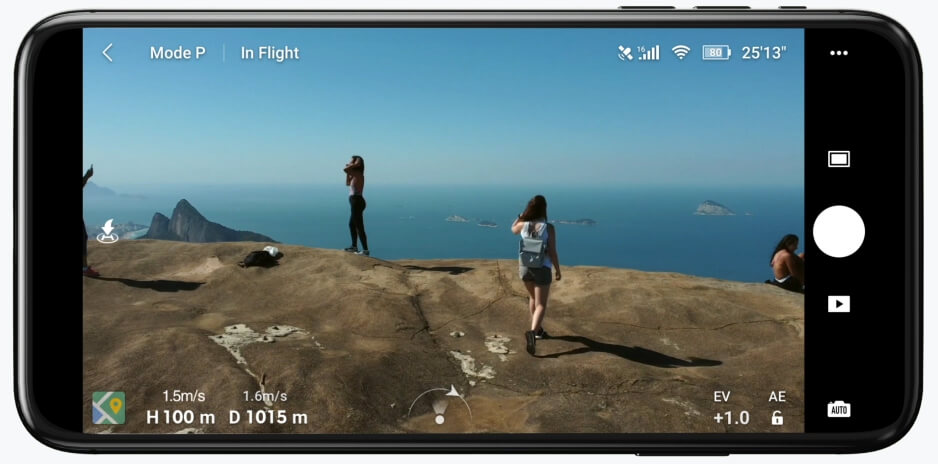
Optimize Camera Settings for First Flight Footage
Start with Auto mode for exposure and white balance. Set video resolution to 1080p/30fps for smooth, stable footage. Enable grid lines for better composition and turn on histogram to monitor exposure levels. Disable advanced features like Hyperlapse until you’re comfortable with basic flight.
Execute Safe First Flight with Proper Takeoff and Landing Technique
Choose a flat, open area at least 10 feet from obstacles and away from people. Check for at least 4 GPS satellites (shown in app) before takeoff. Start motors by pulling both sticks down and inward (Mode 2 configuration). Gently push left stick up to hover at 3 feet—drone should hold position steadily.
Master Hovering and Basic Maneuvers Safely
Maintain hover for 30 seconds to observe stability. Practice gentle movements in all directions while watching for drift or wobbling. Keep movements slow and controlled—aggressive inputs destabilize the drone. If significant drift occurs, land immediately and recalibrate compass before continuing.
Perform Controlled Landing Using Two Methods
For automatic landing, press RTH button briefly. For manual landing, slowly descend using left stick until 1 foot above ground, then gently touch down. Hold left stick fully down until motors stop spinning. Always approach landed drone from the side, never from above where propellers could still be active.
Maintain DJI Drone Equipment for Long-Term Reliability
After flying, let your drone cool for 10 minutes before storage. Remove batteries and store at 40-60% charge for longevity. Clean propellers with microfiber cloth, checking for cracks or bends. Store in protective case away from extreme temperatures—never in direct sunlight or freezing conditions.
Implement Proper Battery Storage Protocol
Never store batteries fully charged or empty. Ideal storage charge is 40-60%. Check monthly and recharge to 60% if charge drops below 20%. Always store in a fireproof LiPo bag, especially when traveling. Rotate multiple batteries to prevent individual units from sitting unused for extended periods.
Your DJI drone setup journey doesn’t end after first flight. Proper initial configuration transforms your drone from an expensive gadget into a reliable creative tool capable of capturing stunning aerial footage while keeping you compliant with aviation regulations. Take time with each step—rushing through setup causes preventable crashes that damage expensive components. Once comfortable with basics, explore advanced features like ActiveTrack and waypoints to unlock your drone’s full potential while maintaining safety as your top priority.


