Your DJI drone just crashed. Maybe the propellers spin but it won’t lift off, or the gimbal hangs limp after a hard landing. Before you panic or ship it off for expensive repairs, know this: 60% of “broken” DJI drones can be fixed with simple troubleshooting. This guide reveals exactly how to repair DJI drone issues—whether you need a $77 factory fix or want to tackle repairs at home. You’ll learn the precise steps DJI technicians take, when DIY makes sense, and how to avoid turning a minor issue into a paperweight.
DJI’s repair ecosystem operates differently than most electronics manufacturers. Understanding their unique system—where refurbished replacements often replace actual repairs—saves you time, money, and frustration. Whether you own a Mini 4 Pro that clipped a tree branch or an Air 3S with gimbal issues, this roadmap covers every repair pathway available to DJI owners. You’ll discover cost-saving alternatives to official service and learn which problems absolutely require professional attention.
DJI’s Official Repair Service Breakdown

DJI manages all repairs through three primary channels: their online customer service (6 AM-6 PM PST daily), dedicated hotline (+1 818 235 0789), or the DJI Store mobile app. Most users report the app provides the smoothest experience—it combines service requests with device management and even includes flight simulators for practice. Unlike other manufacturers, DJI operates a centralized repair system with no local authorized shops for consumer models in North America, meaning your drone always ships to their Cerritos, California facility.
Critical Service Options to Know:
– Standard Repair: Full diagnostic plus repair (7-14 days typical)
– DJI Care Express: Overnight replacement for Care subscribers
– Flyaway Service: Specialized claims process for lost drones
– Maintenance Program: Ongoing care beyond warranty periods
When you initiate service, DJI’s system auto-fills your device details using the serial number. Their service portal provides real-time tracking—unlike many electronics brands that leave you guessing. International users should note regional variations: European customers ship to the Netherlands center, while Asia-Pacific users get fastest turnaround by sending directly to Shenzhen, China.
Why Refurbishment Happens More Than Repairs
Most major damage cases don’t get repaired—they get swapped for refurbished units. You’ll identify a refurbished replacement by three markers: the serial number’s tenth character shows “S” or “R,” a black “Refurbished” sticker appears on the body, and you’ll need complete re-pairing with the controller. While these units undergo full QC testing, users consistently report frustration at losing custom stickers, flight logs, and saved settings without warning.
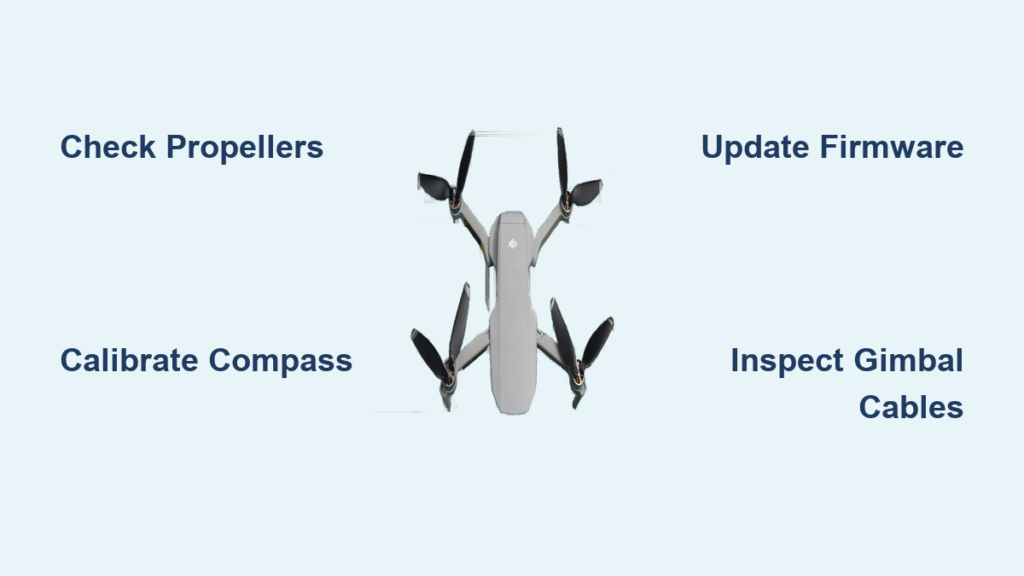
Pre-Service Troubleshooting Checklist
Before shipping your drone, run through this 5-minute diagnostic sequence—half of “broken” drones simply need recalibration or minor adjustments. Users who skip this step often pay for unnecessary repairs when they could have fixed the issue themselves.
Essential Power-Up Sequence:
1. Battery Verification: Confirm both drone and controller batteries exceed 50% charge
2. Firmware Check: Open DJI Fly app to verify no pending updates
3. Compass Recalibration: Perform in open area away from metal structures
4. Propeller Inspection: Ensure correct rotation direction and tight screws
5. Interference Elimination: Move 50+ feet from Wi-Fi routers and metal objects
Specific Fixes for Common DJI Drone Failures
Won’t Take Off? This usually indicates loose propellers or miscalibrated compass. Remove and reseat all propellers, ensuring clockwise and counterclockwise blades are correctly positioned. Then recalibrate the compass in an open field away from buildings.
Drifting During Flight? This points to IMU issues after hard landings. Land immediately and perform full IMU calibration through the DJI Fly app settings. Avoid flying near tall structures that disrupt GPS signals.
No Video Feed? Clean the camera lens with microfiber cloth first, then restart both aircraft and controller. If the issue persists, check for gimbal cable damage—visible fraying requires professional service.
Stop DIY Immediately If: You see visible circuit board damage, bent motor shafts, gimbal hanging by cables, or any water exposure. These require professional tools and will void your warranty if attempted at home.
Step-by-Step Repair Request Process
Phase 1: Initial Contact
Use the DJI Store app for fastest processing—select your device, then Service > Repair Request. The system auto-fills your serial number and warranty status. Avoid the website chat during peak hours (9 AM-11 AM PST) when response times slow dramatically.
Phase 2: Damage Documentation
Upload 3-5 clear photos showing: overall damage, close-ups of affected components, and the serial number label. Blurry or incomplete photos trigger automatic requests for resubmission, adding 24-48 hours to processing time.
Phase 3: Shipping Preparation
DJI emails prepaid UPS labels within 2 hours of approval. Pack your drone in its original box with foam inserts to prevent shipping damage—loose units in boxes often arrive with additional damage. Ship batteries separately following hazmat regulations.
Phase 4: Cost Approval
You’ll receive the repair quote within 48 hours of DJI receiving your drone. Typical response time is 24 hours for common issues like gimbal or landing gear damage. Recent user reports show consistent pricing: $77 for Mini 2 damage, $86 for Air 2S tree collisions including new propellers.
DIY Component Replacement Guide
For out-of-warranty drones, these three repairs offer the best success rates with basic tools. Always use genuine DJI parts—third-party components often trigger error messages or fail prematurely.
Top 3 User-Friendly Repairs:
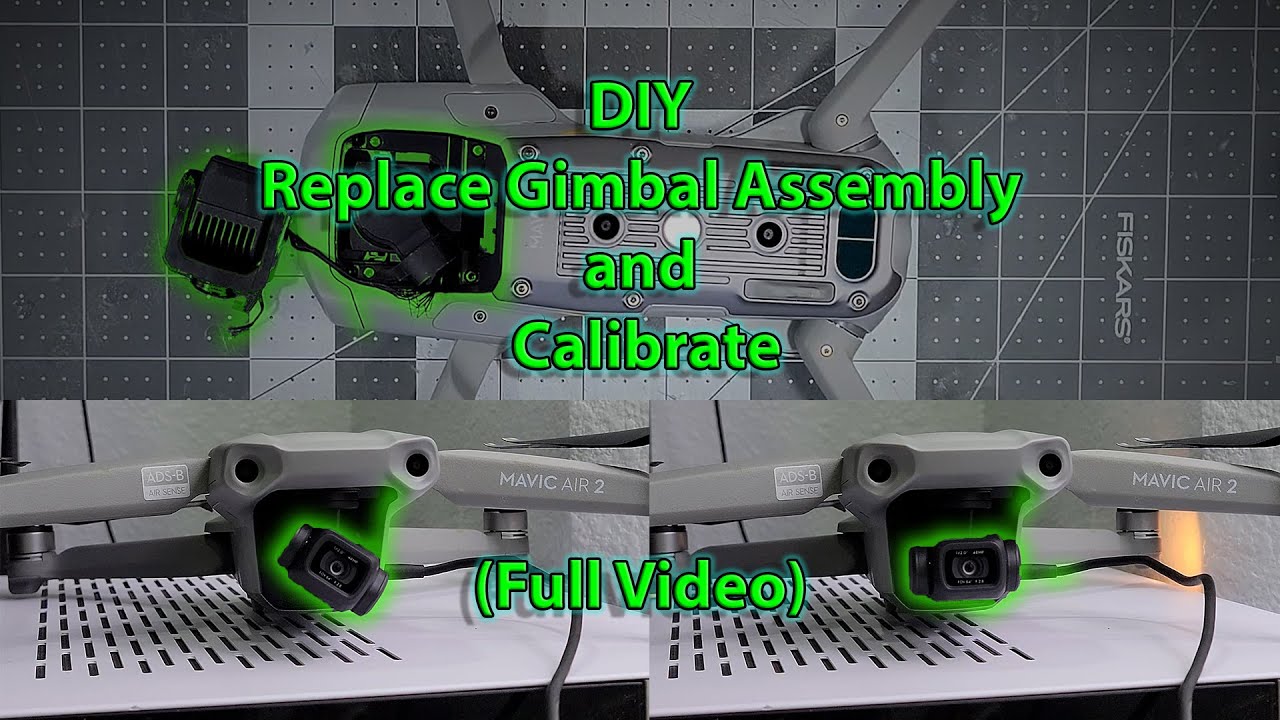
1. Gimbal Cable Replacement ($15-25 part, 30 minutes)
– Success rate: 80% for gimbal lock issues
– Required tools: Small Phillips screwdriver, tweezers
– Critical step: Disconnect battery before accessing internal cables
-
Landing Gear Swap ($20-40 part, 15 minutes)
– Mini series features snap-in design
– Newer models integrate antennas into landing gear -
Propeller Motor Replacement ($30-60 part, 45 minutes)
– Phantom models require soldering
– Mavic Air 2 and newer use plug-and-play connections
Essential Repair Toolkit
- Narwhal Driver: iFixit’s 6-in-1 tool with Swivel Grip Cap for DJI-specific screws
- Small needle-nose pliers: For manipulating tiny connectors
- Plastic spudger: Prevents damage to ribbon cables
- Heat gun: Required for adhesive removal on advanced repairs
Warranty Preservation Strategies

Actions That Guarantee Warranty Voidance:
– Opening the main body shell outside warranty period
– Soldering connections or modifying circuit boards
– Using non-OEM batteries or chargers
– Attempting water damage recovery
Safe Maintenance Within Warranty:
– Propeller replacement (no tools required)
– Gimbal guard installation (protects against minor impacts)
– Landing gear swaps (snap-on designs on newer models)
– Routine firmware updates through official app
Post-Repair Verification Protocol
When your drone returns, follow this verification checklist before your first flight:
- Serial Number Confirmation: Match against your FAA registration records
- Firmware Update: Install latest version immediately through DJI Fly app
- Sensor Calibration: Perform fresh compass and IMU calibration in open area
- Hover Test: Conduct 5-minute stationary hover before full flight
- Data Restoration: Recover flight logs from cloud backup if available
Refurbished units require treating as completely new aircraft—re-register with FAA, download updated geofencing data, and recalibrate all sensors from scratch. Commercial operators must update insurance policies with the new serial number.
Prevent Future Repairs With Smart Maintenance
Crash Prevention Essentials:
– Always enable obstacle avoidance in all flight modes
– Set return-to-home altitude 50 feet above tallest obstacles
– Replace propellers after any hard landing (hairline cracks cause imbalance)
– Update geofencing database monthly through the app
Monthly Maintenance Routine:
– Inspect propellers for hairline cracks under bright light
– Clean gimbal guards with compressed air to prevent motor strain
– Verify all screws remain tight (thermal expansion loosens them)
– Check camera lens for smudges affecting image quality
Final Reality Check: DJI’s official repair service delivers consistently fast, reasonably priced fixes for everything from gimbal cables to complete rebuilds. For out-of-warranty mechanical damage, DIY repairs save money but require patience and proper tools. When electrical components fail or water enters the system, the $65-90 official repair cost often beats the risk of turning your drone into an expensive paperweight. Always weigh the $77 repair cost against your drone’s current market value—sometimes upgrading makes more sense than fixing.


