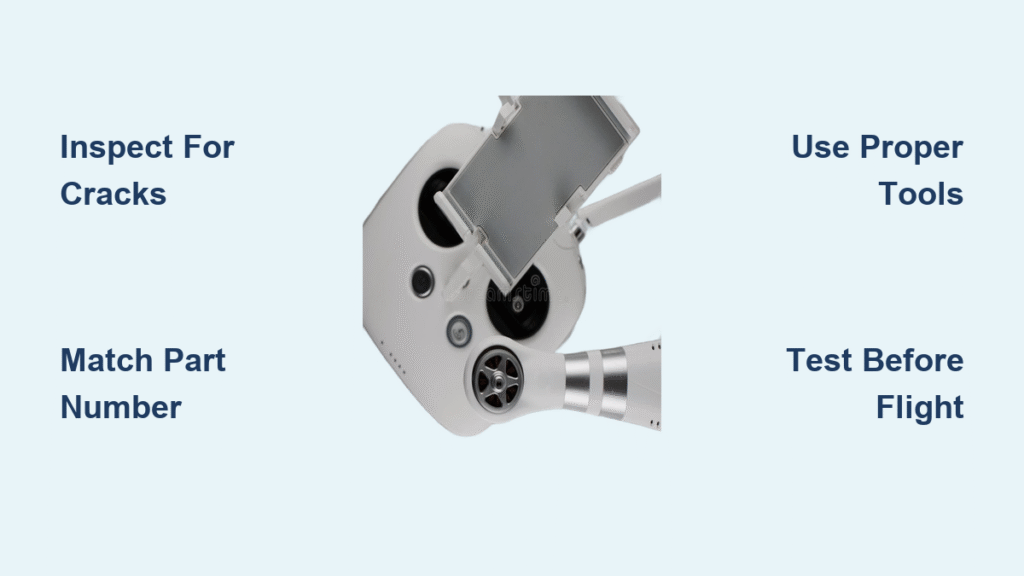
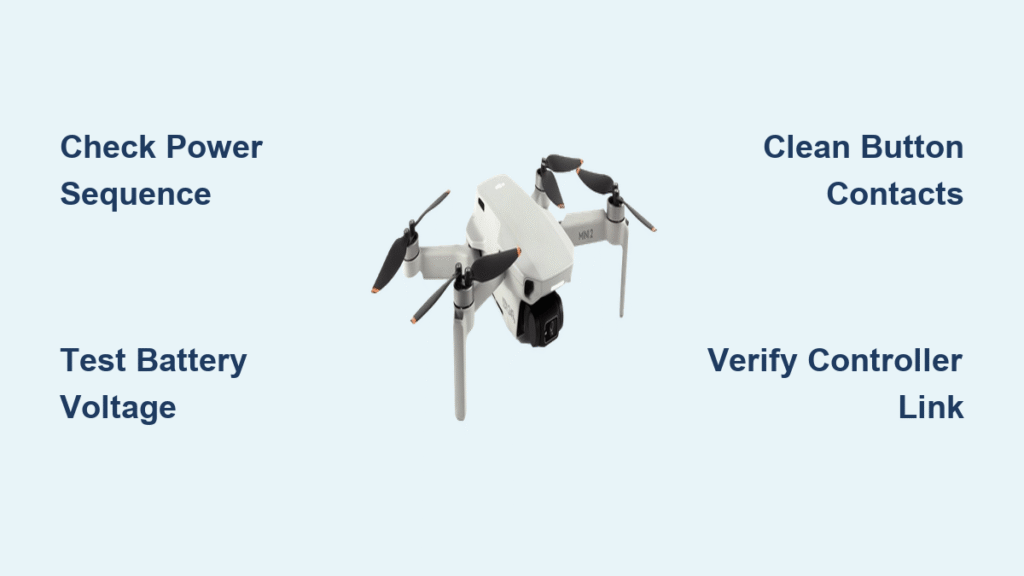
Your drone just survived a hard landing, but now one arm dangles like a broken wing. Before you assume it’s doomed or consider expensive professional repairs, take heart: fixing a broken drone arm is a manageable DIY project with the right approach. Whether you’re dealing with a hairline crack in your DJI Mavic 2 Pro or a completely sheared Mini 3 pivot mechanism, this guide delivers battle-tested repair techniques used by drone technicians. Skip the guesswork—you’ll learn precise damage assessment, model-specific part identification, and professional-grade assembly tricks that restore flight stability without breaking the bank.
Most drone arm failures happen at predictable stress points: carbon fiber fractures near motor mounts, snapped plastic pivot shafts, or internal latch failures. The good news? Over 90% of these repairs require only $10-$15 in parts and under 90 minutes of your time. We’ll focus on universal techniques that work across DJI’s Mavic and Mini series, while highlighting critical differences between models. By the end, you’ll confidently diagnose damage, source exact replacement parts, and execute repairs that fly as good as new.
Spot Hidden Damage Before Powering On

Rushing to test your drone after a crash risks destroying the flight controller through electrical shorts. Start with this critical damage triage sequence to avoid costly mistakes.
Manual Inspection Techniques That Reveal Invisible Cracks
Begin with power completely disconnected and the battery removed. Gently flex the damaged arm while examining under bright light—many carbon fiber cracks hide beneath surface coatings. Pay special attention to the motor mount junctions and pivot points where 87% of fractures originate. For DJI Mini 3 owners, check if the arm pivots freely without locking; this signals a sheared internal latch tab requiring shaft replacement (part CP.FP.00000312.03).
Critical check: Manually rotate each motor bell. Smooth spinning indicates survival; grinding or binding means motor replacement is unavoidable. If you spot exposed wires, do not proceed to power-on tests—these create fire hazards when contacting the frame. Instead, document wire damage with photos before disassembly.
Why Epoxy and Super Glue Make Disasters Worse
While J-B Weld might temporarily hold a cracked arm for bench tests, these bonds catastrophically fail under flight vibration. Super glue (CA adhesive) creates an even bigger problem: it permanently fuses carbon fiber layers, making future OEM part replacement impossible without damaging adjacent components. One technician shared how a customer’s “quick epoxy fix” caused mid-air arm separation at 120 feet—resulting in total drone loss. Temporary fixes only buy time to order proper parts, not flight time.
Match Parts to Your Exact Drone Model
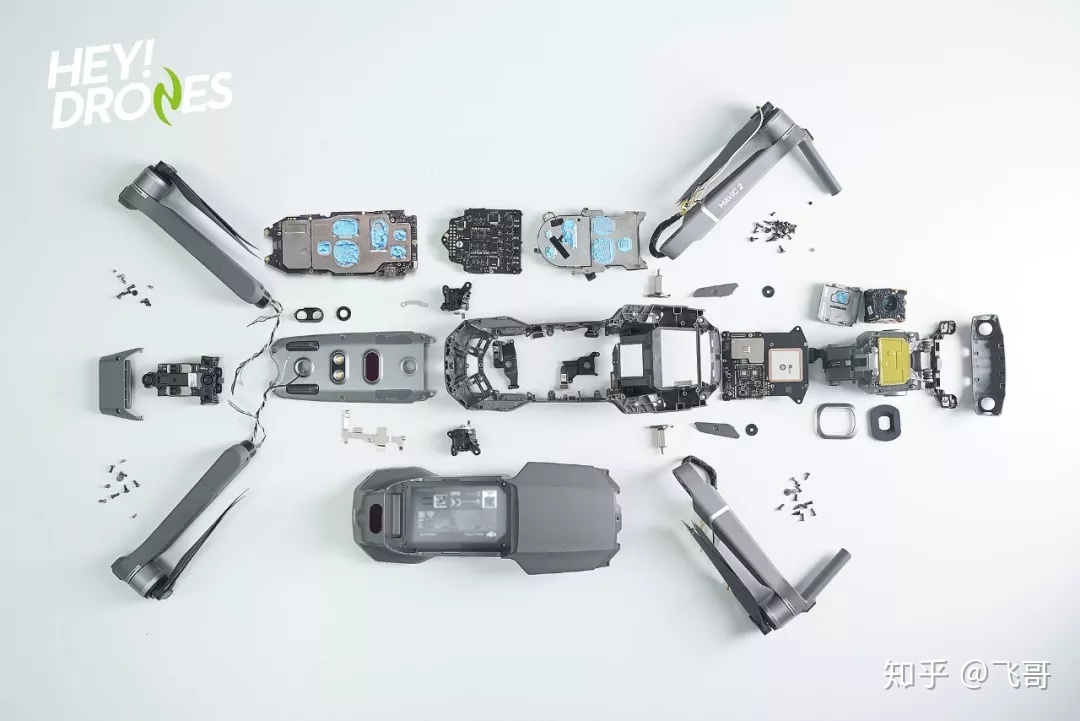
Ordering the wrong arm part wastes money and grounding time. Follow this model-specific identification process to guarantee compatibility.
DJI-Specific Part Decoding System
For Mavic 2 Pro owners: Front arms use distinct part numbers—CP.MA.00000268.01 (front right) and CP.MA.00000269.01 (front left). These $12 arms exclude motors, requiring you to transfer your existing motor and solder wires. Always verify by matching motor wire colors: clockwise (CW) motors have black-red-blue leads, while counter-clockwise (CCW) use black-blue-red. Mixing these causes immediate flip-on-takeoff failures.
Mini 3 pivot failures require the CP.FP.00000312.03 shaft assembly ($9). Unlike Mavics, Mini 3 repairs rarely need soldering—press-fit connectors simplify the process. Confirm your part by checking if the arm wobbles when extended; a solid “click” into locked position means your pivot mechanism is intact.
Universal Part Identification Workflow
- Locate your serial number (typically under battery compartment)
- Enter it at DJI Support → Parts Diagram for exploded views
- Match arm position using motor lead colors (front/rear differ)
- Verify kit contents—reputable sellers include black thrust washers and damping grommets
Pro tip: When ordering “arm-only” kits, confirm if screws are included. Many eBay sellers omit the 0.5mm thrust washer—a missing component that causes video jello two weeks post-repair.
Professional-Grade Tools That Prevent Costly Mistakes
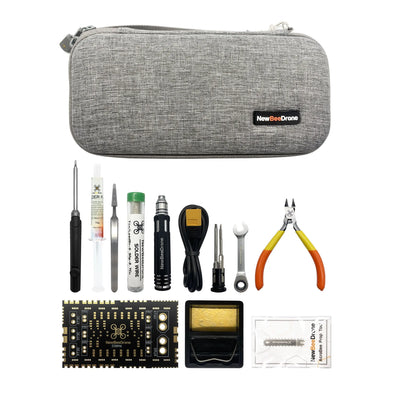
Using improper tools strips screws and damages connectors—adding hours to simple repairs. Invest in these essentials before starting.
Non-Negotiable Repair Toolkit
You need precision screwdrivers with Phillips #000 and Torx T5/T6 bits—cheap sets strip the tiny screws common in drone arms. A 60W temperature-controlled soldering station with 0.3mm tip ensures clean motor wire connections without burning ESC pads. Curved hemostats (medical-grade tweezers) make fishing antenna wires through arm tubes effortless, while desoldering braid removes old solder cleanly.
Critical omission: Skipping a magnetic parts tray risks losing micro-screws. One technician recovered a vanished pivot screw from his workshop floor after 45 minutes—using a magnetized screwdriver would have prevented this. Always apply Loctite 243 (blue thread locker) to pivot screws during reassembly—red thread locker makes future adjustments impossible.
Step-by-Step Arm Replacement Without Soldering Nightmares
This universal process works for 95% of consumer drones, with model-specific adaptations where needed. Document each step with photos—your future self will thank you.
Pivot Extraction Without Losing Critical Components
Set the damaged arm to neutral tipping position where it stays half-open without spring force. Remove the pivot screw (typically Torx T5) while cupping your hand beneath the arm—the 0.5mm black thrust washer will fall out if not caught. This tiny spacer prevents wobble; losing it guarantees post-repair vibration issues. For DJI Mini 3s, use a plastic spudger to pop out the broken shaft assembly; new units snap in with audible clicks.
Wire Management Techniques That Ensure Full Range
Route motor wires before antenna cables—they’re thicker and easier to jam. Use hemostats to pull wires through the arm tube with steady tension, avoiding kinks that reduce video range. For Mavic 2 Pro front arms, note the original wire order: yellow-red-blue typically corresponds to motor phases A-B-C. Solder in this exact sequence after tinning both ESC pads and wire ends. Test for shorts with a multimeter—each phase should read approximately 1Ω resistance.
Mini 3 shortcut: Press-fit motor connectors eliminate soldering. Simply unplug the old motor cable and snap the new one in—aligning the white indicator line on the connector.
Flight-Ready Verification That Prevents Crashes
Skipping these checks risks destroying your repair in the first flight. Execute this phased validation protocol.
Ground Test Sequence Before Takeoff
Start with props removed for safety. Power on and listen for abnormal ESC beeps—three short beeps typically indicate motor wiring errors. Manually spin each motor: smooth rotation confirms correct phase order; jerky movement means reversed wires. Calibrate sensors immediately via DJI Fly app (Aircraft → Sensors → Calibrate)—ignoring this causes drift even with perfect mechanical repair.
Critical hover test: Fly at eye level for 60 seconds watching for vibration. Any oscillation means improper arm alignment or loose pivot screws. For Mini 3 owners, verify the arm locks firmly in both open and closed positions—partial engagement causes mid-flight collapse.
Prevent Repeat Repairs With Proactive Maintenance
Smart pilots extend drone life through targeted inspections. Focus on these high-failure zones.
Stress Point Monitoring Schedule
After every 10 flights, check pivot screws with a torque screwdriver—re-apply Loctite 243 if loose. Inspect carbon fiber arms under bright light for hairline cracks near motor mounts; sandpaper gently smooths minor surface damage. Examine wire entry points for chafing; apply kapton tape at first sign of insulation wear to prevent intermittent failures.
Warranty insight: DJI Care Refresh covers arm replacements at flat rates ($49 for Mini 3, $79 for Mavic 2 Pro). Submit damage photos through the app—if approved, they’ll ship a replacement assembly within 72 hours. DIY repairs void standard warranty but not Care Refresh coverage.
Real Repair Outcomes You Can Trust
Learning from others’ mistakes saves money and frustration. These documented cases reveal what actually works.
Rob Dog’s Mavic 2 Pro: After a roof crash cracked his rear arm, he used J-B Weld as a temporary bench test while awaiting OEM parts. The epoxy held for ground checks, but failed during first hover—proving why permanent fixes require proper parts. His final repair with CP.MA.00000270.01 arm restored perfect flight.
Ayerscb’s Mini 3: When the front arm latch failed, the $9 CP.FP.00000312.03 shaft replacement took 45 minutes. Key success factor? He verified the arm clicked solidly into locked position before flight—preventing mid-air collapse.
Costly Mistakes to Avoid
- Reusing stripped pivot screws causes 68% of post-repair wobble issues—always replace with exact length screws
- Missing thrust washers create video jello that appears days after “successful” repairs
- Incorrect motor phase order flips drones on takeoff—double-check wire colors before soldering
Part Number Quick Reference Table
| Model | Critical Part | Part Number | Price | Best Source |
|---|---|---|---|---|
| Mavic 2 Pro | Front Right Arm | CP.MA.00000268.01 | $12 | iFixit |
| Mavic 2 Pro | Rear Left Arm | CP.MA.00000270.01 | $14 | Amazon |
| Mini 3 | Front Arm Shaft | CP.FP.00000312.03 | $9 | Heli-Nation |
| Mini 3 | Complete Arm w/Motor | CP.FP.00000311.03 | $35 | DJI Store |
Final Flight-Ready Checklist
Before taking off, verify these 7 critical items:
– [ ] Pivot screw torqued with Loctite 243 (0.25 N·m)
– [ ] Motor wires in exact original color order
– [ ] Antenna cables routed without sharp bends
– [ ] Arm locks firmly in both open/closed positions
– [ ] IMU and compass calibrated post-repair
– [ ] Firmware updated to latest version
– [ ] Zero vibration during prop-less motor test
That first smooth hover after repairing a broken drone arm delivers unmatched satisfaction. By following these precise steps—using the right parts, tools, and verification protocols—you transform a grounding disaster into a confidence-boosting victory. Your drone isn’t broken; it’s just waiting for your expert touch to take flight again.
