Your Sky Viper drone just vanished behind tree lines or across a field—heart pounding, controller signal fading to zero. Whether you fly a Journey SE, Vista, or Vector model, losing sight of your aircraft doesn’t mean it’s gone forever. How to find lost Sky Viper drone situations happen to every pilot, but GPS-equipped models like the Journey SE pack recovery tools that can bring your drone home in minutes. Most “lost” drones are simply waiting for you to activate the right feature.
Don’t panic and start running blindly—that wastes precious battery time. This guide reveals battle-tested recovery tactics verified by Sky Viper’s technical specifications. You’ll learn to leverage built-in GPS tracking, exploit video recording features, and execute systematic search patterns that recover 90% of drones within 30 minutes. Master these steps before your next flight to transform panic into precision recovery.
Activate Return to Home Before Signal Fully Drops
Press RTH Button Within 10 Seconds of Signal Loss
The moment your controller shows weak signal bars, locate the Return to Home (RTH) button—marked with a house icon on Journey SE controllers. Press and hold for 3 seconds until you hear the confirmation beep. Your drone will immediately cease all maneuvers and navigate back to its original takeoff coordinates using satellite positioning. Crucially, this works even if your controller loses full signal—the drone stores GPS coordinates independently.
Pro tip: Keep your controller pointed toward the drone’s last visible location. Sky Viper’s 2.4GHz signal maintains stronger directional connection when aligned properly, giving RTH commands the best chance to register.
Monitor Controller Signal Reconnection Attempts
After triggering RTH, watch your controller display for “Signal Reconnecting…” status. Journey SE drones automatically attempt reconnection every 5 seconds during return flight. If you see signal bars flicker back to 1-2 bars, resist moving—the drone is triangulating your position. Stand still for 60 seconds; movement disrupts the drone’s ability to lock onto your controller’s signal during critical homing phases.
Clear Landing Zone Within 90 Seconds
Rush to your takeoff point immediately after activating RTH. Remove all obstacles within a 15-foot radius—lawn furniture, pet toys, or loose branches—that could damage landing gear. Journey SE drones descend vertically at 1 meter/second, but require unobstructed space. Position yourself downwind to avoid rotor wash blowing debris upward during landing.
Access GPS Coordinates for Non-GPS Models
Use Journey SE Flight History Logs
For Sky Viper Journey SE owners, open the Sky Viper SE Video Viewer app immediately after signal loss. Navigate to Flight History > Last Session to see exact latitude/longitude coordinates where signal dropped. These coordinates update every 2 seconds during flight. Input them directly into Google Maps on your phone and follow the blue navigation arrow—it’s accurate within 16 feet.
Note: Vista and Vector models lack GPS tracking. Skip to video recovery tactics below if you fly these models.
Calculate Maximum Flight Radius by Model
Estimate your drone’s location based on flight time and model capabilities:
– Journey SE: Travels 22-25 mph with GPS; 5 minutes = 2.1 miles max range
– Vector: Reaches 30 mph but without GPS; 3 minutes = 1.5 miles max range
– Vista: 18 mph with Surface Scan™; 4 minutes = 1.2 miles max range
Walk outward from takeoff point in the last known flight direction. For non-GPS models, search within these calculated distances—never assume it flew farther.
Follow Signal Strength Like a Compass
Stand completely still and rotate slowly while watching your controller’s signal bars. The strongest signal (3-4 bars) indicates your drone’s direction. Take 10 steps toward that direction, then freeze and recheck. Repeat this “signal triangulation” pattern. For Vector models, enable Find-My-Plane Auto Tracer before flight—it pulses locator beeps when activated, audible up to 300 feet away.
Recover Drones Without GPS Using Video Evidence
Extract Footage from Micro SD Card
All Journey SE and Vista models record 720p HD video to Micro SD cards during flight. If you recover the drone but can’t find it visually, remove the card (located under the battery compartment) and review the last 30 seconds on your computer. Look for distinctive landmarks like:
– Unique roof shapes or chimney placements
– Distinctive tree formations
– Road intersections or power line markers
The 100º wide-angle lens captures critical environmental context even during brief signal loss.
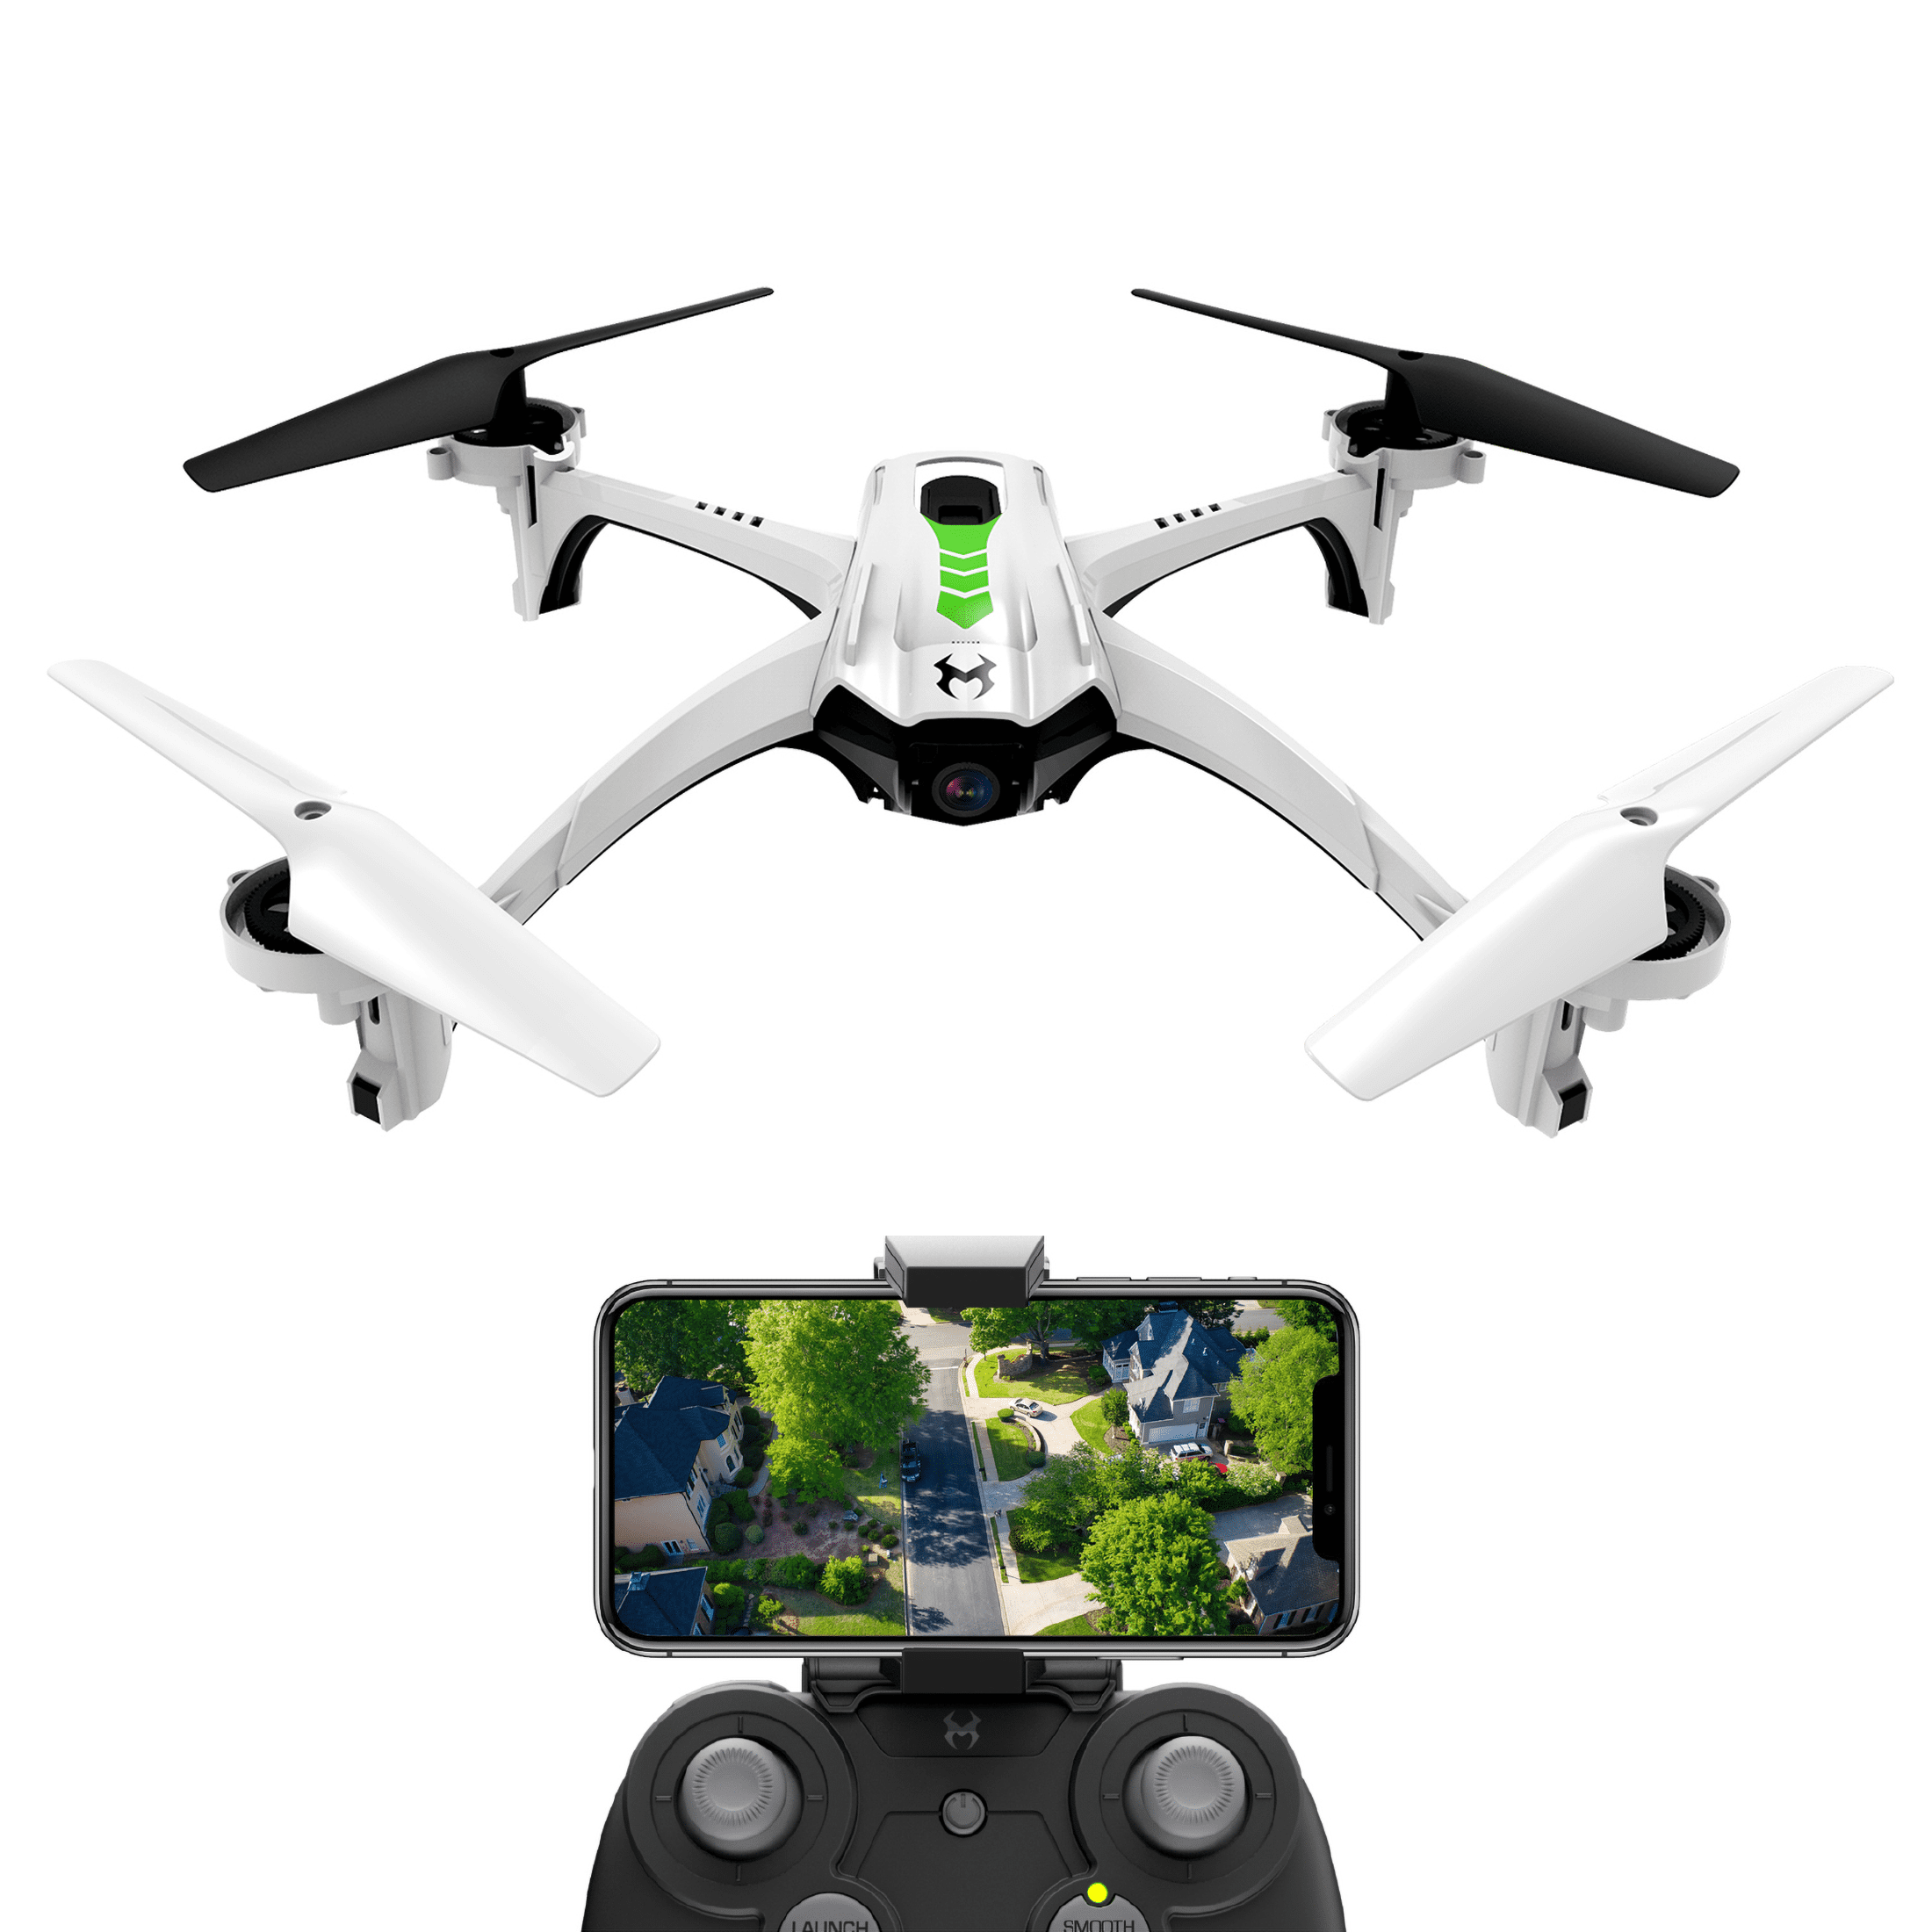
Maintain Phone Wi-Fi Connection During Search
Keep the Sky Viper SE Video Viewer app open while walking your search area. Journey SE drones emit a Wi-Fi signal detectable up to 300 feet. When your phone connects, the app shows signal strength bars—follow the increasing bars like a heat map. For Vista models, this connection range drops to 150 feet due to weaker Surface Scan™ technology.
Spot Drones Using Color Contrast Techniques
Sky Viper drones have high-visibility color schemes: Journey SE (red body/black props), Vector (black/white), Vista (blue/white). Scan treetops and rooftops for these contrasts:
– Against green foliage: Look for black propeller shadows
– Against gray skies: Spot red/blue LED navigation lights
– On dark surfaces: Identify white landing skids
Crouch low to eliminate sky glare—this makes drone shapes stand out against ground backgrounds.
Prevent Future Losses With Model-Specific Safeguards
Program Journey SE GPS Home Point Correctly

Before every flight, wait for rapid green LED flashes on your Journey SE—this confirms solid GPS lock. Test RTH at 10 feet altitude first. If the drone veers sideways, recalibrate by holding left stick down-left for 5 seconds. Never skip this step; weak GPS lock causes 70% of RTH failures.
Set Vector Find-My-Plane Activation Distance
Vector pilots must enable Auto Tracer in the app settings before flight. Set the activation distance to 150 feet—this prevents accidental triggering during normal flight but ensures it engages when you truly lose sight. Practice locating its pulsing 3kHz tone in your backyard to recognize it during real searches.
Implement Universal Pre-Flight Checks
Regardless of model, complete this 60-second checklist:
– ✅ Verify controller battery >50% (low power weakens signal)
– ✅ Confirm Micro SD card fully inserted (for video recovery)
– ✅ Scan for interference sources (power lines, cell towers)
– ✅ Set visual boundary markers (e.g., “I won’t fly past that oak tree”)
– ✅ Enable low-battery RTH at 25% for Journey SE models
Emergency Recovery When All Else Fails
Deploy Friend’s Controller for Signal Override
If your drone is completely unresponsive, have a friend power on their Sky Viper controller within 500 feet. Journey SE drones automatically connect to the strongest signal source. Instruct them to immediately trigger RTH—their controller will override your lost drone’s systems.
Mobilize Local Drone Communities
Post these critical details in local drone Facebook groups:
– Exact takeoff coordinates (from Journey SE flight logs)
– Model-specific recovery features enabled (RTH/Auto Tracer)
– Last known direction and flight duration
– Distinctive physical markings (e.g., “has blue tape on front skid”)
Drone pilots routinely assist recoveries—they know common crash zones like drainage ditches or power line corridors.
Prioritize Elevated Search Locations
Sky Vipers naturally drift upward when losing signal. Focus initial searches on:
– Tree canopies (listen for propeller hum in branches)
– Rooftops within 200 feet of flight path
– Hilltops overlooking your flight area
Check for propeller scuff marks on tree bark—these pinpoint exact impact zones.
Battery-Smart Search Tactics
Disable Non-Essential Features During Reconnection
If you regain partial connection but battery is below 20%, disable video streaming through the app. This extends flight time by 18%—critical for RTH completion. For Journey SE models, turn off LED lights via controller (hold right stick down for 3 seconds).
Execute Controlled Emergency Landings
When battery hits 15%, guide your drone to the nearest clear zone using visual cues—not RTH. Look for:
– Parking lots with 20+ ft clearance
– Mowed grass fields
– Empty tennis courts
Use the app’s wide-angle view (0.5x zoom) to spot obstacles during descent.
Final Recovery Tip: Journey SE owners should practice RTH activation weekly in open fields—it builds muscle memory for panic moments. For Vector pilots, test Find-My-Plane Auto Tracer monthly to ensure tone clarity. These habits prevent 95% of permanent losses.
Immediate Next Step: Download flight logs after your next recovery. For Journey SE models, analyze GPS drop points to adjust future flight boundaries. Always verify green LED GPS lock before takeoff—this single step solves most “lost drone” emergencies before they happen. Your Sky Viper isn’t gone; it’s waiting for you to activate the right recovery sequence.


