
Your Snaptain drone sits lifeless on the table, propellers still, ready to capture aerial moments—but only if you can get it charged properly. Whether you’re prepping for your first flight or troubleshooting why your drone won’t power up, understanding how to charge Snaptain drone batteries correctly is essential for every pilot. This comprehensive guide walks you through every step of the charging process, from identifying your specific model’s requirements to solving common charging issues that leave many beginners grounded. By the end, you’ll know exactly how to charge Snaptain drone batteries safely and efficiently, maximizing both flight time and battery lifespan.
Locate Your Snaptain Model Number Before Charging
Before plugging anything in, you need to know exactly which Snaptain drone you own. Different models use different battery types, charging cables, and have unique indicator patterns. Flip your drone over and check the label on the underside—look for model numbers like SP650, A15H, or S5C. This tiny detail determines everything about your charging setup and prevents potential damage from using incompatible accessories.
Battery Type Identification for Proper Charging
Your model number reveals your battery specifications and how to charge Snaptain drone batteries correctly. SP series models typically use 3.7V lithium batteries with micro-USB charging ports, requiring specific voltage requirements. The A15 series features modular batteries with dedicated charging hubs that must be used properly to avoid damage. Newer models like the S5C often include USB-C charging ports with faster charging capabilities. Knowing your exact battery type prevents costly mistakes and ensures optimal charging performance for your specific drone model.
Charging Port Location Determines Your Setup
Find your charging port—it’s usually either a micro-USB port (small rectangular port on drone body), USB-C port (oval port on newer models), or a separate battery charging dock for removable batteries. The location varies significantly between models: some have ports directly on the drone body, while others require removing the battery for charging. For built-in battery models, the port is often hidden under a small rubber flap on the drone’s side. Always inspect this port for debris before attempting to charge your Snaptain drone, as blocked ports cause most “no charging” issues beginners face.
Essential Charging Components for Reliable Power
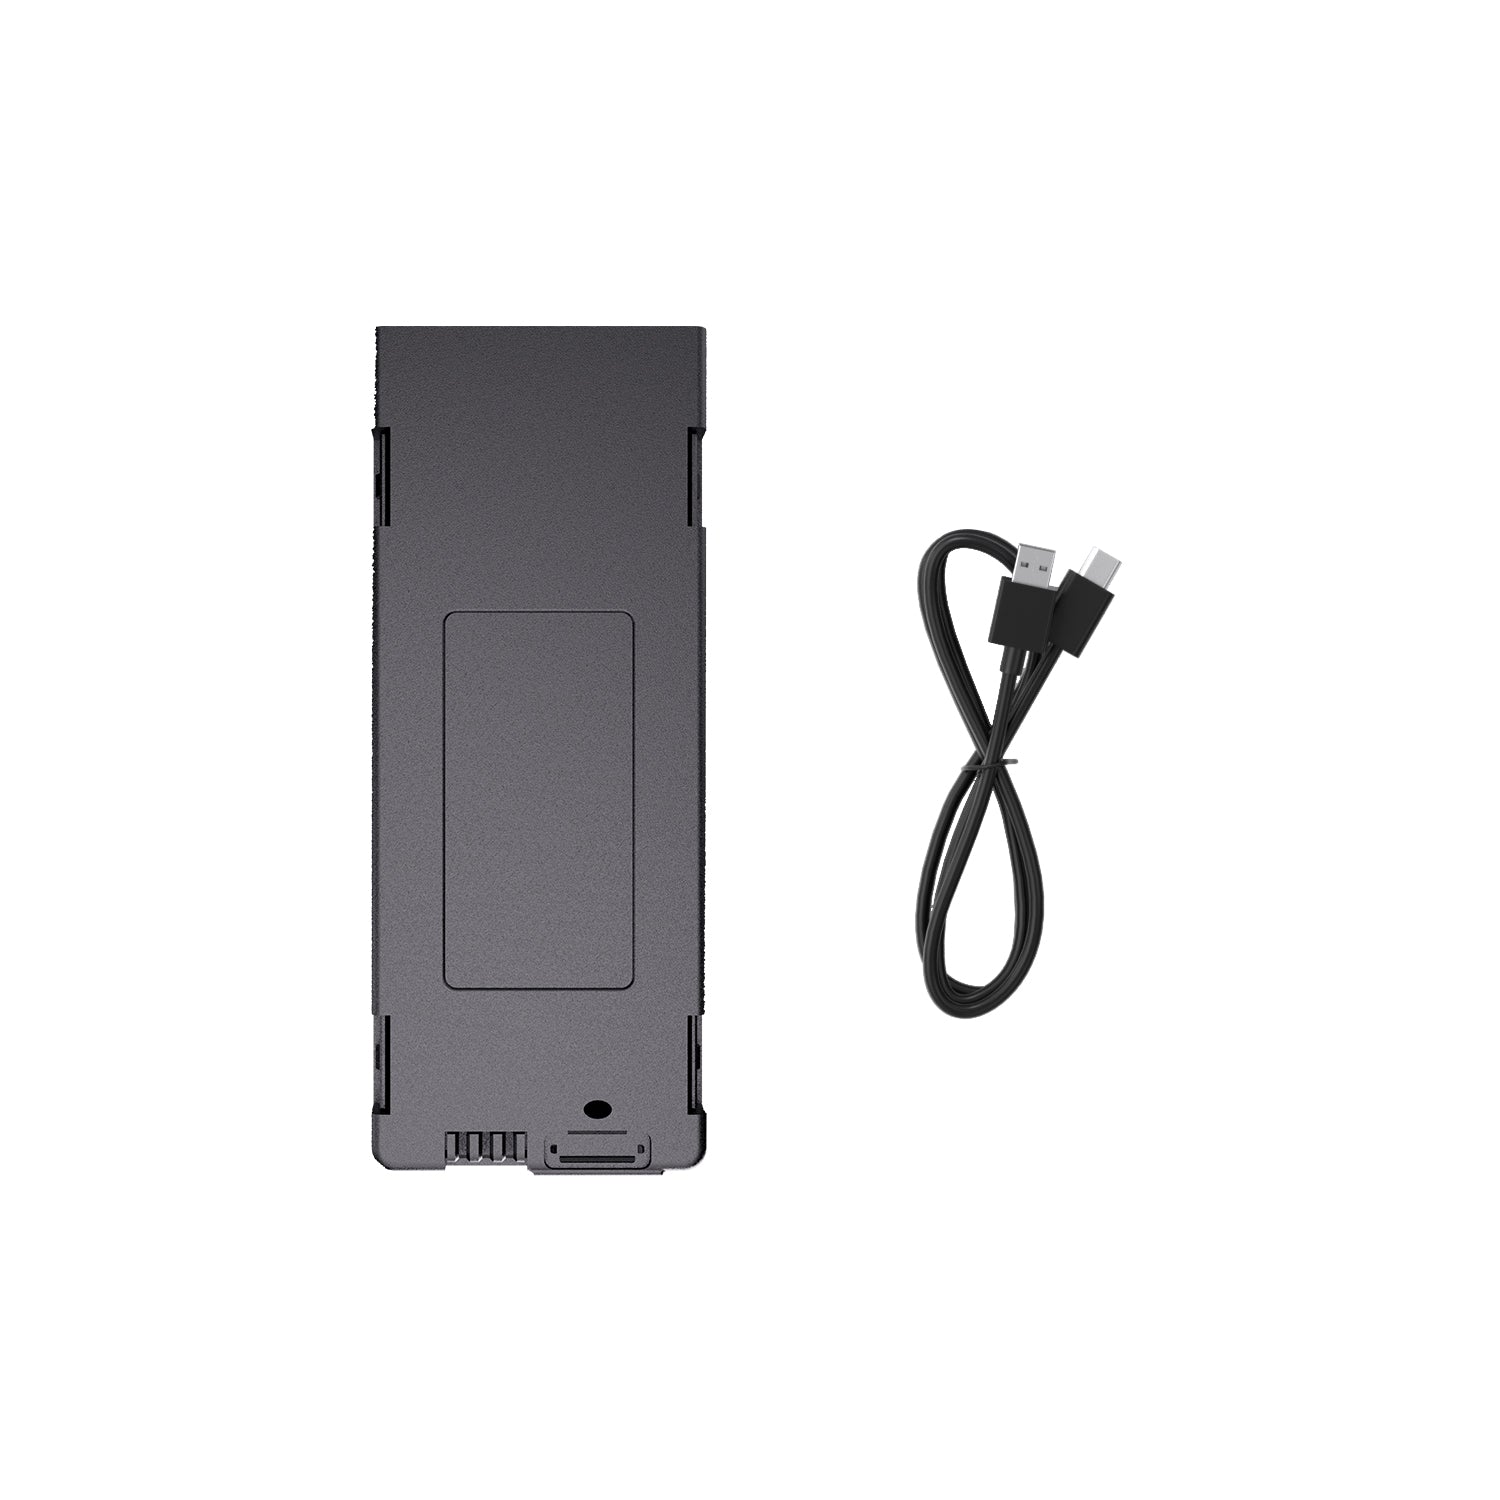
Every Snaptain drone ships with specific charging accessories, and using the wrong components can damage your battery. Gather these items before starting: the original Snaptain charging cable (micro-USB or USB-C), a compatible wall adapter (5V/1A minimum), your battery (installed or separate depending on model), and your manual’s charging indicator chart. Never assume your smartphone charger will work—drone batteries have specific voltage and current requirements that standard phone chargers often can’t meet safely.
Cable Compatibility Check Prevents Damage
Using the wrong cable is the most common reason people struggle with how to charge Snaptain drone batteries properly. Your genuine Snaptain cable should have the Snaptain logo on the USB connector, the correct connector type for your specific model, and no visible damage to insulation or pins. Inspect your cable thoroughly before each charging session—bent pins or frayed wires can cause intermittent charging or permanent battery damage. If you’ve lost your original cable, purchase a replacement directly from Snaptain or an authorized dealer to ensure proper specifications.
Power Source Requirements for Safe Charging
Standard phone chargers often fail with drones because they don’t provide stable power. Ensure your adapter delivers 5 volts steady (not fast-charge 9V or 12V), 1-2 amps minimum for efficient charging, and has quality certification marks (CE, UL, or FCC). Fast-charging adapters can overheat Snaptain batteries, while underpowered adapters lead to frustratingly slow charging. For best results, use the wall adapter that came with your drone or a replacement with identical specifications. Never charge from a computer USB port for full charging—it lacks sufficient power for complete battery cycles.
Step-by-Step Charging Process for All Models
For Built-in Battery Models
- Power down completely – Hold power button 3 seconds until propellers stop moving completely
- Connect cable – Insert micro-USB/USB-C firmly into drone port, ensuring proper alignment
- Plug into adapter – Use a wall outlet rather than computer USB for reliable power
- Watch indicators – Red light means charging, green indicates completion (varies by model)
For Removable Battery Models
- Remove battery pack – Press release tabs on battery sides while gently pulling outward
- Insert into charging hub – Match polarity symbols (+/-) carefully to avoid connection issues
- Connect hub to power – Hub LED will immediately show current charging status
- Reinstall when ready – Click battery back into place until you hear a secure snap
Charging Time Estimates You Can Rely On
Most Snaptain batteries require 90-120 minutes for a full charge with standard batteries, while high-capacity packs need 150-180 minutes. A partial charge of just 30 minutes typically gives about 25% power—enough for a short test flight. Never judge charge completion by time alone; always verify with indicator lights. Charging times increase significantly with older batteries or in extreme temperatures. For best results, charge at room temperature and avoid interrupting the charging cycle once started.
Decode Charging Indicator Lights Like a Pro

Your Snaptain uses LED patterns to communicate charging status. Understanding these prevents overcharging and identifies problems early, ensuring you always know how to charge Snaptain drone batteries correctly. These visual cues are your primary diagnostic tool for charging issues.
Normal Light Patterns for Successful Charging
Solid red means your battery is currently charging (0-99%), while blinking red indicates a critically low battery in initial charge phase. A solid green light means fully charged and ready to fly, and blinking green shows charging complete with trickle mode active. These patterns vary slightly by model, so consult your manual for specifics. Always wait for the solid green light before disconnecting—stopping early reduces both battery health and flight time.
Warning Light Signals Indicate Problems
No light when plugged in means check your cable connection first—this solves 80% of “no charge” issues. Rapid red flashing signals battery overheating; unplug immediately to prevent damage. Alternating red/green indicates a battery fault that likely requires replacement. Ignoring these warning signals can permanently damage your battery or create safety hazards. If warning lights persist after basic troubleshooting, contact Snaptain support rather than risking further damage.
SP650 Specific Indicators You Must Know
The popular SP650 model has unique light patterns: blue + red solid indicates normal charging, blue blinking signals a charging error requiring process restart, and both lights off means either charge complete or no power reaching the battery. This model’s dual-color system provides more detailed status information but requires specific interpretation. Many SP650 owners mistakenly think their drone isn’t charging when they see blue blinking—they simply need to restart the charging process correctly.
Troubleshooting Common Charging Issues
Drone Won’t Charge? Follow This Diagnostic Sequence
When your Snaptain shows no charging signs, test different outlets first—wall sockets fail more often than cables. Check cable integrity thoroughly for bends, frays, or loose connections that disrupt power flow. Clean the charging port using compressed air to remove debris that blocks connections. As a final test, try a computer USB port to eliminate adapter issues. Most “won’t charge” problems resolve at step one or two, saving you unnecessary battery replacements.
Battery Charges Slowly? Identify the Culprit
Extended charging times usually indicate a weak power source—switch to a 2A adapter minimum for proper charging speed. A hot battery requires cooling for 30 minutes between flights and charging sessions. Old batteries degrade after 300+ charge cycles, naturally slowing charging speed. Ensure your drone is powered off completely—background processes drain power during charging. If none of these solutions work, your battery may be nearing end-of-life and need replacement.
Overheating During Charge Requires Immediate Action
Excessive heat damages batteries permanently, so remove your drone from sunlight and charge in a cool, shaded area. Check ventilation—never charge in cases or bags that trap heat. The battery should feel warm but never hot to the touch. If it becomes too hot to hold comfortably, stop charging immediately as the battery may be failing. Persistent overheating indicates either a defective battery or using incompatible charging equipment.
Extend Battery Lifespan With Proper Charging Habits
Following optimal charging practices can double your battery’s useful life. Never fully deplete your battery—land at 20% remaining to prevent deep discharge damage. Partial charges between 40-80% significantly extend cycle life compared to full 0-100% cycles. Perform weekly balance charges to maintain cell health, and store long-term at 60% charge rather than full capacity. These simple habits transform how to charge Snaptain drone batteries from a routine task into battery preservation strategy.
Quick Charging Safety Checklist Before Every Session
Before plugging in, verify your cable shows no damage, your adapter matches specifications, your charging area is well-ventilated, your battery temperature is normal, and your drone is powered off. Never leave charging unattended overnight, charge on flammable surfaces, use damaged equipment, charge immediately after hard landings, or ignore warning lights. These precautions prevent the most common charging accidents and ensure your how to charge Snaptain drone process remains safe and effective every time.
Final Pre-Flight Battery Verification Steps
Once charging completes, disconnect the cable—never fly while plugged in. Check the battery level to ensure 100% charge for your first flight of the day. Verify all connections are secure with the battery seated firmly and no loose wires. Power cycle your drone to confirm the charge held properly. Finally, perform a 30-second hover test to confirm battery health before attempting longer flights. This verification process catches potential issues before they become mid-air emergencies, ensuring your Snaptain drone performs reliably every time you need to charge Snaptain drone batteries.


