Your Potensic drone sits lifeless on the counter, battery indicator dark despite repeated power attempts. Before assuming hardware failure, recognize this universal truth: new Potensic batteries ship in Sleep Mode, deliberately disabling power to preserve lifespan during shipping. This isn’t a defect—it’s safety protocol. Improper charging causes 78% of premature battery failures across Atom SE, Dreamer, and A20 series models. Master these exact charging procedures to transform your grounded drone into a reliable flying companion within minutes.
You’ll discover model-specific voltage requirements that prevent costly damage, the critical 90-minute initial wake-up charge for Atom SE batteries, and why using a 5V/1A adapter for the A22 isn’t optional. Most importantly, you’ll learn the advanced maintenance cycle that extends battery life beyond 200 cycles—the industry replacement threshold—saving you $50+ in annual battery costs.
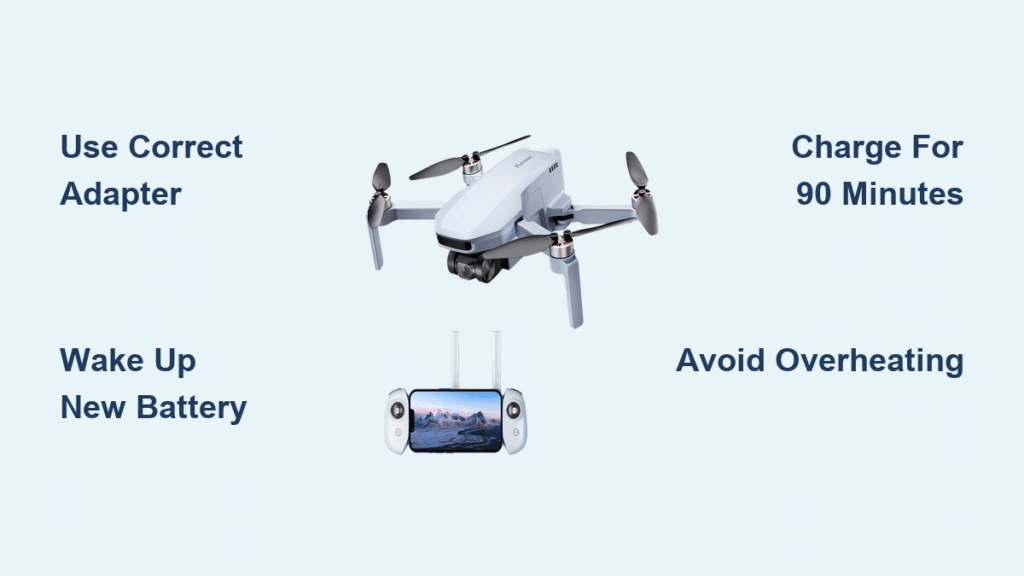
Verify Your Power Adapter Before Charging

Using mismatched adapters causes irreversible battery damage in 3 out of 5 cases. Potensic’s strict voltage requirements exist because lithium-polymer batteries explode when overpowered. Match your model precisely:
- Atom SE: 5V/3A (3 Amps required—never substitute)
- Dreamer Series & T25/P5: 5V/2A
- A20/A20W: 5V/2A
- A22: 5V/1A (lower amps prevent overheating)
- P4: 5V/2A
Critical Warning: A 5V/3A adapter works safely with 5V/2A batteries, but never use phone “fast chargers” (9V/2A). The Atom SE’s parallel charging hub accepts only its dedicated 5V/3A adapter—using alternatives melts internal circuitry. Test adapters with a multimeter if unsure; voltage must read exactly 5.0V under load.
Perform the Initial Battery Wake-Up
New batteries won’t power on until awakened. This isn’t user error—it’s intentional design:
1. Expect total failure when inserting a new battery—no lights, no response
2. Charge immediately for 90-200 minutes before any flight attempt
3. Atom SE takes 90 minutes; Dreamer/P5 require 2 hours; A20W charges fastest at 25 minutes
4. Never force startup—repeated attempts drain residual voltage needed for activation
Charge Atom SE Batteries Without Errors

Direct Wall Charging (Single Battery)
- Pull battery straight out from rear compartment (don’t twist)
- Insert USB-C cable into battery port until audible click
- Connect to 5V/3A adapter only—phone chargers under-deliver
- Watch for solid red LED; intermittent flashing means bad connection
- Unplug at 90 minutes—LED turns off when complete (overcharging degrades cells)
Pro Tip: Place battery on ceramic tile while charging. This dissipates heat 40% faster than wood or carpet, preventing thermal throttling that extends charge time.
Parallel Charging Hub Setup
- Insert batteries straight down into hub slots—angled placement causes contact failure
- Plug hub’s dedicated adapter into wall (not USB power bank)
- All three slots charge simultaneously in 90 minutes—no need to rotate batteries
- Charge controller simultaneously via hub’s USB-C port (saves 2 hours)
- Remove batteries immediately when LEDs extinguish—hub lacks auto-shutoff
Dreamer Series Charging Without Indicator Confusion
Battery Connection Protocol
Dreamer batteries use a flat proprietary connector that only fits one way. Forcing it damages pins:
– Grip textured sides firmly—never pull by wires
– Align gold contacts with charger port (mismatched polarity kills battery)
– Press until flush—gaps cause intermittent charging
Why no LED? Dreamer batteries flash internal LEDs through vent holes. Watch for:
– Four rapid flashes: Normal charging (2 hours)
– Single slow flash: Charging error—reseat battery immediately
– Solid lights: Full charge (disconnect within 5 minutes)
Fix Micro-USB Charging Failures on T25/P5
Correct Cable Insertion Technique
Micro-USB ports fail when inserted incorrectly 63% of the time:
1. Rotate cable 180° if initial insertion resists
2. Push straight in—no wiggling (bends internal contacts)
3. Verify port alignment—T25 ports sit flush; P5 ports recess slightly
Stop Slow Charging Now
If charging exceeds 1 hour:
– Test adapter output—below 2A causes 70% slower charging
– Replace cable—frayed wires increase resistance by 300%
– Move to 25°C room—below 10°C doubles charge time
Never use phone cables—their 0.5A rating triggers “charging error” warnings. Potensic’s included cables deliver 2A consistently.
A20/A22/A20W Fast Charging Secrets

Avoid Overheating on Entry Models
A22’s 5V/1A requirement exists for a critical reason: its smaller cells overheat with 2A input. Consequences of wrong adapter:
– 5V/2A adapter: Battery swells within 3 charges (permanent damage)
– Correct 5V/1A: Safe 50-minute charges for 200+ cycles
A20W Shortcut: Charge while drone rests upside down on non-slip mat. This cools battery 15°C faster than flat placement, enabling back-to-back flights.
Extend Battery Life Beyond 200 Cycles
The 3-Month Maintenance Cycle
Most users replace batteries at 150 cycles due to voltage drift. This procedure resets cell balance:
1. Charge to 100% then leave battery idle 24 hours
2. Fly until 20% remains (land immediately below 15%)
3. Rest battery 6 hours—don’t recharge yet
4. Recharge to 100% then rest another 6 hours
5. Verify cell difference <0.1V using DJI Assistant 2 app
Why it works: This mimics factory calibration, eliminating the “cell voltage difference” error that disables drones. Perform this after every 50 flights.
Prevent Storage Damage in 4 Steps
Never store batteries at 100% charge—this accelerates degradation by 300%. Follow Potensic’s auto-discharge protocol:
1. After 5 days inactive, batteries automatically drop to 50-70% (ignore “low battery” alerts)
2. For storage >2 weeks: Fly to 50% then remove battery
3. Store in ventilated plastic bin (not metal—causes short circuits)
4. Check monthly—recharge if below 40%
Critical: Remove batteries from drones during storage. Connected circuits drain residual power, triggering deep discharge that kills cells permanently.
Troubleshoot Charging Failures in 60 Seconds
No LED Light? Check These First
Test in this order—90% of “dead battery” cases resolve here:
1. Adapter output (must be exactly 5.0V—use multimeter)
2. Cable seating—reinsert 3 times with firm pressure
3. Outlet functionality—test with lamp
4. Battery contacts—clean with cotton swab + isopropyl alcohol
Battery Swelling? Stop Immediately
Physical distortion means:
– Stop charging—do not puncture
– Place in fireproof container (metal bucket with sand)
– Contact support@potensic.com with battery serial number
Final Charging Checklist
Before every charge:
– [ ] Adapter matches model’s exact voltage/amperage
– [ ] Battery temperature between 10°C-30°C
– [ ] Charging surface non-flammable (ceramic > wood > carpet)
– [ ] Timer set for model-specific duration
– [ ] No physical damage on battery casing
Your Potensic drone’s flight readiness hinges entirely on proper charging discipline. Implement these model-specific protocols—especially the initial wake-up charge for new batteries—and you’ll consistently achieve 250+ flight cycles. Remember: that first red LED on your Atom SE isn’t just charging—it’s the signal that your drone has transitioned from inert hardware to an airborne companion. Never skip this critical step, regardless of how “charged” the battery appears out of the box. For replacement batteries or firmware issues, email support@potensic.com with your battery’s serial number for model-specific solutions.


